
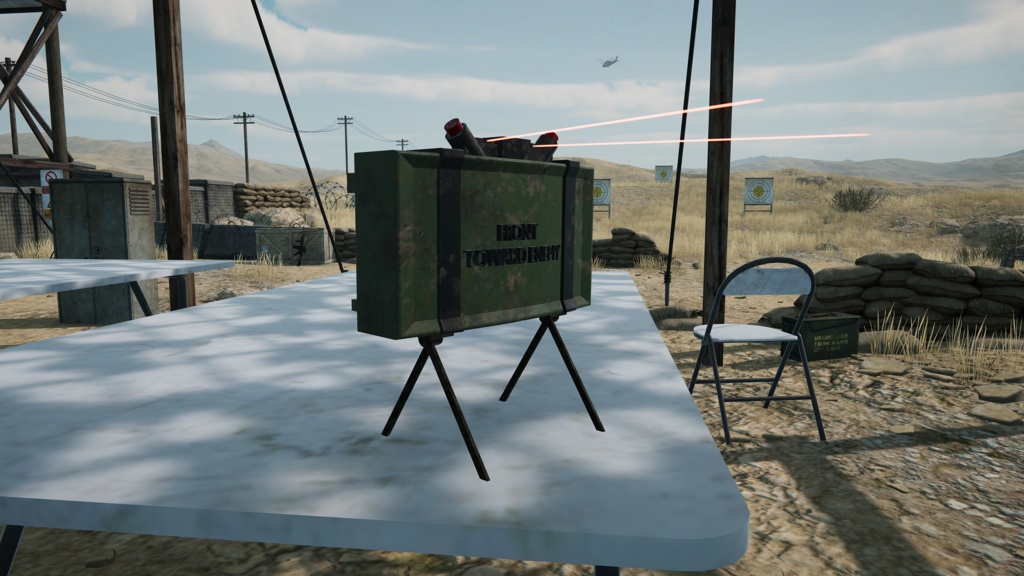
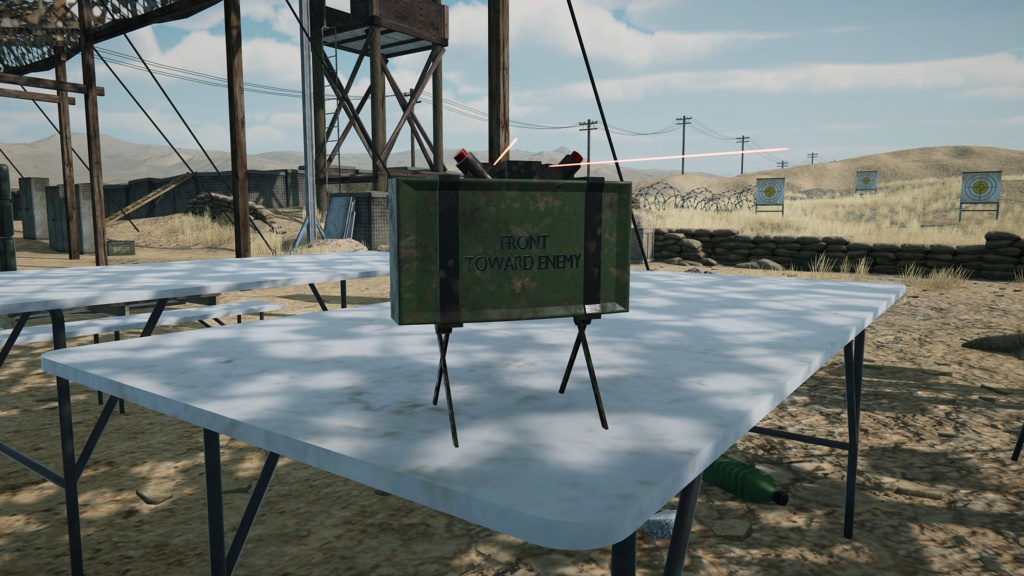
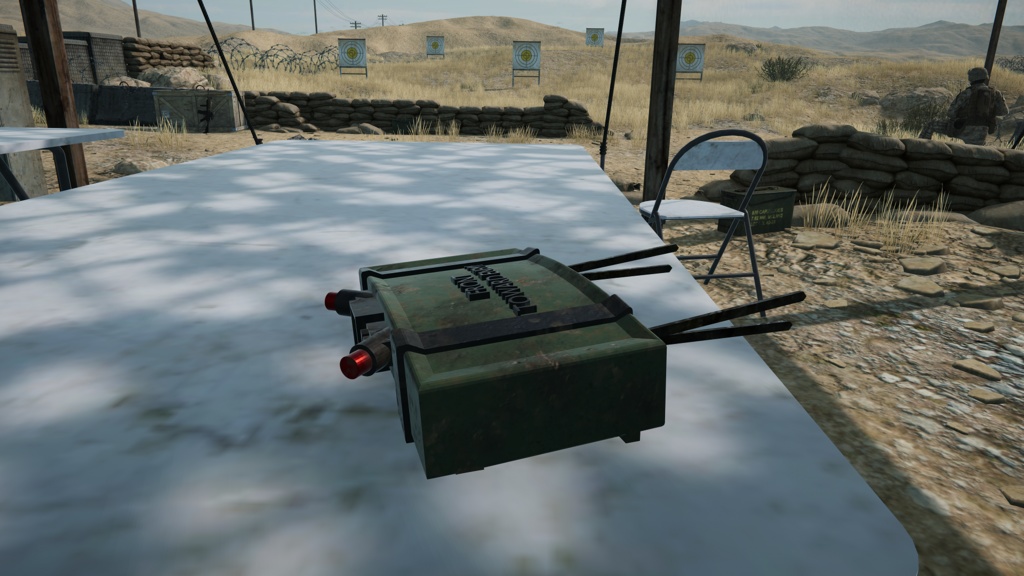
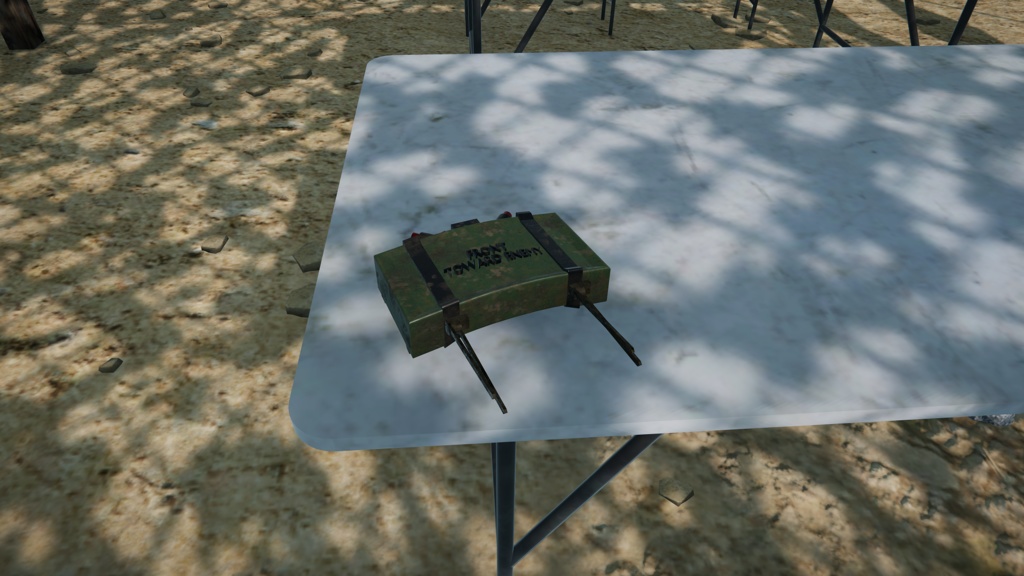
VRChat Avatar Dynamics Claymore
- Personal LicenseDigital715 JPY
- Commercial LicenseDigital3,600 JPY


Disclaimer: This prefab is not quest-compatible. If you have any issues with the prefab please contact Wolfy (wolfy_527) or Kazu (_kazusama_) and let us know so we can fix it ASAP! Version updates at the bottom of the page.
Claymore Stats:
Triangles: 5,380 Materials: 4 Particle Systems: 2 Max Particles: 60 Audio Sources: 3 Real-Time Lights: 0 Senders: 1 Receivers: 5 Memory (Parameter) Allocation: 8 Bits Physbones: 0
Set-Up:
NOTE: This prefab works with Write Defaults on or off, but they are defaulted to off so you will have to turn them on in the animator. Import the provided unity package into your project. Drag and drop the "Claymore" prefab onto your avatar base, right-click it, then click "Unpack Completely." Open up the "Claymore" game object in your hierarchy and navigate to the "PLACE THESE ON AVATAR" game object and drag and drop the "Claymore Hand" and "Claymore Holster" game objects to their respective locations on your avatar's armature. Note: The "Claymore Holster" game object can be placed wherever you wish, but the "Claymore Hand" game object must go on the hand on your avatar's armature. Once you have placed the constraints, zero out their positions in the transform. Next, open up the "ClaymoreWorld" game object and then the "ClaymoreContainer" game object and click on the "Claymore" game object and turn on the game object. We'll want to check the parent constraint locations. With the claymore toggled on, click on the "Claymore Holster" game object and move/rotate it around to get your desired location/look of the claymore when holstered. You'll want to check that the claymore's scale is to your liking for your avatar, if not, press "R" with the claymore selected and scale it evenly in all directions to fit your avatar's size. Click on the "ClaymoreContainer" game object and change the weight of the "Claymore Holster" game object to zero and the "Claymore Hand" game object to one and then adjust the "Claymore Hand" game object's position and rotation to your liking in your hand. Make sure to change the weight of the "Claymore Holster" game object back to one and the "Claymore Hand" game object back to zero when you are finished adjusting things. Click on the "Claymore" game object just under the "ClaymoreContainer" game object and turn off the claymore in the inspector. You will want Avatars 3.0 Manager from the VRLabs Github page to merge your FX controller with the claymore FX controller. With Avatars 3.0 Manager installed you will navigate through the top bar through "VRLabs" --> "Avatars 3.0 Manager" and with that screen opened you will drag and drop your avatar's base from the hierarchy into the "Avatar" slot in the AV3 Manager window. Open up "FX" in the AV3 Manager window and scroll down to "Add Animator to Merge" and click it. Click the circle on the right of the "Controller" option in the AV3 Manager window and find "Claymore RH FX" or "Claymore LH FX" depending on which hand you are using and set up your constraints for. You can either click "Merge As New" to have it merge your current FX with the claymore's FX into a new controller which can be placed on your avatar or "Merge On To Current" which will merge your current FX controller and the claymore's FX controller and not create a duplicate FX controller. The last step is to place the networked parameters in your avatar's expression parameter list. Click on the "parameters" tab in AV3.0 Manager (just below the layers tab) and drag and drop "Claymore Parameters" into the "Parameters To Copy" slot and then click "Copy Parameters" at the bottom. You should be set to create a "New Control" in your expression menu and drag and drop the claymore menu into the new "Sub Menu" that you create for your menu. You're all set up, enjoy!
License:
Do not resell or claim ownership of this content, even if modified in any form. Do not distribute to anyone in any form, except as described below. This content may be shared between two parties only if both parties have gained access to this content legitimately. The only other acceptable form of distribution of this content is via avatars or worlds publicly or privately uploaded to VRChat.com. Users viewing the content uploaded to VRChat.com must not be able to access the original source files. If you wish to use this content in a manner not allowed by this license, please contact the author.
Commercial License:
Do not claim ownership of this content, even if modified in any form. You are permitted to include the content in prefabs or packages you are selling so long as you are not directly reselling this prefab exclusively. When including this prefab on avatar packages being sold commercially you must remove any files that do not directly prevent the prefab from working on the avatar itself. (I.e. you must remove the prefab itself and FX layers that came with it once merged with and set up on the avatar being sold). Provide credit to the original creator via link to gumroad and booth pages. If you have any additional questions about the commercial license please contact Wolfy (wolfy_527) or Kazu (_kazusama_) on Discord for more information.