
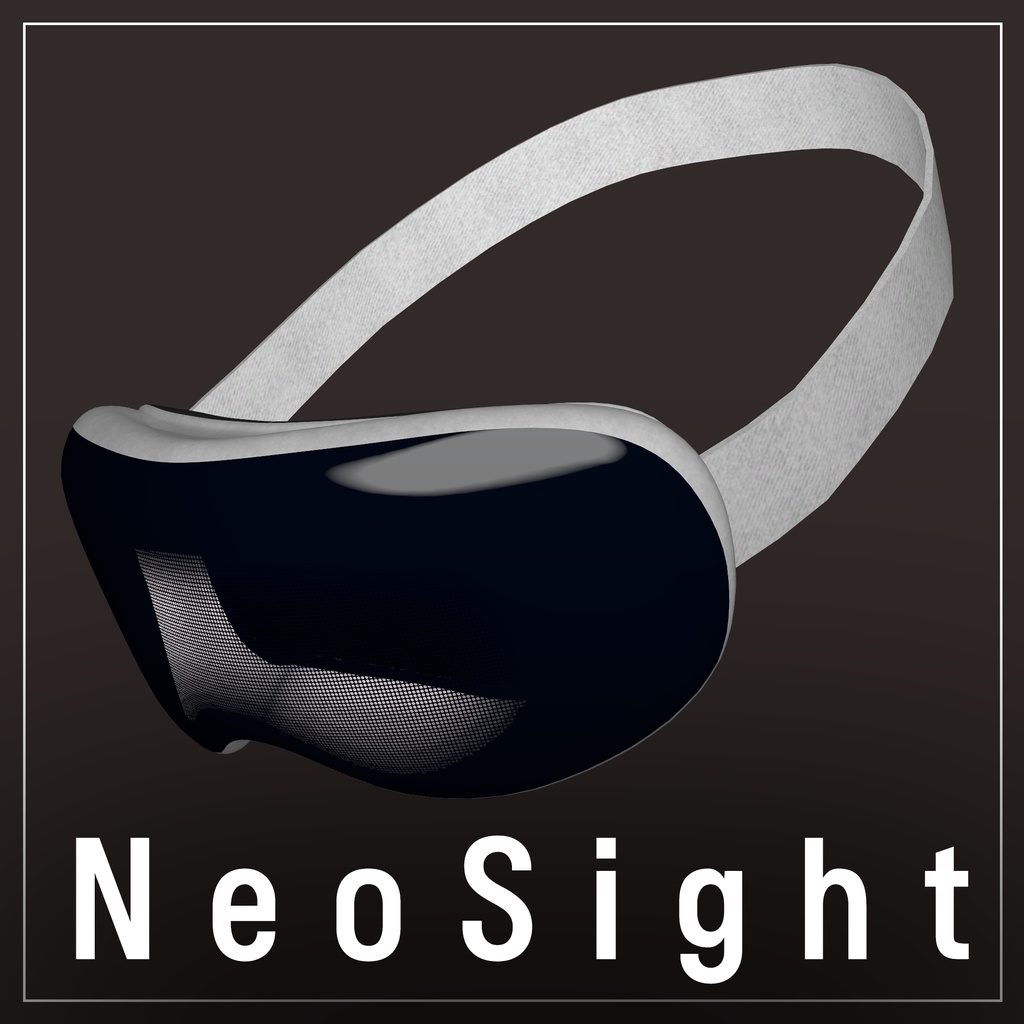
NeoSight
- Digital300 JPY

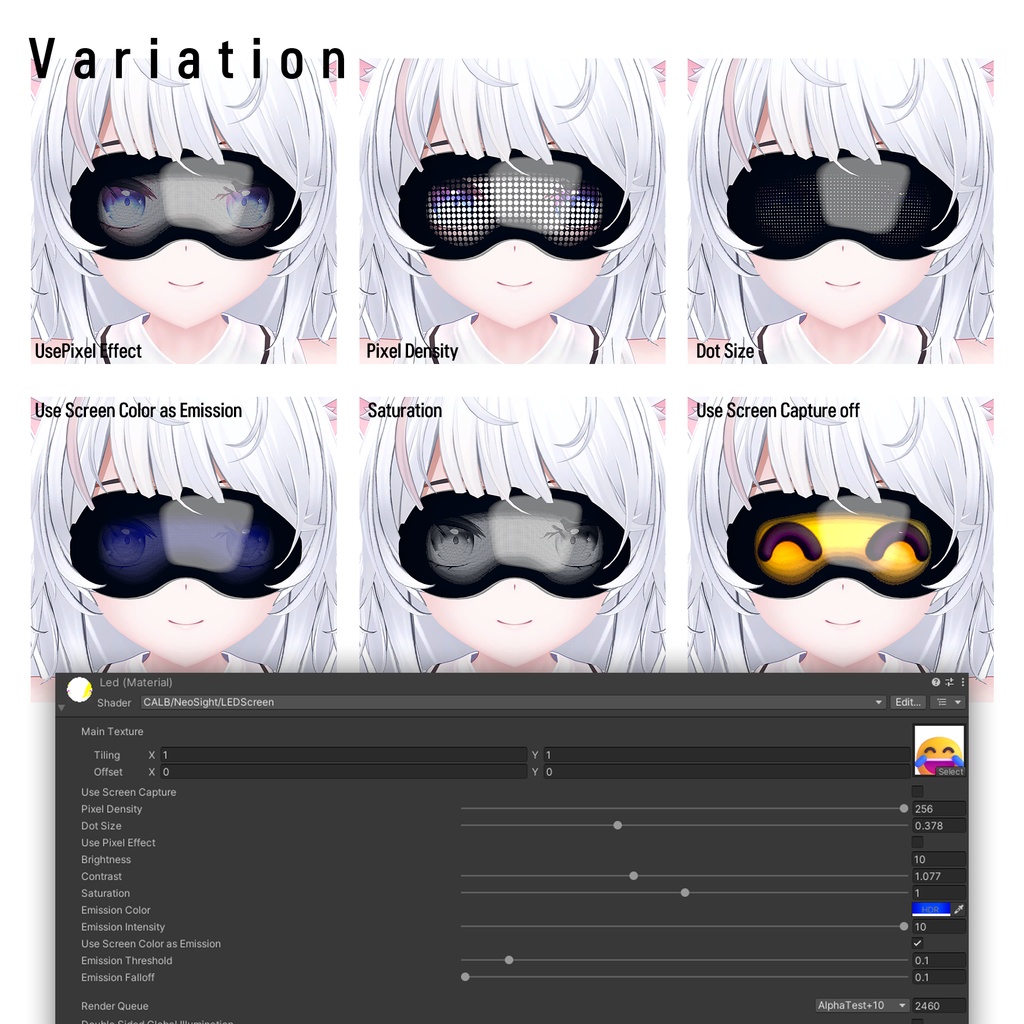


導入手順 【1】Unityの「ヒエラルキー」ウィンドウでアバターのルートにPrefabを配置します。 【2】アバターに合わせて位置やサイズを調整します。必要に応じてヘアバンドのシェイプキーを調整できます。モジュラープレハブを使用する場合、位置を調整するだけで自動的にHeadボーンに固定されます。 【3】お好みに応じてLEDマテリアルの値を調整してください。モジュラープレハブを使用している場合は、最良の結果のためにBrightnessの値は変更しないでください。 도입방법 1. 하이라키의 아바타 루트에 prefab 을 배치 합니다. 2. 아바타에 맞춰서 위치 및 크기를 조절합니다 - 필요하다면 헤어 밴드의 쉐이프키를 조절할 수 있습니다. - 모듈러 prefab 을 사용한다면 위치만 조절하시면 자동으로 head 본에 고정 됩니다. 3. 취향에 맞춰 Led Matarial 값을 수정합니다. - 모듈러 prefab 을 사용하는 경우 최상의 결과를 위해 Brightness 값은 건들지 말아 주세요 도움이 필요하시면 문의 바랍니다. Installation Guide 【1】Place the prefab under the root of your avatar in the Unity Hierarchy window. 【2】Adjust the position and size to fit your avatar. If necessary, you can tweak the shape keys of the headband. If you're using the modular prefab, simply adjusting the position will automatically attach it to the head bone. 【3】Modify the LED material values to your preference. If you're using the modular prefab, please do not change the Brightness value for the best visual result. If you need any help, feel free to contact us.
License
한국어 해당 제품의 커스텀 셰이더는 수정하여 여러분의 창작물에 자유롭게 사용할 수 있습니다. 다만 해당 파일의 복제, 판매, 배포는 금지되어 있습니다. 그 외 여기 명시되지 않은 부분에 대해서는 통상적인 사용 범위 내에서 모두 허가됩니다. English You are free to modify and use the custom shader from this product in your own creations. However, duplication, resale, or redistribution of the file is strictly prohibited. All other uses not explicitly stated here are permitted within the scope of normal usage. 日本語 本製品のカスタムシェーダーは自由に改変し、ご自身の創作物に使用していただけます。 ただし、当ファイルの複製、販売、再配布は禁止されています。 ここに明記されていないその他の使用については、常識的な利用範囲内で許可されます。
Update
2025 07/01 First Upload