
Magic Particles
- Normalダウンロード商品¥ 0
- Normal (Donation/寄付)ダウンロード商品¥ 1,000
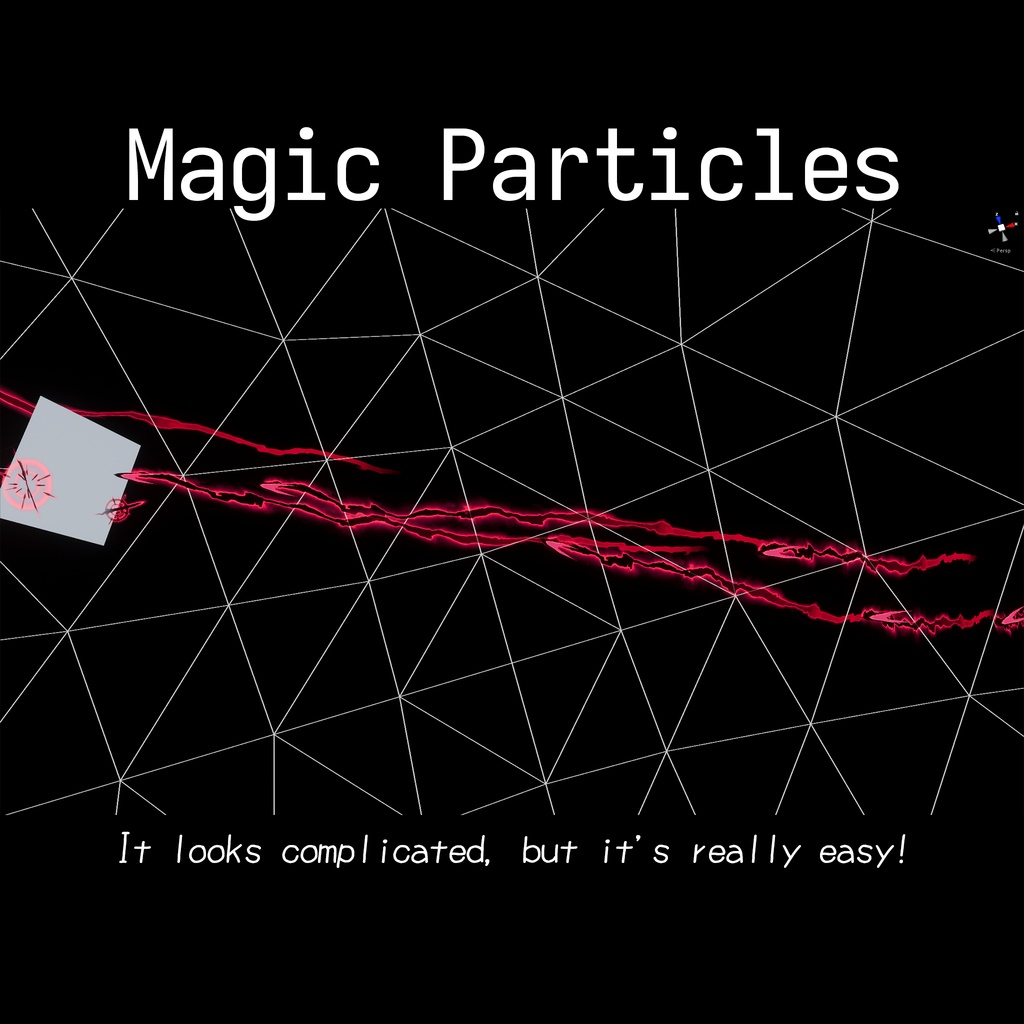
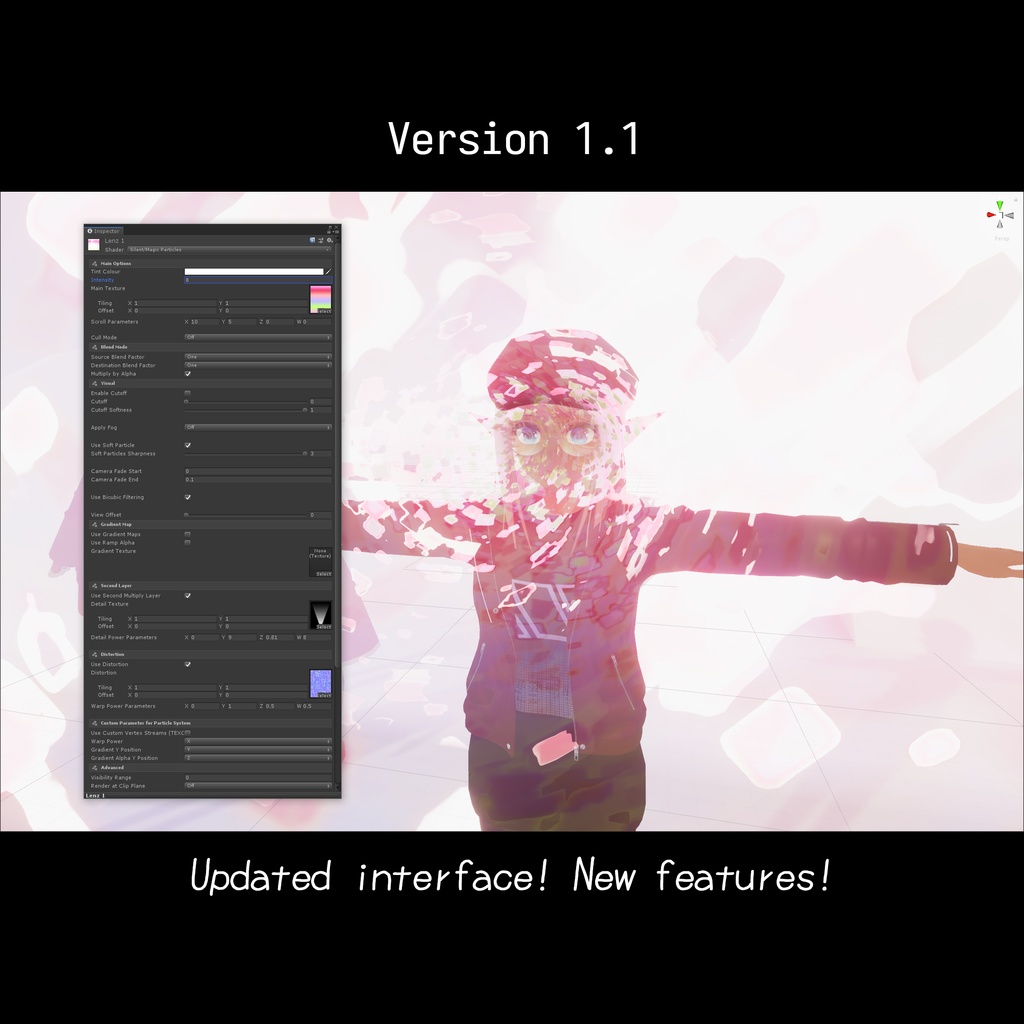


A simple shader for Unity to create seemingly complex particle effects. To install, place the Shader/ folder with the shader into your Assets/ directory. Gradient ramps can be created using the editor tool included in SCSS. https://s-ilent.booth.pm/items/1894974 Licensed under the MIT license. https://gitlab.com/s-ilent/magic-particles For support or feedback, you can join the Discord. https://discord.gg/uHJx4g629K
Usage
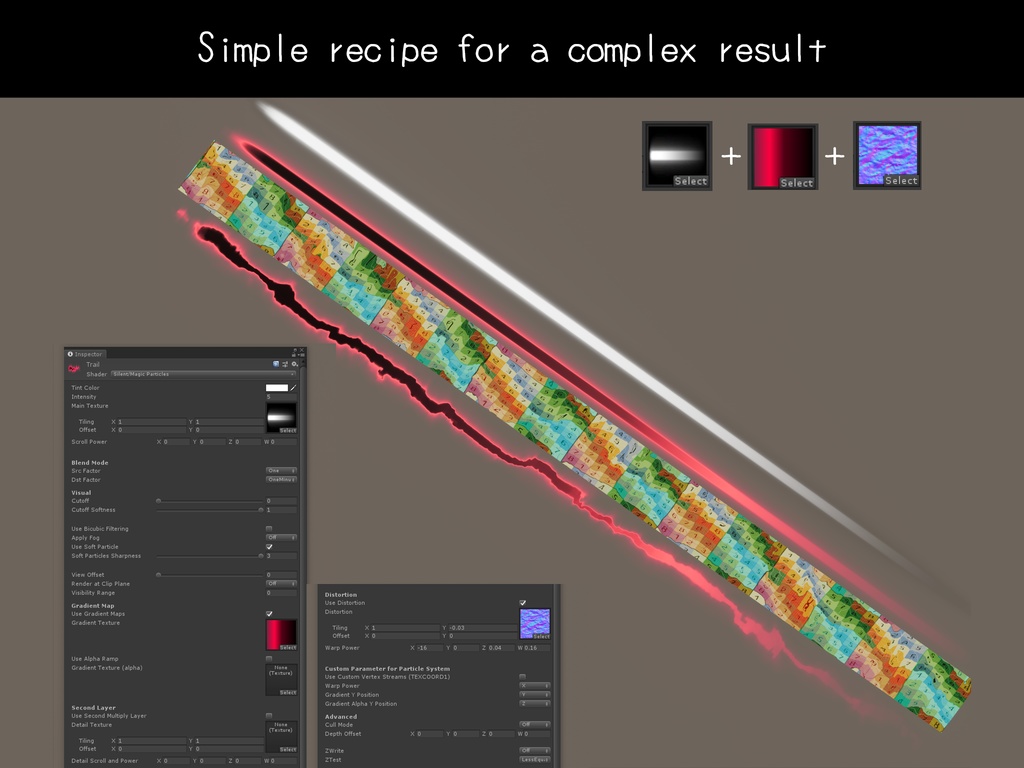
The idea behind this shader is that you can create complex effects with only a few "moving parts". · Tint Color and Intensity These control the colour and brightness of the material. Intensity at 2.0 will give your particles a nice glow in normal circumstances. · Main Texture This is where you place your particle's main texture. RGB and alpha channels are used. · Scroll Power If above 0, the main texture will scroll along the X/Y axis. (Z/W are unused.) · Blend Mode Sets how the material is blended against the world behind it. This has a huge effect on the material's appearance. Here are some common blend modes. · One OneMinusSrcAlpha - Premultiplied transparency (default) · SrcAlpha OneMinusSrcAlpha - Traditional transparency · One One - Additive · OneMinusDstColor One - Soft Additive · DstColor Zero - Multiplicative · DstColor SrcColor - Double Multiplicative · Cutoff and Cutoff Softness Alpha values below the cutoff will not be displayed. There is a transition between visible and cutoff controllable with the softness parameter. · Use Bicubic Filtering Only use this with simple particles. It uses a more complex sampling method which takes extra texture samples to smooth out visible pixellation. · Apply Fog This setting allows you to choose the method of fog application. When using additive blending, blending towards the fog colour in fog will just make the material glow. Use "To Black" when blending additively. · Use Soft Particle If available, softens the edge of the material against the world. · View Offset When greater than 0, pushes the material closer to the camera in world space to simulate a more volumetric shape. · Render at Clip Plane These options push the particle over or under everything else. Please use them sparingly. · Visibility Range Hides the particle when not within this distance of this origin. · Gradient Maps These ramp textures remap the main texture from greyscale to their own colouring. This allows you to have cool colour shift effects across both the colour and alpha. You can store multiple gradients in a single texture (along the Y axis) and select them with Custom Vertex Streams, see below. · Second Layer Applies a second layer of texture over the main texture. This second layer can be scrolled seperately. · Distortion Warps the texture sampling position with a normal map, which can add big and small details to an otherwise simple effect. Warp Power's X/Y controls the scroll speed, and Z/W control the strength the warp is applied with. · Custom Parameter for Particle Systems When enabled, this allows you to send parameters to the shader with the Custom Vertex Streams of a Particle System. They must be sent through TEXCOORD1. When enabled, the parameters will specify what channel affects what parameter. · Cull Mode Which side of the polygon is culled.