
VR_ハムスター(VR Hamster) (VRC想定アバター)PC_ver5.0/Quest_ver4.0
- PC & Quest bundle(両方はいってる物)ダウンロード商品¥ 2,586
- PC Onlyダウンロード商品¥ 1,586
- Quest Onlyダウンロード商品¥ 1,286
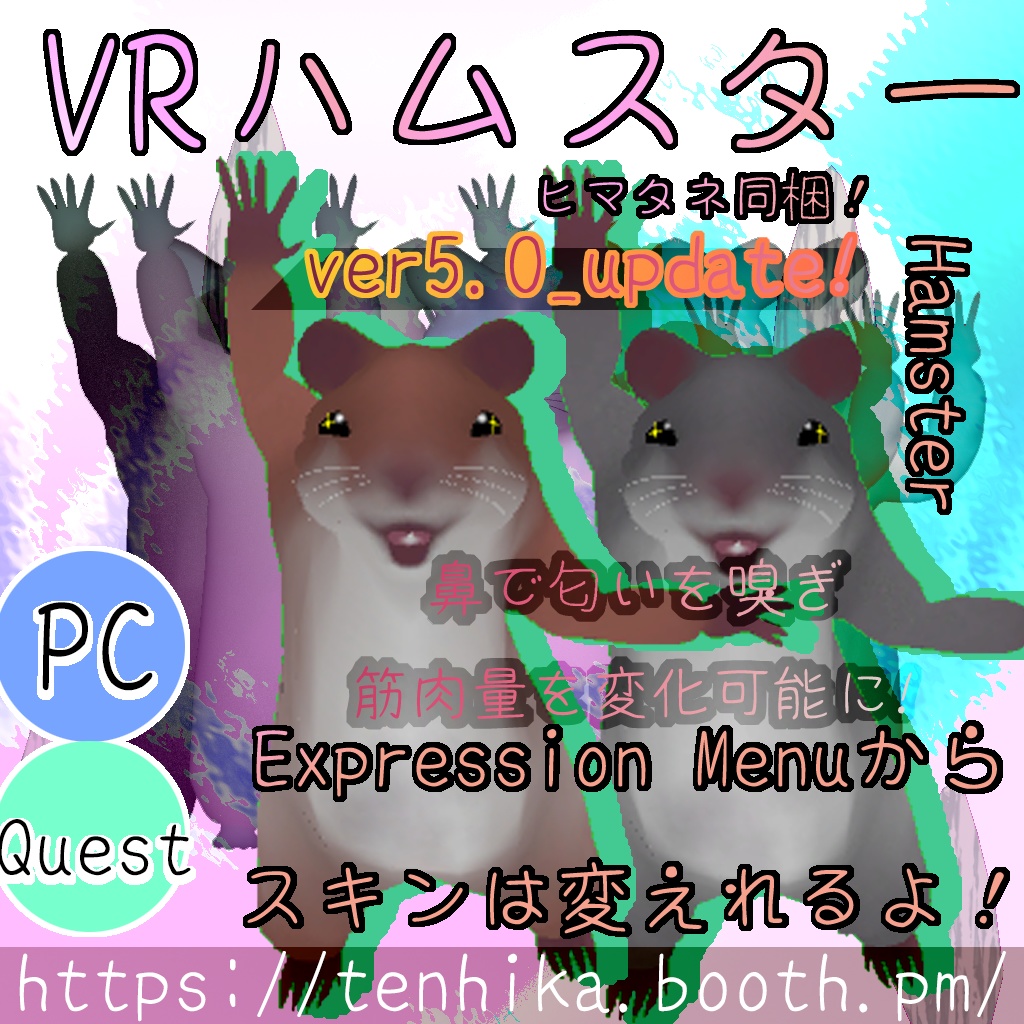
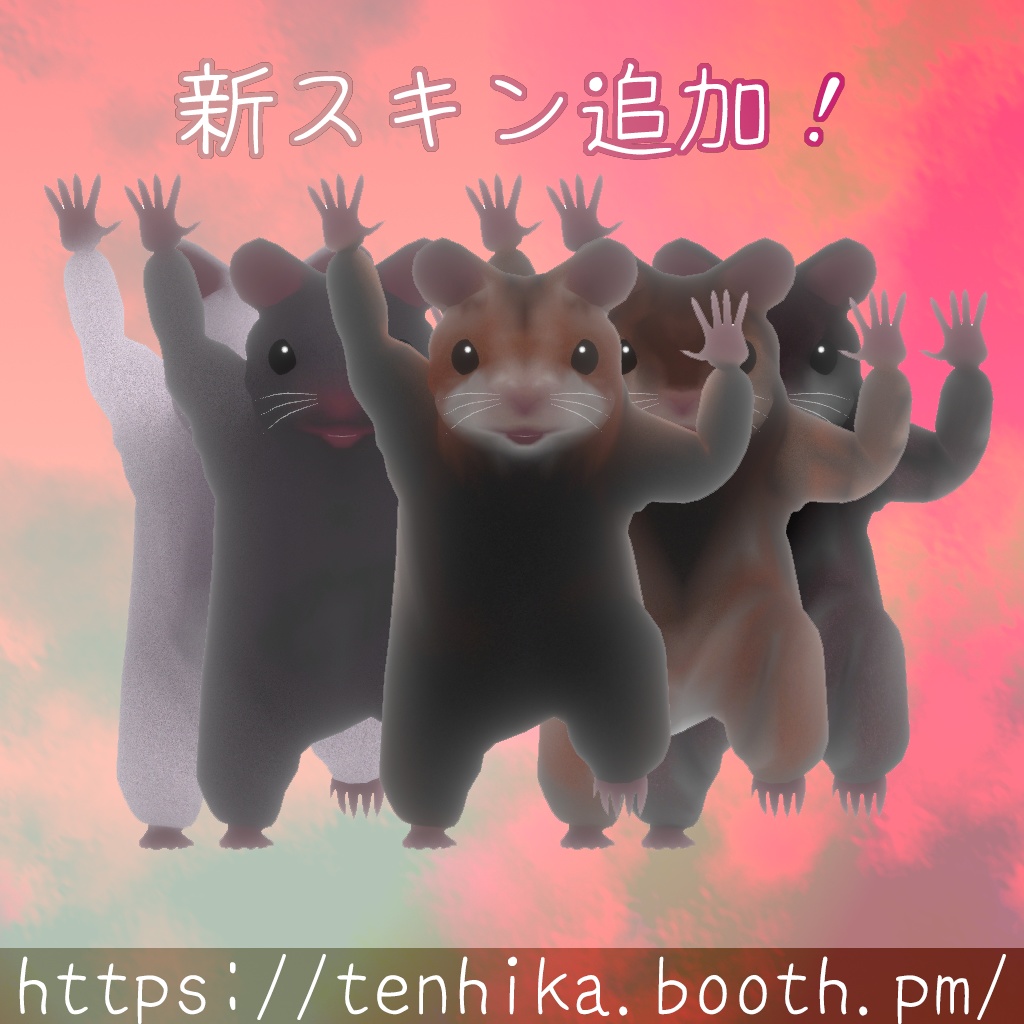
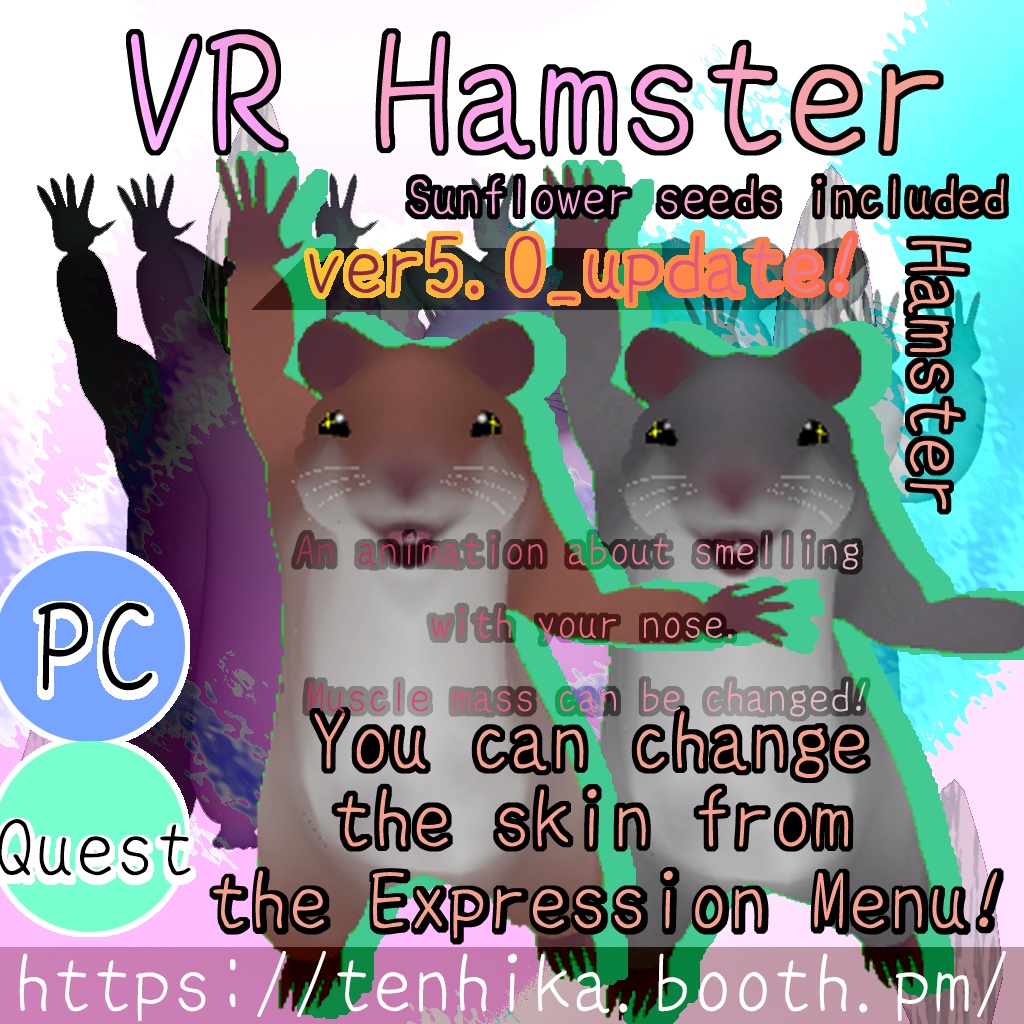
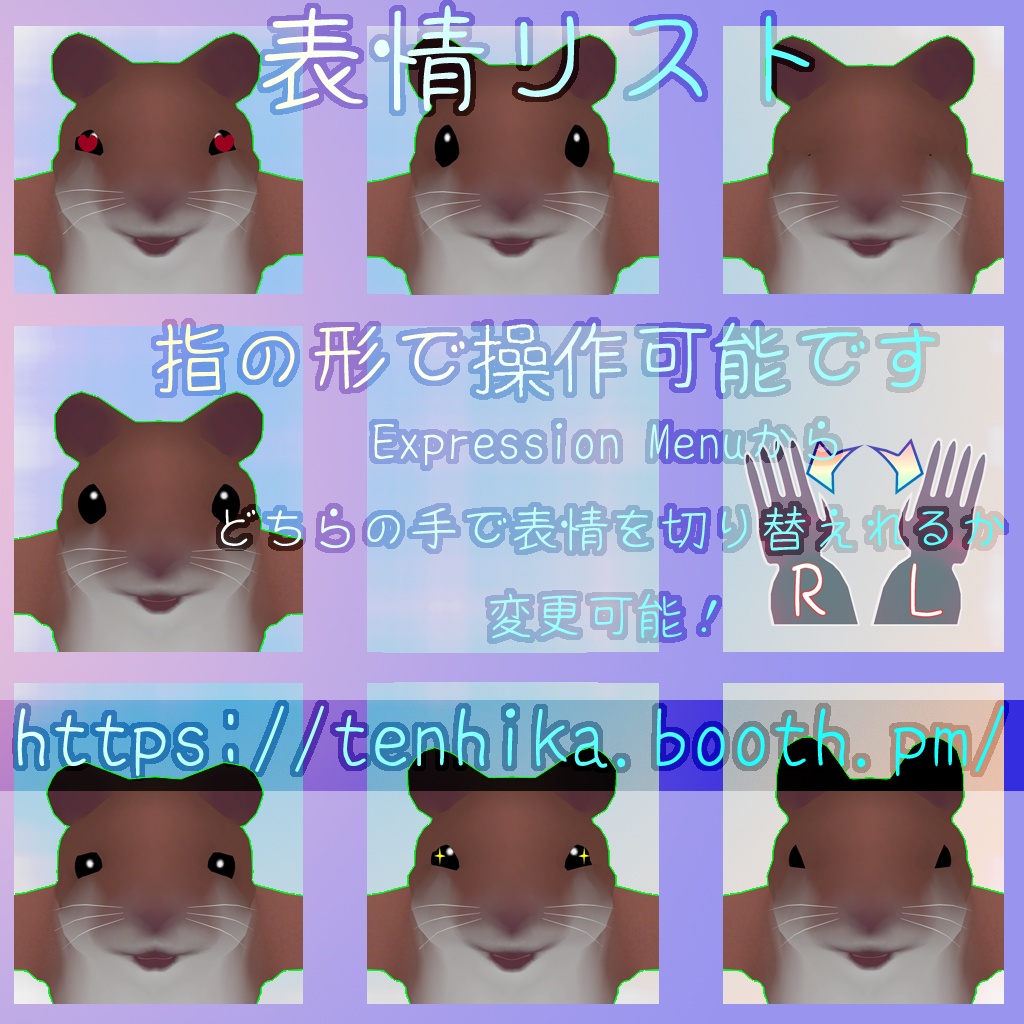
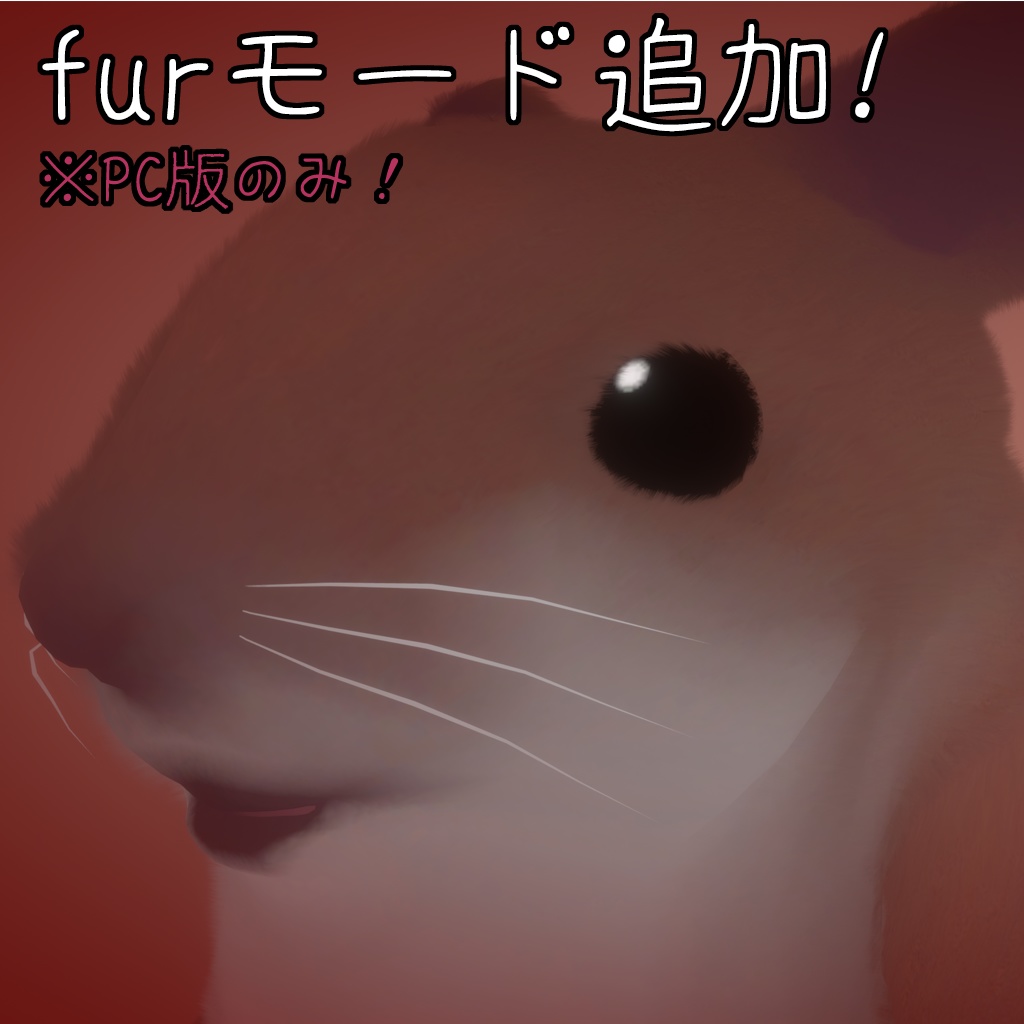
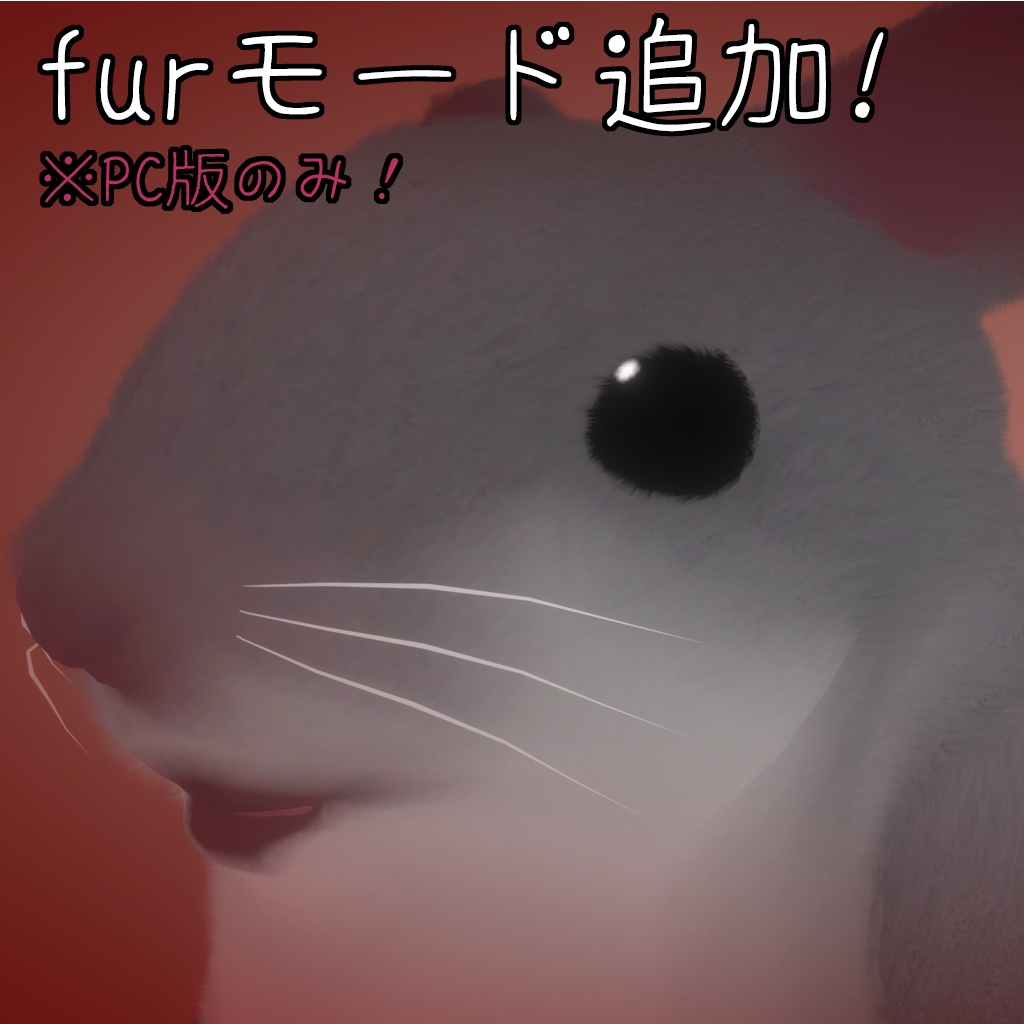
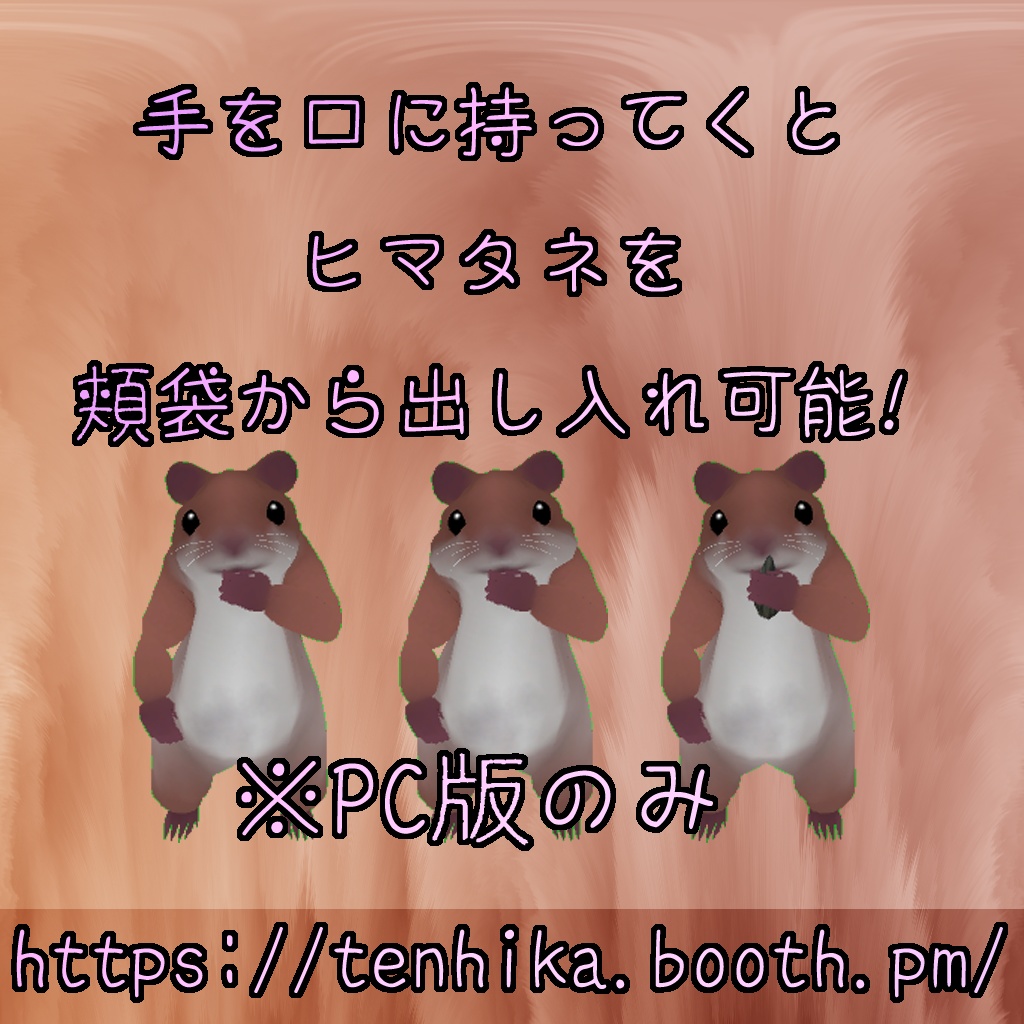
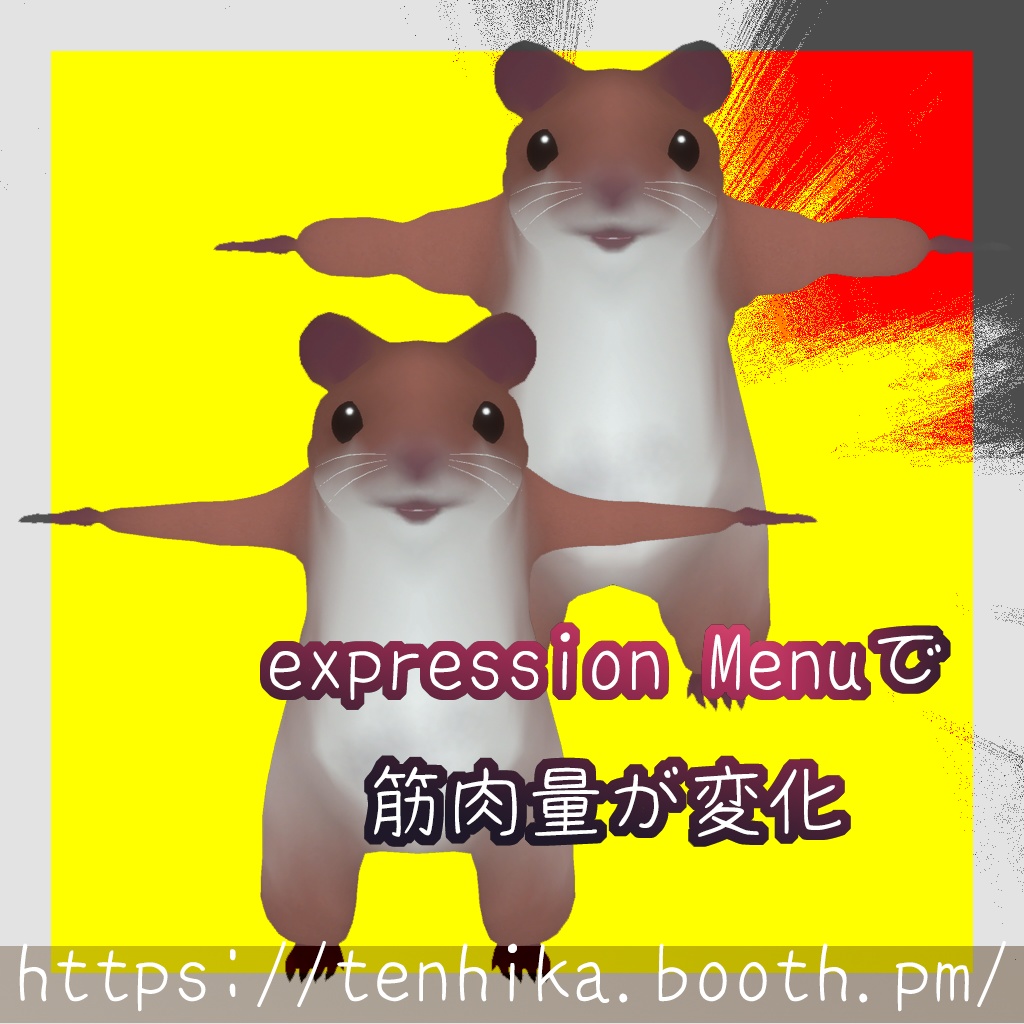


[Update]--- 2026/1/1 PC:5.0 Quest:4.0 「更新内容」 ・FBXの最適化 ・追加スキン実装 ・新しい同梱テクスチャとPsdとclipファイル追加。 ・既存のtextureなども少しだけ修正。 「お知らせとお詫び」 textureを加工すると透過情報に影響を与えてしまい、 表示がおかしくなる可能性が発覚しました。 もし、おかしくなった場合は 『textureの"背景を真っ黒に塗りつぶし"てください』 それで直ると思います。 ※ 加工しても問題ない(UVつきのpsd,clipファイル)と(単品texture)を追加で同梱いたしました<(_ _)> 加工が必要な場合は、それを使って加工して、アバターの同名textureに上書きして使用してください。 ※ この問題を根本から直すとFBXのUVも変更になってしまうので。 既に加工したtextureをお持ちのお客様が作成した資産がUVズレしてしまうので FBXのUVはそのままで、このような対処といたしまいした…。 ご不便をおかけして申し訳ありません。 ------------------------------------------- ・VRC想定モデル。 試着可能なサンプルアバターを置いておくワールドを作りました。 こちらで試着はできます! https://vrchat.com/home/launch?worldId=wrld_42184e4a-afbc-4482-b63f-f0d77c9f63e9 ★ 【CC】Unity2022 ★ 【お知らせ】--------- ★VRで人が中に入る想定で指が5本あります。 ★VRで人が中に入る想定で腕、胴、足を少し高くしてあります。 (インポート手順)に関しては ※画面をスクロールして一番下の項目をご確認ください。 ----------------------------------------------------- ≪フルトラ≫ もしフルトラでトラッカーの位置がズレる場合は こちらの方の動画が参考になるかもしれません。 https://youtu.be/M393cO12T4A?si=ppSU2MlOeioaQihN ----------------------------------------------------- ★リップシンクあり。 ★表情7種類 ★シェイプキー17個(Quest版も17個) ※Quest版の頬を膨らませるシェイプキーは ヒマタネを食べるときのPC限定機能で使用してる機能のため。 Quest版では機能はしてませんが。改変用に入れてあります。 ハムスターになりたい!という方はぜひ! ・手足が短いので、フルトラは少しおかしくなるかもしれません。 (ただ私の環境でフルトラで動作確認はしましたので機能はします) ・3点は問題なさそうでした。 ------------------------- 【なでなでギミック】(ギミック紹介) 反応させるには設定のアバターの項目で ==>[自分のアバターへのインタラクト]のチェックを有効にしてください。 あとは、そのチェックの上にある 【インタラクトを許可してあげる設定】で 【フレンド限定】か、【全員】か。【許可しない】か。を お客様の使い方に合わせて変更してみてください。 【髭や耳にはPhysBone】が設定されてるので 手のColliderで干渉させることが可能です。 【Expression Menu】 ・ハムの見た目(Skin)の変更が可能です。 ・表情操作を行う指を、右手と左手で切り替えることが可能です。 (初期は右手で表情の操作を行います) 『PC限定』 【ヒマタネ出し入れギミック】 上手く行かない場合は 鏡などで、手と口の位置を確認しつつ、 ゆっくりと口元に手を持っていってみてください。 ------------------------- 製品に含まれる物 PC:(Shader:lilToon) https://booth.pm/ja/items/3087170 ・FBX(ポリゴン数 16,480) ・テクスチャー ・UV配置画像 ・Unitypackage(PC) Quest:(Shader:VRC Mobile Toon Lit) ・FBX(ポリゴン数 8,238) ・テクスチャー ・UV配置画像 ・Unitypackage(Quest) ★(おまけ) other: ハムスターとは別に "オマケのヒマタネのオブジェクト"がそこに入ってます。 https://tenhika.booth.pm/items/6527225 ---------English----------------------- [Update]--- January 1, 2026 PC: 5.0 Quest: 4.0 "Update Contents" - FBX optimization - Additional skins implemented - New bundled textures, PSD, and Clip files added. - Minor fixes to existing textures. "Notice and Apology" We have discovered that modifying textures can affect transparency, causing display issues. If this occurs, please "fill the texture background completely black." This should fix the issue. * We have included additional textures (PSD and Clip files with UVs) and (single textures) that can be modified without any issues. <(_ _)> If modification is required, please use these to modify the texture and overwrite the texture of the same name on your avatar. * Fixing this issue from the root would also change the FBX UVs. This would cause UV misalignment in assets created by customers who already have textures modified, so we decided to leave the FBX UVs as they are and take this approach... We apologize for any inconvenience caused. -------------- ・3D model intended for use in VRC. We've created a world with sample avatars for you to try on. You can try them on here! https://vrchat.com/home/launch?worldId=wrld_42184e4a-afbc-4482-b63f-f0d77c9f63e9 ★ 【CC】Unity2022 ★ [Notes]--------- ★It has 5 fingers and is designed to be used by people in VR. ★The arms, torso, and legs are set a little higher, assuming that people will be using VR. (Import procedure) ※Scroll down to check the bottom item. ----------------------------------------------------- <Full Tracking> If the tracker position is off when using full tracking, this video may be helpful. https://youtu.be/M393cO12T4A?si=ppSU2MlOeioaQihN ----------------------------------------------------- ★Lip syncing possible. ★7 types of facial expressions ★17 shape keys (Quest version also has 17) *The shape key for puffing out the cheeks in the Quest version is a PC-only feature used when eating Himatane. It does not function in the Quest version. It's included for modification. If you want to be a hamster, this is it! ・The limbs are short, so full tracking might be a bit strange. (However, I have confirmed that it moves with full tracking in my environment, so it does move) ・The 3 points seem fine. ------------------------- [Petting gimmick] (Gimmick introduction) Check the avatar item in the settings to make it react ==>[Interact with avatar] Then, select [Allow contact] above the check to [Friends only] or [Everyone] Change the setting to [Not allowed] depending on how you use it Beard and ears are set to [PhysBone], so you can interact with them using the hand collider [Expression menu] -You can change the appearance (skin) of the ham -You can switch the fingers that control the facial expression between the right and left hands (Initially control the facial expression with the right hand) 『PC only』 [Sunflower seed insertion and removal gimmick] If it doesn't react, check the position of your hand and mouth in the mirror, and slowly bring your hand to your mouth ------------------------- Product contents PC: (Shader: lilToon) https://booth.pm/ja/items/3087170 -FBX (16,480 polygons) -Texture -UV placement image -Unity package (PC) Quest: (Shader: VRC Mobile Toon Lit) -FBX (8,238 polygons) -Texture -UV placement image -Unity package (quest) ★ (Bonus) Other: In addition to the hamster, a "bonus free object" is included. https://tenhika.booth.pm/items/6527225
利用規約
※ 【翻訳の都合で言語ごとに内容が少し異なる事があります】 その場合は日本語の利用規約が優先されます。 ------------------------- ★VRCで使用する場合は、【購入者に限り】【Private設定でアバターをUpLoad】することを許可します。 『publicでのUpLoadは禁止します』(絶対にやめてください) ★VRCで使用する場合は、購入者は【自己責任で】改変を行うことを許可します。 ★商品を勝手に3Dプリンタなどで立体化して販売などは禁止です。 -------------------------------------------------------------- ★購入者が未購入者の方に改変依頼と3Dデータを渡すのを禁止します。 (自分と相手が製品を購入済みの場合は許可します) ------------------------------------------------------------- ★成人向け利用も可能。 (政治利用と実在の人物への誹謗中傷目的、などは禁止です) ・公序良俗の範囲でお使いください。 ------------------------- ・再配布、は基本禁止。 ゲームやアプリ開発に使用する場合に限り、再配布と商用利用を許可します。 (ただし当3Dデータを素材として再配布。販売するのは禁止) ・当3Dデータを使用したアプリなどの開発で配布する場合はクレジットに ©2025 TenhikaGames
terms of service
※ [Due to translation reasons, the content may differ slightly depending on the language] In that case, the Japanese terms of use will take precedence. ------------------------- ★When used in VRC, [only purchasers] [Avatar uploads with private settings] are permitted. "Public uploads prohibited" (Do not do this under any circumstances) ★When used in VRC, purchasers are permitted to modify [at their own risk]. ★It is prohibited to create and sell 3D models using 3D printers, etc. -------------------------------------------------------------- ★Purchasers are prohibited from asking non-purchasers to modify or hand over 3D data. (Permitted if both you and the other person have already purchased the product) -------------------------------------------------------------- ★Adult use is also permitted. (Political use and slander against real people are prohibited) ・Please use within the scope of public order and morals. ------------------------- ・Redistribution is prohibited in principle. Redistribution and commercial use are permitted only when used for game or app development. (However, redistribution of this 3D data as material is prohibited. Sale is also prohibited.) - If distributing for app development or other content development, please include credit. ©2025 TenhikaGames
インポート手順
(インポートからUpLoadまでの手順) 共通 ★ VRCのサイトより"VRC Creator Companion"を予め DLしてインストールしておいてください。 ★ Shader(lilToon)を予めDLしておいてください。 https://booth.pm/ja/items/3087170 (PC版のアバターで使用) ★ UnityIDとUnity Hubをお持ちで無い場合は予め取得しておいてください。 ★ Boothから商品をDLしたら解凍。 VRC Creator Companionを起動して Create New Project ↓ Unity2022 Avatar Project を選択してProjectを作成してください。 Unityが起動したら。 まずはShader(lilToon)をProjectに入れます。 ※Unitypackagefileというものを ★(UnityEditorが起動した状態で)ダブルクリックして、 インポートを押してください。 終わりましたら、 同じように今度はBoothからDLして解凍済みの商品の中にある Unitypackagefileを同じようにダブルクリックして インポートでProjectに入れてください。 Unitypackage ・PC_Hamster_ver5.0 ・Quest_Hamster_4.0 それぞれに、PC版とQuest版用に設定したアバターが入ってます。 必要なほうのUnitypackageをダブルクリックでProjectに導入してください。 (もちろん、両方入れも問題ないです) ≪それぞれのpackageの被ってる場所は 既にインポートされてるAssetとしてインポートは不要なのでスキップされます≫ ※------------------------- (まずはPC版から入れるのがおススメです) PC版をUpLoad→Quest版をUpLoadの順番でお願いします。 (Quest版不要の場合はPC版のUpLoadで終わりで大丈夫です) ------------------------- PC Unitypackageのインポートが完了しましたら。 Assetsフォルダー(UnityEditor)の↓のほうに表示されてると思います。 その中の 【TenhikaGames】フォルダーをクリックし ↓ 【VR_Hamster】フォルダーをクリックし ↓ 【VR_Hamster_PC】と書かれた、Prefab Assetをヒエラルキーにドラッグアンドドロップします。 (Quest版の場合は【VR_Hamster_Quest】というPrefab Assetになります) 【VR_Hamster_PC】と書かれたPrefab Assetをヒエラルキーにドラッグアンドドロップをお願い致します。 ★ ヒエラルキーに青い文字で【VR_Hamster_PC】と書かれたものが出現したと思います。 あとは上部MenuのVR Chat SDKを起動して Show Control Panelを選択。 立ち上がったウィンドウのタブをBuilderにして(既になってればそのままで)、 ・Name(にアバターの名前を入れて) ・Visibility がPrivateになってるのを確認(publicになってたら。Privateに変更してください) ・スクロールして【Capture From Scene】をクリックで【シーン】からサムネイル画像を作成します。 (ゲーム。シーン)と並んだタブがあると思いますが。 そのタブをシーンになってるのを確認して、 ------------------------- ・マウスのホイール回転で近づいたり離れたりできます。 ・マウスのホイール押し込みながらマウスの移動でカメラを操作できます。 ・マウスの右クリックを押しながらマウスの移動でカメラを回転できます。 ------------------------- 上記の操作で撮りたいアングルを決定したら 【VR Chat SDK】の【Capture】を押すとサムネイルが決定します。 ・ その下に ・Selectと書かれたボタンが並んでいると思いますが。 ※------------------------- 万が一(その部分にAutoFix)というボタンが出てましたら。 そこを押しておいてください。 ------------------------- それで問題は修正させた筈です。 ★ あとは更にスクロールして。 一番したの【build】という場所からアバターをUpLoadするだけです。 ------------------------- 右三角の記号が【build】の項目の前にあったらbuildの項目が閉じてるので 【一度クリックして】【下三角の記号にしてください】それで展開されます。 ------------------------- 【build】の中の"Online Publishing"の下のチェックボックスにチェックを入れてください。 【すると】 一番下に【Build&Publish】という項目が出現するので。 それを押せばbuild(UpLoad)が開始され、 しばらく待てば【Finish】状態になり。 VRCの 【アバター】→【アップロードしたもの】を順番に選択してください。 そこにUpLoadしたアバターが表示されてる筈ですので。 後は選択して使用してください! ★ PC版は以上です!! ※ Quest 手順はPCと同じですが。 androidbuildにする必要があります。 左上のほうにある【File】を選択して 【buildsettings】をクリックして。 ≪Platform≫をandroidに切り替えます。 同意しますか?みたいのがもしでたら。 同意して進んでいきます。 (それがインストールされると) androidにターゲットPlatformを切り替えられるようになるので。 buildsettingsの≪Platform≫をandroidに切り替えます。 (SwitchPlatform)という項目があるはずです。 あとは上部MenuのVR Chat SDKを起動して、 Contents Managerを開いて。 【"PC版で"アップロードしたアバターを探して】 IDをコピーします。 ------------------------- ★【問題がありそうなら】 (PC版のアバターがまだヒエラルキーにある場合はヒエラルキーから消しておくか) (PC版のアバターを選択して。 インスペクターのVR_Hamster_PCと書かれた名前の左側のチェックボックスを外しておくといいかもです) (↑のチェックボックスは。オブジェクトの有効。無効を切り替えるチェックボックスですので) ※【UPLoadしたいアバター】以外は無効にしておくのをおススメします。 ------------------------- ★ ヒエラルキーで(Quest版のprefab)のオブジェクトを選択して インスペクターのスクロールバーを一番下まで持っていき、 Pipeline Managerと書かれてスクリプトがあるので。 そこのBlueprint IDと書かれた場所に。 先ほどコポーしたIDを貼り付けて アタッチを押します。 (これでPCと同じIDでアバターを上げる準備が整ったので) 上部MenuのVR Chat SDKを起動して Show Control Panelより タブをBuilderにして、 PC版と同じようにUPLoadしてください。 これでPC、Quest。両方対応アバターの完成です。 お疲れ様でした。 --------------------------------
Import Procedure
(Steps from import to upload) Common ★ Download and install "VRC Creator Companion" from the VRC site. ★ Download Shader (lilToon) in advance. https://booth.pm/ja/items/3087170 (Used for PC version avatars) ★ If you do not have a Unity ID and Unity Hub, please obtain them in advance. ★ After downloading the product from Booth, unzip it. Launch VRC Creator Companion and Create a new project ↓ Select Unity2022 Avatar Project and create a project. When Unity starts, First, add Shader (lilToon) to the project. *With UnityEditor running, double-click the Unitypackagefile and click Import. Once completed, double-click the Unitypackagefile in the product downloaded and unzipped from Booth to import it into the project. Unitypackage ・PC_Hamster_ver5.0 ・Quest_Hamster_4.0 Each contains an avatar set for the PC and Quest versions. Double-click the Unitypackage you need to add it to your project. (Of course, you can add both) ≪Duplicate packages are already imported assets and will be skipped, so there is no need to import them≫ ※------------------------ (We recommend adding the PC version first) Upload the PC version and then the Quest version. (If you don't need the Quest version, upload the PC version and you're done) ------------------------ PC Once the Unitypackage import is complete, it will appear in the Assets folder (UnityEditor) below. Click the [TenhikaGames] folder ↓ Click the [VR_Hamster] folder ↓ Drag and drop the Prefab Asset called [VR_Hamster_PC] into the hierarchy. (For the Quest version, the prefab asset is called [VR_Hamster_Quest]) Drag and drop the Prefab Asset [VR_Hamster_PC] into the hierarchy. ★ [VR_Hamster_PC] will be displayed in blue text in the hierarchy. Next, launch VR Chat SDK from the top menu and select Show Control Panel. Set the tab of the opened window to Builder (leave it as it is if it is already set). -Name (enter the name of your avatar) -Make sure the visibility is set to Private (if it is set to Public, change it to Private) -Scroll down and click [Capture from Scene] to create a thumbnail image from [Scene]. There should be a tab next to (Game, Scene). Make sure the tab is set to Scene. ------------------------- -Roll the mouse wheel to move closer or further away. -Press the mouse wheel and move the mouse to control the camera. ・Press the right mouse button and move the mouse to rotate the camera. ------------------------- Once you have decided the angle you want to shoot with the above operations, press [Capture] in [VR Chat SDK] to determine the thumbnail. ・ Below that, there should be a row of buttons called [Select]. ※------------------------- If there is a button called (AutoFix) there, press that button. ------------------------- This should solve the problem. ★ Then scroll down further. Upload your avatar from the bottom where it says [Build]. ------------------------- If there is a right-facing triangle mark in front of the [Build] item, the build item is closed, so [click once] [to make it a downward-facing triangle mark] to expand it. ------------------------- Check the "Publish online" checkbox in [Build]. [Then] An item called [Build & Publish] will appear at the bottom, so click it to start the build (upload), and after a while it will be in [Complete] status. In VRC, select [Avatar] → [Uploaded]. The uploaded avatar will be displayed there. Select it and use it! ★ That's it for the PC version!! ※ Quest The procedure is the same as for PC. It must be set to androidbuild. Select [File] in the upper left and click [buildsettings]. Switch [Platform] to android. If you are asked whether you agree, agree and proceed. (After installation) You will be able to switch the target platform to android. Switch [Platform] in buildsettings to android. There should be an item called (SwitchPlatform) there. All you have to do is launch VR Chat SDK in the top menu and open Contents Manager. [Find the avatar you uploaded in the "PC version"] and copy the ID. ------------------------- ★[If you think there may be a problem] (If the PC version avatar is still in the hierarchy, delete it from the hierarchy) (Select the PC version avatar. It is a good idea to uncheck the checkbox to the left of the name VR_Hamster_PC in the inspector) (The checkbox above is a checkbox that switches between enabling and disabling the object) *We recommend disabling all avatars except the one you want to upload. ------------------------- ★ Select the object in the hierarchy (the Quest prefab) Move the scroll bar in the Inspector to the bottom There you will find a script called Pipeline Manager. Paste the ID you copied earlier where it says Blueprint ID and press Attach. (You are now ready to upload an avatar with the same ID as your PC) Launch the VR Chat SDK from the top menu and Switch to the Builder