
lilToon Fur Grooming Tool EN
- ダウンロード商品¥ 0
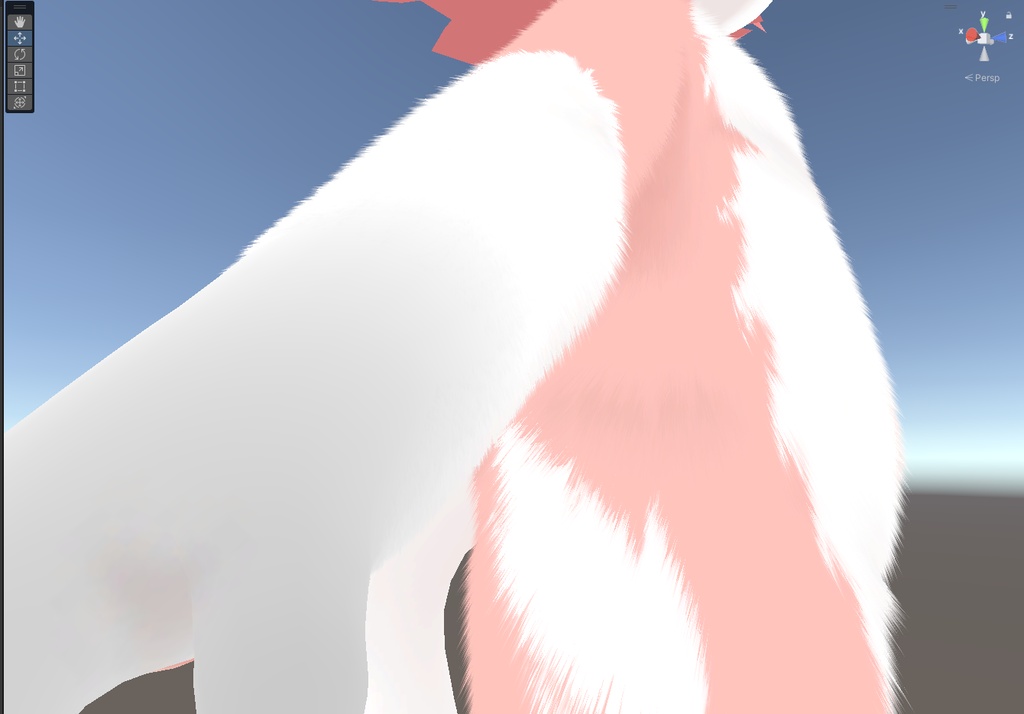
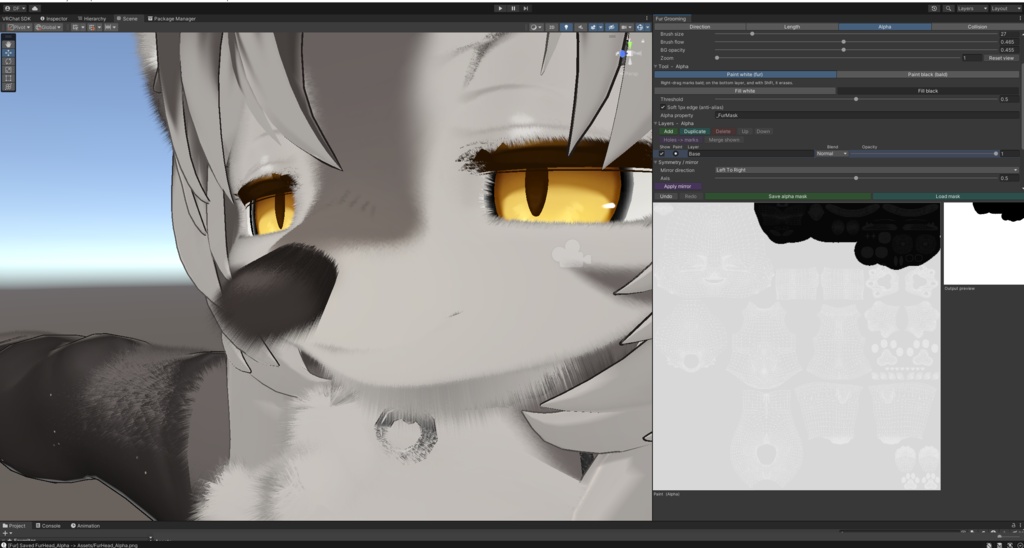
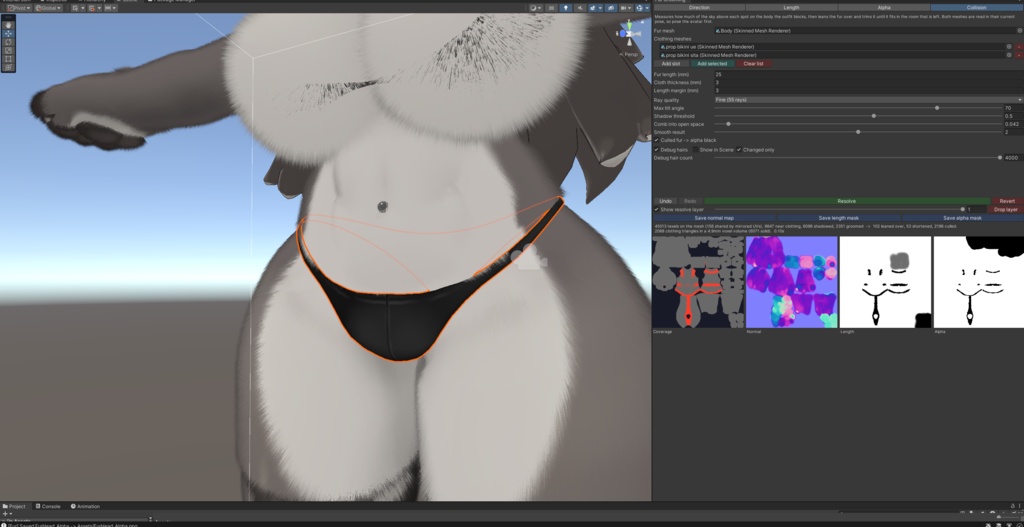
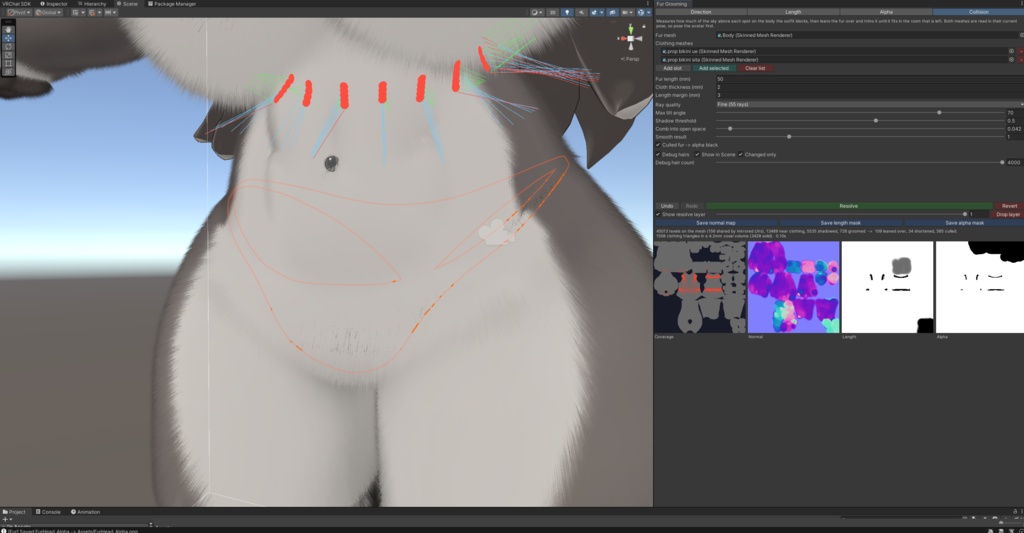
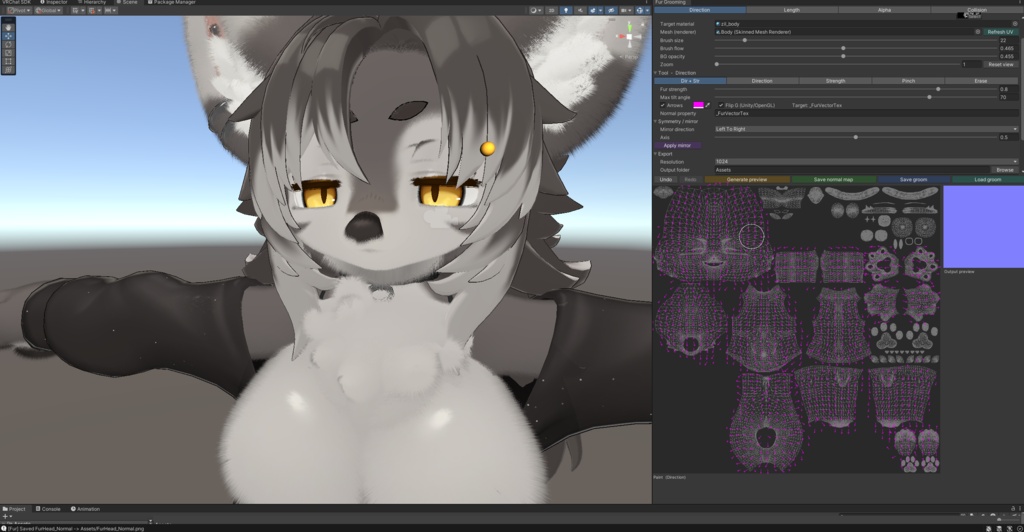
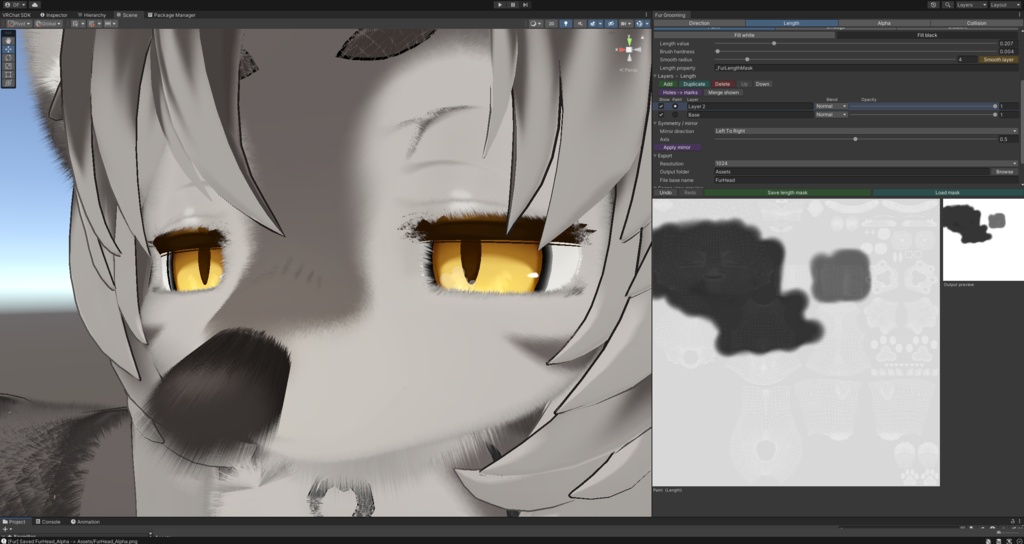


🦊 Fur Grooming Tool Paint your fur maps directly onto the UV layout — right inside Unity. An editor window for authoring liltoon fur textures without leaving Unity. Comb the flow, paint how long the fur grows, mask where it grows, and let the collision resolver keep it out of clothing — then export normal and mask textures that snap straight onto your material. No Blender round-trips, no Photoshop, no guesswork. Three painting modes plus a collision tab, paint layers on both masks, a live 3D preview on your model, symmetry, undo/redo, one-click export. Editor-only — it adds zero to your avatar's runtime. 🧭 Direction — fur flow (normal map) Drag across the UV to comb the fur; tilt strength and max-angle control how far it lies down. Pinch converges a tuft to a point for cowlicks and swirls, and Direction only / Strength only edit one channel without disturbing the other. A live arrow overlay shows the flow as you paint. 📏 Length — how long the fur grows (grayscale mask) Soft brush with adjustable hardness and flow build-up for natural falloff, Smudge to melt hard edges into gradients, and a Gradient tool for a clean root→tip ramp. Fill white / Fill black and a one-click Smooth layer. ⚫ Alpha — where fur grows (presence mask) Hard white / black brushes, Fill white / Fill black, and a Threshold with optional soft anti-aliased edge. For paw pads, claws, and fur poking through clothing. 🧥 Collision — fur that knows where the clothes are Assign the fur mesh, add the clothing renderers, press Resolve. Rather than testing whether each hair pierces a triangle, it measures the outfit's shadow on the body — how shadowed each texel is, how much headroom it has, and which way there is still room — then leans the fur over just far enough to fit, nudges it towards the open side, and caps its length. A continuous field, not a yes/no per hair, so it handles garments that clip into the body and gives smooth maps instead of speckle. Fast: the clothing is voxelized once, so a 20k-triangle garment against a full 256×256 field resolves in about 0.15s. Non-destructive: the result lands on its own layer in each mask — toggle it against your untouched groom, fade it, or drop it. Re-running rewrites that one layer and nothing else. A coverage map draws the outfit's shadow over your UV layout, beside previews of the three masks the resolver writes. Tunable: fur length, cloth thickness, length margin, ray quality, max tilt, shadow threshold, how hard to comb into open space, and smoothing. 🗂️ Paint layers (Length & Alpha) Both masks are small Photoshop-style stacks, so an idea can be tried and then kept or dropped without disturbing what's underneath. Add, duplicate, delete, reorder, rename; show/hide and opacity per layer; Normal, Min and Max blend modes. Painting goes to the selected layer only, and canvas, preview, export and the resolver all read the composite — what you see is what gets written. 🎥 See it on your model — live A marker shows where your brush is on the actual 3D mesh as you paint, lighting up every matching spot when UVs are mirrored or overlapping. The Scene camera follows smoothly, with optional align-to-surface-normal, distance and field-of-view controls. 🪞 Symmetry that actually works Paint one side, hit Apply mirror, done. Left↔right, top↔bottom or both, on an adjustable axis. For the direction map it flips the flow vectors across the axis, so mirrored fur points the right way — not just a copied image. 🗺️ UV straight from the mesh Drag your avatar's mesh in and the tool generates the UV wireframe as your paint background, from a direct mesh reference. No exporting UV snapshots from Blender. 🛠️ Built for real editing Undo / redo (Ctrl+Z, Ctrl+Y), per stroke and per operation Cursor-anchored zoom to 16× and middle-drag pan, for detail on tiny islands like toes Set an output folder and base name once — saving writes straight there, no dialog Load an existing grayscale mask back in to keep editing it Save / Load groom — store the whole session (direction field + both layer stacks) and resume later Exported maps auto-assign to your material, at 512–4096, with correct import settings 🧩 liltoon-ready (and shader-agnostic) Defaults target liltoon fur — _FurVectorTex, _FurLengthMask, _FurMask — and the main _BumpMap slot. Every property name is editable, so it works with other shaders too. ✅ Requirements Unity 2019.4+, any mesh with a UV0 map Editor-only — no runtime scripts, no performance cost on your avatar Install via VRChat Creator Companion or import the .unitypackage directly MIT licensed — use it on personal and commercial avatars.