【Live2Dアイテム版】動くアニメ調炎エフェクト
- Digital500 JPY
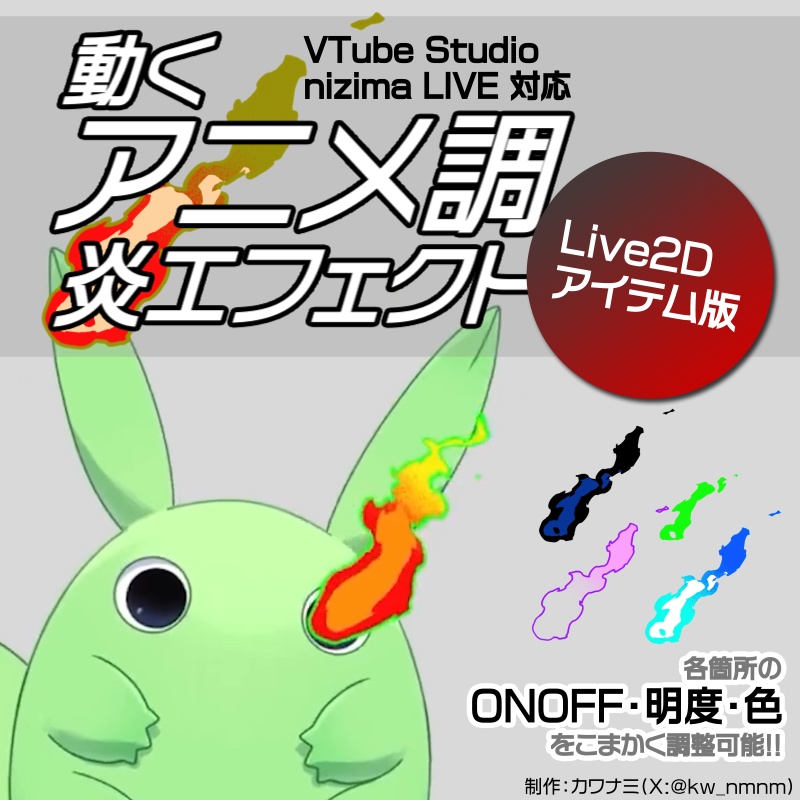

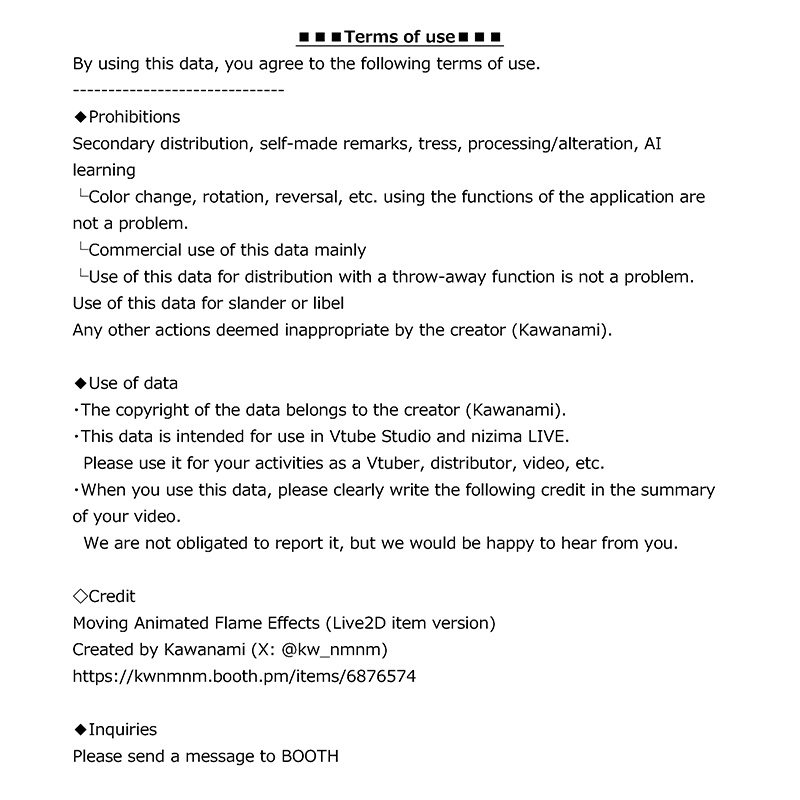


※※商品画像にある利用規約を必ずお読みください※※ **Please be sure to read the terms of use on the product image.** こちらのエフェクト素材をLive2Dアイテム化したものです🔥 https://kwnmnm.booth.pm/items/6812113 VTube Studio・nizima LIVEに対応しています。 組み合わせや色がカスタマイズ可能です。 詳細は同梱の「README」もしくは以下をご確認ください。 著作権は制作者(カワナミ)にあります。 データのご利用は自己責任でお願いいたします。 制作:カワナミ(X:@kw_nmnm)
【使い方/How to use】
炎エフェクトは ・ベースの炎(Fire) ・内部の小さい炎(Fire_S) ・グラデーション部分(Fire_Grad) ・ふちどり線(Fire_Line) の4個所に分かれています。 パラメータ操作で、各箇所の ・表示/非表示(ONOFF) ・明度(Tone) ・色(Color) の変更が可能です。 「DoNotTouchFromHereDown」より下のパラメータは編集しないでください。 VTube Studioでは右Shift+Aに全体の表示/非表示のキーバインドが初期設定されています。 nizima LIVEでは表情データ「AllONOFF.exp3.json」をご自身でキーバインドに設定すると全体の表示/非表示ができます。 The flame effect is divided into four parts: ・Base flame (Fire) ・Small flame inside (Fire_S) ・Gradient part (Fire_Grad) ・Edge line (Fire_Line). By manipulating the parameters, you can set each of these parts to ・ONOFF ・Tone ・Color can be changed. Do not edit parameters below “DoNotTouchFromHereDown”. In VTube Studio, right Shift+A is the default key binding to ON/OFF the whole. In nizima LIVE, you can set the expression data “AllONOFF.exp3.json” to your own key bindings to ON/OFF the whole.
【VTube Studioへの実装方法/How to implement in Vtube Studio】
①「Live2DModels」フォルダへ「Live2DFireByKawanami(@kw_nmnm)」フォルダをコピー&ペースト (フォルダの位置:<VTubeStudio.exeの場所>/VTube Studio_Data/StreamingAssets/Live2DModels) ②Live2Dモデルとして表示した後、表情ファイルエディターで「新規表情ファイルを作成」、パラメータを操作してお好みの見た目にする ③表情ファイルとして保存後、キーバインドに登録 ④登録完了後に「現在のモデルをLive2Dアイテムとしてロードする」でアイテム化 ⑤ご自身のモデルにアイテムとして配置後、キーバインドで見た目を適用 ※VTube Studioの色変更機能の使用はOKですが、仕様上手間がかかるのでオススメしません。 (1) Copy and paste the “Live2DFireByKawanami(@kw_nmnm)” folder into the “Live2DModels” folder. (Folder location: <Location of VTubeStudio.exe>/VTube Studio_Data/StreamingAssets/Live2DModels) (2) After displaying the model as a Live2D model, “Create a new expression file” in the Expression File Editor and manipulate the parameters to create the desired look. (3) Save the file as an expression file and register it to Key Bindings. (4) After registration is complete, make the model into an item by selecting “Load current model as Live2D item. (5) After placing the item on your model, apply the look using keybindings. * Using the color change function of VTube Studio is OK, but not recommended as it takes a while to get the specifications right.
【nizima LIVEへの実装方法/How to implement in nizima LIVE】
①「Items」フォルダへ「Live2DFireByKawanami(@kw_nmnm)」フォルダをコピー&ペースト (フォルダの位置:C:/Users/***/AppData/Roaming/Live2D/nizima LIVE/items) ②nizima LIVEを再起動し、アイテム一覧からアイテムを配置 ③アイテム操作パネルの「表情、モーション」の「モーションデータ読み込み」で「idle.motion3.json」を選択後、以下のように設定 ・モーションモード:Idle ・フェード設定:フェードイン 0ms / フェードアウト 0ms ④「表情、モーション」の「新規表情作成」で各種パラメータを「モード:上書き」で操作し、お好みの見た目にする ⑤表情ファイルとして保存後、同じ名前の項目をクリックして見た目を適用 (1) Copy and paste the “Live2DFireByKawanami(@kw_nmnm)” folder into the “Items” folder. (Folder location: C:/Users/***/AppData/Roaming/Live2D/nizima LIVE/items) (2)Restart nizima LIVE and place items from the item list. (3) Select “idle.motion3.json” in “Motion Data Import” of “Expression, Motion” in the item operation panel, and set as follows ・Motion mode: Idle ・Fade setting: Fade in 0ms / Fade out 0ms (4) Create a new facial expression in “Create New Facial Expression” under “Facial Expression, Motion” and set various parameters in “Mode: Overwrite” to create the desired look. (5) After saving the file as an expression file, click the item with the same name to apply the desired look.
【更新履歴】
2025.5.4 販売開始