
輪郭の光が動く逆光マテリアル / Moving backlight Material
- ダウンロード商品¥ 300
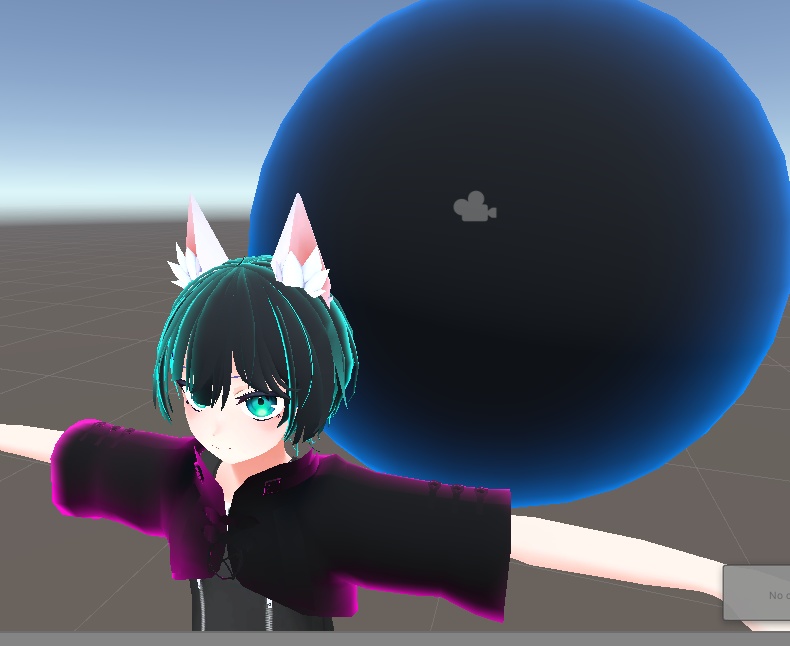
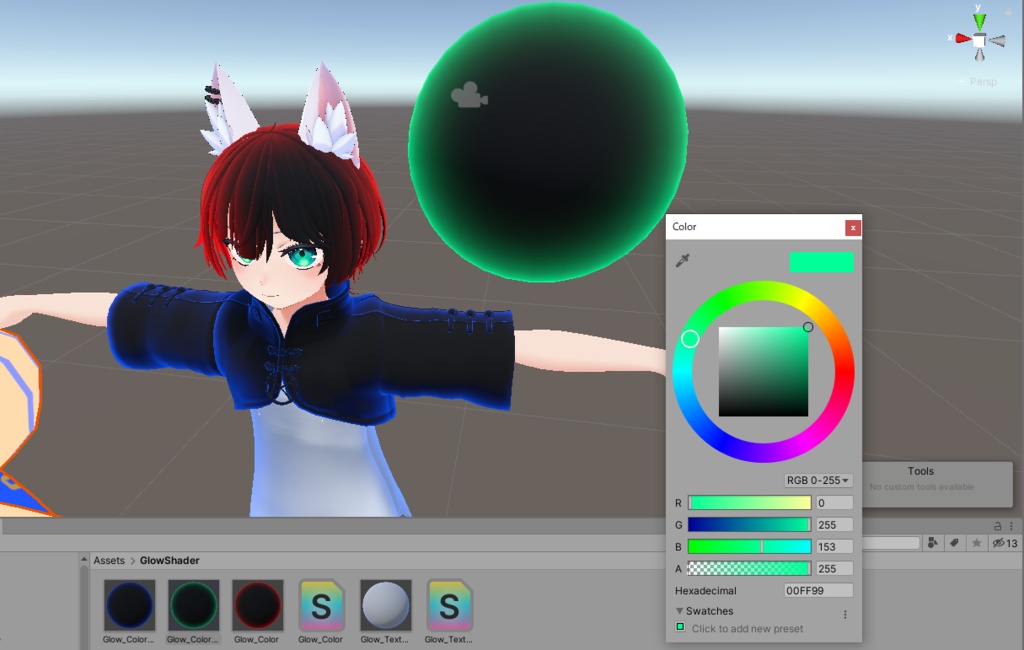
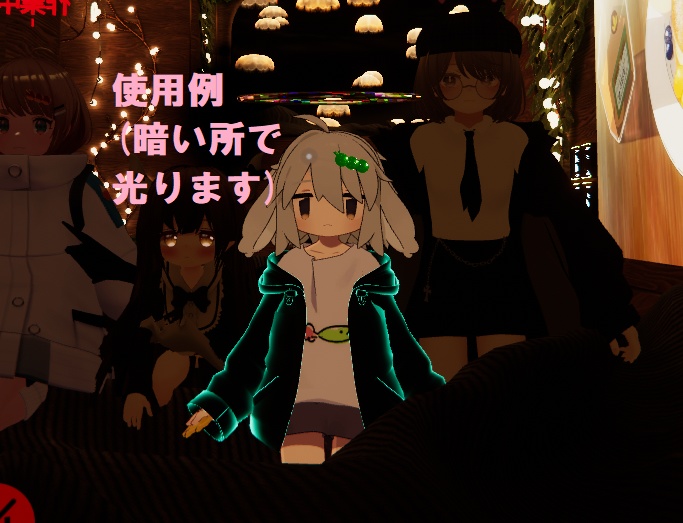
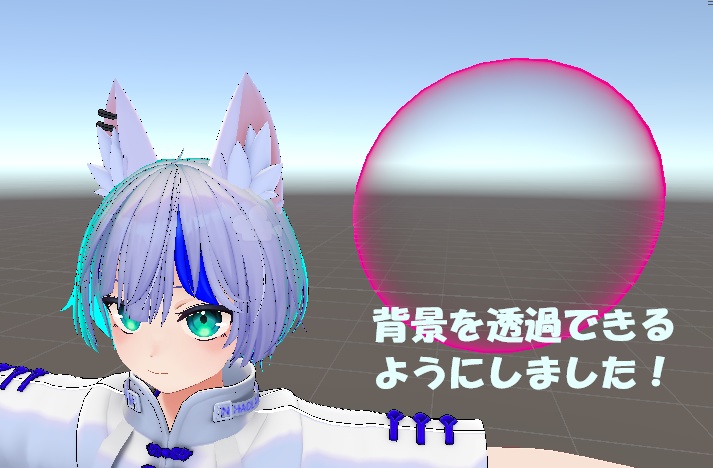


縁をぼやっと動かしながら光らせることのできるリムライトマテリアルです。 後光のようなエフェクトを演出できます。 ■2024/9/22 バージョンアップしました! 逆光マテリアルに背景透過バージョンを追加し、元のLiltoon等の設定を使用しつつ、アバターにぼやっと光る効果のみ追加できるようにしました!詳細な使い方は下の方に追記しています。 以下のことができます。 ・縁の光の色を変える ・縁の光の強さを変える ・ベースの色を変える ・発光周期の速度を変える ・既存のテクスチャーを使用しつつ、そのテクスチャーの縁を光らせる 使用方法は動画を閲覧ください。(動画で使用されるテクスチャー、アバターは同梱しておりません。) シェーダーを当てはめたマテリアルのInspectorタブより、色々と設定を変えることができます。 発光の強さはGlowNumの数値をいじることで、変更可能です。基本的にはBaseGlowNumと数字が近いほど、発光が弱く、数字が遠いほど発光が強くなります。 ■動画、紹介画像でお借りしたアバター ・ハオラン - かなリぁ https://booth.pm/ja/items/3818504 ・うささき - ©もち山金魚 https://booth.pm/ja/items/3550881 自前のテクスチャを使用したい場合は「Glow_Texture」を、テクスチャを使用する必要がない場合は「Glow_Color」のマテリアルをご活用ください。 ■背景を透過させる逆光シェーダーの使い方 以下の手順で、髪の毛等のぼやっと光る効果を追加したいオブジェクトに、本製品のマテリアルファイルを追加します。 ■マテリアルの追加方法1 1. Unity画面左側のヒエラルキータブから、髪の毛等のぼやっと光る効果を追加したいオブジェクトを選択 2. Unity画面右側のオブジェクトのInspectorタブから、「Materials」箇所にある「▶」ボタンを押してMaterialsの設定を開く 3. 「Materials」の欄の左側の数値を一つ増やす 4. 2の手順で開いた「Materials」の設定内で、Element(要素)が増えるので、増えた箇所の「Element」(一番大きい数字)の箇所に販売商品である「Glow_Transparent.mat」という背景が透過する逆光シェーダーが適応されたマテリアルをドラッグ&ドロップして追加する ■マテリアルの追加方法2(光らせたいオブジェクトに既に複数のマテリアルが適用されてる場合) 1. ヒエラルキータブより光らせたいオブジェクトを選択 2. 「Ctrl + D」でオブジェクトを複製 3. 複製したオブジェクトに販売商品である「Glow_Transparent.mat」をドラッグ&ドロップ 上記の手順でシェーダーが適応されたマテリアルをオブジェクトに追加し、「Glow_Transparent.mat」を画面下のProjectタブ内で選択することで、画面右側の「Inspector」タブから色合いや光り具合を調整することができます。 ■注意点 本製品は3Dオブジェクトでの使用を想定しております。 また、ほとんどの3Dオブジェクトに使用できましたが、紹介動画での検証だと、丸みを帯びているオブジェクトには使用できましたが、四角形のオブジェクトに当てはめると、周囲ではなく全面が光りました。そのため、角ばっている形状の場合は縁が光らない点について、ご了承ください。 ■利用規約 ・本製品または本製品を改変したものを、二次配布・販売する行為を禁止します ・本製品または本製品を改変したものを、取り出し可能な状態で他商品へ同梱する行為を禁止します ■連絡先 Twitter: @udonnnnnnnnnn https://twitter.com/udonnnnnnnnnn -- ■English explanation (Almost DeepL translated) This is a rim light shader that can be used to make the edges of the light glow with a blurred motion. It can create an effect as if light is circling around from behind. 2024/9/22 Version update! Added a transparent background version to the backlighting shader, allowing only a rim light effect to be added to avatars while still using the original Liltoon and other shaders! Detailed instructions for use are below. ・You can do the following Change the color of the edge light Change the intensity of the light at the edges Change the color of the base Change the speed of the emission cycle. Use an existing texture and make the edges of that texture glow. Please refer to the video for instructions. (Textures and avatars used in the video are not included.) The Inspector tab of the material to which the shader is applied allows you to change various settings. The intensity of the glow can be changed by adjusting the GlowNum value. Basically, the closer the number is to BaseGlowNum, the weaker the glow will be, and the farther away the number is, the stronger the glow will be. If you want to use your own textures, please use "Glow_Texture". If you do not need to use textures, please use "Glow_Color" shader/material. ■How to use the backlight shader to make the background transparent Follow the steps below to add a material file with this shader applied to an object to which you want to add a blurry shining effect, such as hair. ■How to add a material 1 1) From the Hierarchy tab on the left side of the Unity screen, select the object to which you want to add a blur shading effect such as hair. 2) Select the object on the right side of the Unity screen. 2) From the Inspector tab of the object on the right side of the Unity screen, press the “▶” button in the “Materials” section to open the Materials settings. 3) In the “Materials” section, press the “▶” button to open the Materials settings. 3) Increase the value on the left side of the “Materials” column by one. 4. in the “Materials” setting opened in step 2, the number of Elements will increase, and add a material called “Glow_Transparent.mat” (a material with a transparent backlight shader applied) to the “Element” (the largest number) in the increased area. Drag and drop the “Glow_Transparent.mat” material with a transparent background and backlight shader applied to it. ■How to add a material 2 (when multiple materials have already been applied to the object to be illuminated) 1) Select the object to be illuminated from the Hierarchy tab. 2) Duplicate the object by pressing Ctrl + D. 3) Sell the duplicated object. Drag and drop the “Glow_Transparent.mat” onto the duplicated object. After adding the shader-adapted material to the object according to the above procedure, select “Glow_Transparent.mat” in the Project tab at the bottom of the screen to adjust the hue and glow from the Inspector tab on the right side of the screen. Once the shader-adapted material is added to the object as described above, you can select "Glow_Transparent.mat" in the "Project" tab at the bottom of the screen to adjust the hue and glow from the "Inspector" tab on the right side of the screen, The "Glow_Transparent.mat". ■Notes This shader is intended for use on 3D objects. In addition, although the shader could be used on most 3D objects, the video verification showed that it could be used on rounded objects, but when applied to a rectangular object, the entire surface, not just the perimeter, glowed. Therefore, please note that the edges do not glow when applied to angular shapes. ■Terms of use ・Secondary distribution or sale of this product or modified versions of this product is prohibited. ・Secondary distribution or sale of this product or any modified versions of it as part of another product in a removable form is prohibited.