
- ワールドギミック版ダウンロード商品¥ 500
- アバター組込み (ModularAvatar) 版ダウンロード商品¥ 500
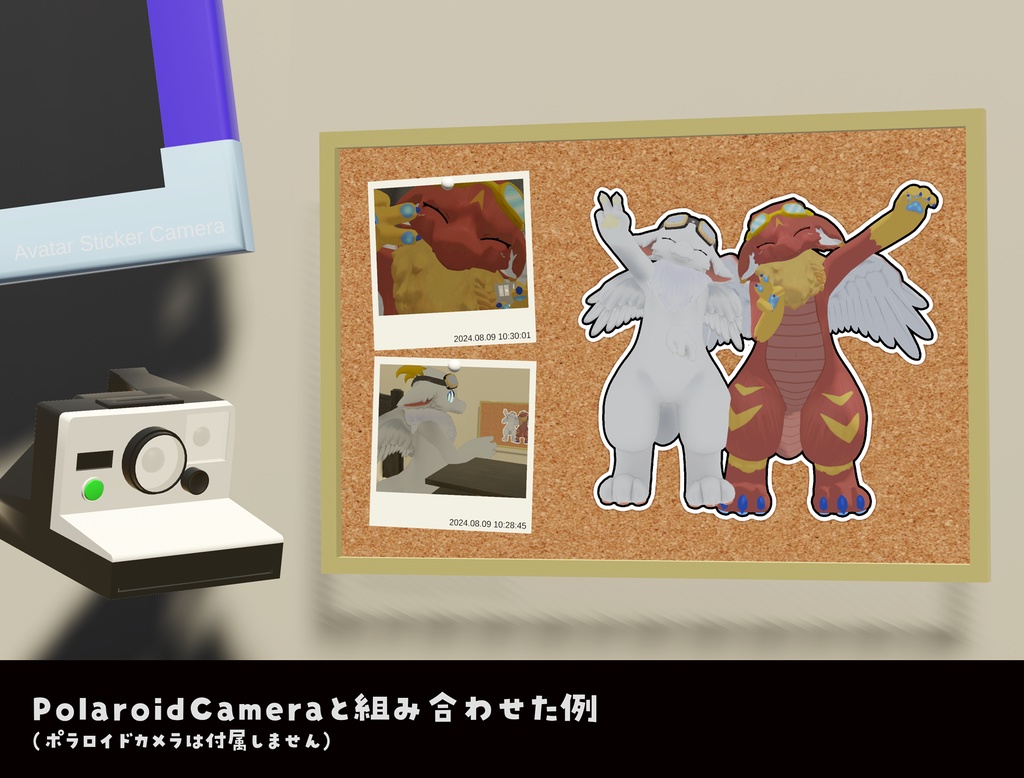
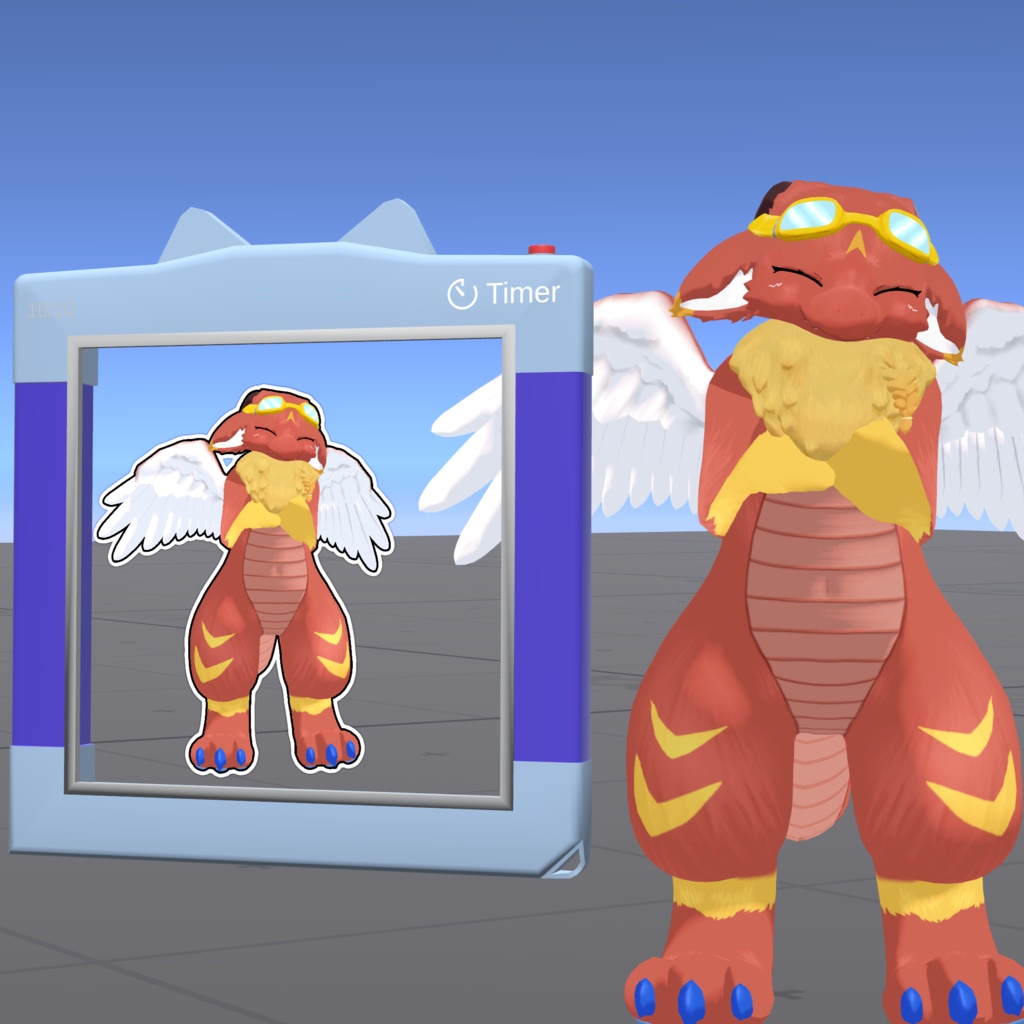
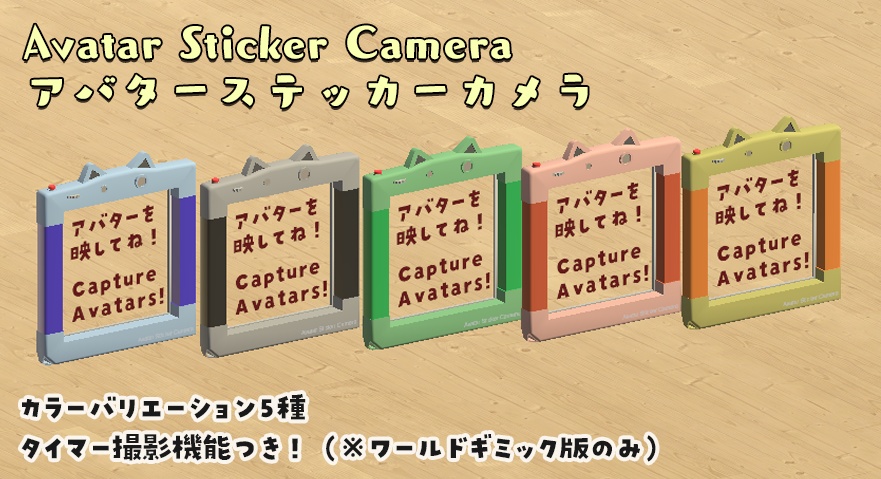
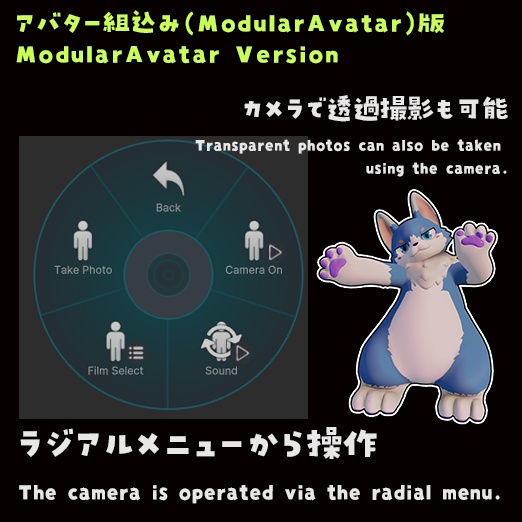


Avatar sticker camera for VRChat. VRChat向けのアバターステッカーカメラです。 The world gimmick version is compatible with both PC/VR and Quest, while the ModularAvatar version supports PC/VR only. ワールドギミック版はPC/VRとQuestに、アバター組込み(ModularAvatar)版はPC/VRに対応しています。 --- 本アセットはVRChatでの利用を想定して作られたアバターステッカーカメラのアセットです。 アバターをステッカー風に撮影することができ、その場で現像されてみんなと共有できます。 細いものなどはうまく表示されないケースがあります。 不具合報告やご要望については、ご連絡をいただけましたら対応できる範囲で対応させていただきます。 本アセットの利用に関しては、一切の保証はございません。自己責任でご利用をお願いいたします。 This asset is an avatar sticker camera asset designed for use in VRChat. It allows you to take sticker-style photos of avatars, which can be instantly developed and shared with everyone. Some thin objects may not display properly in some cases. If you report any issues or make requests, I will address them within my capabilities. There are no warranties for the use of this asset. Please use it at your own risk. --- ワールドギミック版とアバター組込み版の機能の違いは以下のとおりです。 - アバター組込み版は、カメラをステッカーに近づけると透過撮影できます。 - アバター組込み版は、撮影枚数を変更できません。 - アバター組込み版は、タイマー撮影機能がありません。 - いずれのバージョンも、ワールドに後から来た人には写真が見えません。 The functional differences between the world gimmick version and the avatar version are as follows: - In the ModularAvatar version, photos can be taken with transparency when the camera is brought close to the sticker. - In the ModularAvatar version, the maximum number of photos cannot be changed. - The ModularAvatar version does not support timer shooting. - In both versions, photos are not visible to players who join the world later.
同梱物 (Files)
● ワールドギミック版 (World Gimmick Version) ・ AvatarStickerCamera.unitypackage: アバターステッカーカメラ本体のアセットファイル (Avatar sticker camera asset file) ・ readme.txt: 説明書 (Documentation) ● アバター組込み版 (ModularAvatar Version) ・ AvatarStickerCameraMA.unitypackage: アバターステッカーカメラ本体のアセットファイル (Avatar sticker camera asset file) ・ readme.txt: 説明書 (Documentation)
概要 (Summary)
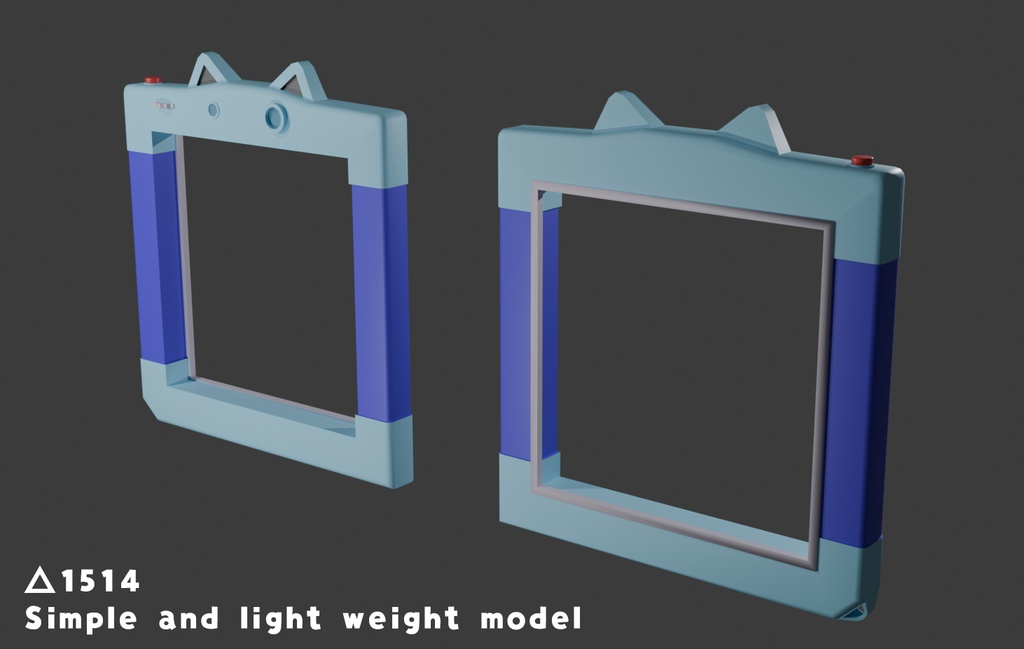
● 概要 (Summary) ・ モデルは△1514 ・ マテリアルが複数に分かれています。 - The model consists of 1514 triangles - Multiple materials are used.
導入方法 (Installation)
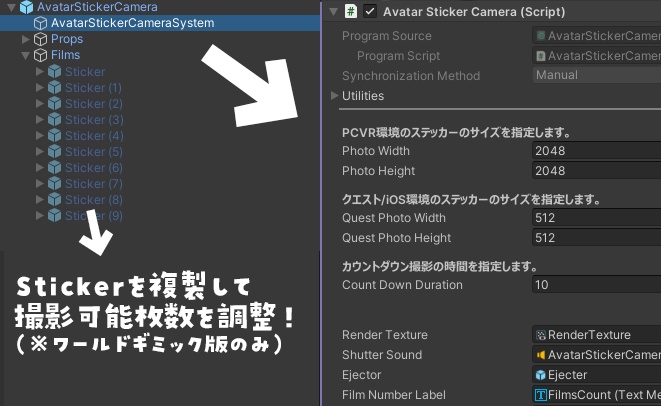
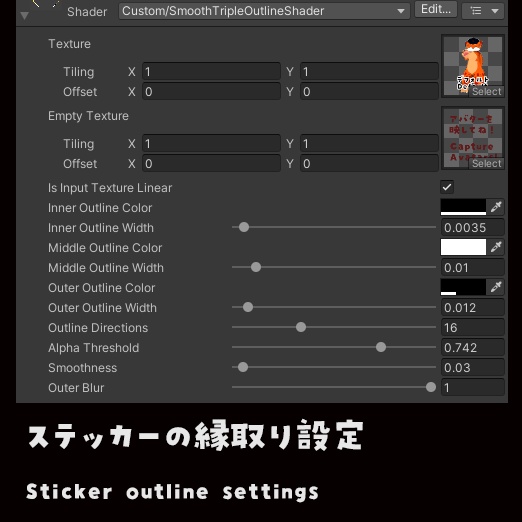
● ワールドギミック版 (World Gimmick Version) 1. AvatarStickerCamera.unitypackageをプロジェクトにインポートしてください。 2. AvatarStickerCameraディレクトリ以下にあるAvatarStickerCameraまたは AvatarStickerCamera+(色名)をヒエラルキーにドラッグアンドドロップして設置してください。 ※ 1つのワールドに1つまで設置できます。複数設置する場合、 RenderTextureを適宜複製して設定する必要があります。 3. 位置やサイズを調整してください。 4. AvatarStickerCamera/AvatarStickerCameraSystemを選んで、必要な設定をインスペクタで 行ってください。以下の設定が可能です。 ・ PhotoWidth/PhotoHeight: 2048x2048がおすすめです。ただし、 大きいサイズにするほど描画負荷が高くなります。 5. 色やステッカーの縁取り具合などは AvatarStickerCamera/Materials/Sticker のパラメータを 編集してください。 6. 最大撮影枚数は AvatarStickerCamera/Films 内のStickerの数になります。 枚数を増やしたい場合は複製して増やしてください。 1. Import AvatarStickerCamera.unitypackage into your project. 2. Drag and drop AvatarStickerCamera or AvatarStickerCamera+(color name) from the AvatarStickerCamera directory into your hierarchy to place it. Note: You can place only one per world. If you want to place multiple cameras, you need to duplicate and configure the RenderTexture accordingly. 3. Adjust the position and size as needed. 4. Select AvatarStickerCamera/AvatarStickerCameraSystem and configure the necessary settings in the inspector. The following settings are available: - PhotoWidth/PhotoHeight: 2048x2048 is recommended. However, larger sizes will increase the rendering load. 5. To adjust the color and sticker outline appearance, edit the parameters of AvatarStickerCamera/Materials/Sticker. 6. The maximum number of photos that can be taken is determined by the number of Sticker objects in AvatarStickerCamera/Films. If you want to increase the number of photos, please duplicate and add more Sticker objects. ● アバター組込み版 (ModularAvatar Version) 1. AvatarStickerCameraMA.unitypackageをアバタープロジェクトにインポートしてください。 2. AvatarStickerCameraMAディレクトリ以下にあるAvatarStickerCameraMAまたは AvatarStickerCamera+(色名)+_MAをヒエラルキーのアバター以下にドラッグアンドドロップしてください。 3. 位置やサイズを調整してください。詳細な手順はReadmeを参照してください。 4. AvatarStickerCameraMA/AvatarVersion/RenderTextures内のテクスチャを選んで、必要な設定をインスペクタで 行ってください。以下の設定が可能です。 ・ Size: 2048 x 2048 がおすすめです。ただし、 大きいサイズにするほど描画負荷が高くなります。 5. 色やステッカーの縁取り具合などは AvatarStickerCameraMA/Materialsや AvatarStickerCameraMA/AvatarVersion/Materials のパラメータを編集してください。 6. 最大撮影枚数は5枚です。 1. Import AvatarStickerCameraMA.unitypackage into your avatar project. 2. From the AvatarStickerCameraMA directory, drag and drop either AvatarStickerCameraMA or AvatarStickerCamera+(ColorName)_MA into your avatar in the Hierarchy. 3. Adjust the position and scale as needed. Detailed instructions are provided in readme.txt. 4. Select the RenderTexture located in AvatarStickerCameraMA/AvatarVersion/RenderTextures, and configure the required settings in the Inspector. The following setting is available: Size: 2048 × 2048 is recommended. Note that larger sizes will increase rendering load. 5. To adjust colors and sticker outline appearance, edit the parameters in AvatarStickerCameraMA/Materials or AvatarStickerCameraMA/AvatarVersion/Materials. 6. The maximum number of photos that can be taken is 5.
利用規約 (Terms of Use)
モデルやアセットファイル(以下、本アセット)自体をコンテンツ・商品としての再配布や販売等は許可しておりません。 ・本アセットに含まれるファイルの著作権は、それぞれのファイルの著作権者に帰属します。 ・本アセットの改造や改変を許可します。 ・本アセットの個人利用および商用利用に制限はありません。 ・本アセットの使用による如何なるトラブルや損害に対して制作者いるかさんは一切の責任を負いません。 Redistribution or sale of the model or asset files (hereinafter referred to as "this asset") as content or products is not permitted. - The copyright of the files included in this asset belongs to their respective copyright holders. - Modification and alteration of this asset are allowed. - There are no restrictions on personal or commercial use of this asset. - The creator iruca3 assumes no responsibility for any trouble or damage caused by the use of this asset.
更新履歴 (Updates)
● アバター組込み版 (ModularAvatar Version) 2025.12.16 v1.0.0 - リリース (Initial release) ● ワールドギミック版 (World Gimmick Version) 2024.10.19 v1.1.0 - コライダーに張り付く機能を追加 (Add a feature to stick to colliders) - ステッカーの領域をはみ出る部分が反対側に表示される不具合を修正 (Fixed a bug where parts of the sticker area would be displayed on the opposite side) 2024.08.08 v1.0.0 - リリース (Initial release)
ライセンス (License)
・ シャッター音(Shutter sound): OtoLogic (CC BY 4.0)
連絡先 (Contact)
・ https://twitter.com/dolphin_op ・ https://dog.booth.pm