
シェイプおそろい - 体型のBlendShapeを服にも作る【JA,EN,KO】
- Digital700 JPY
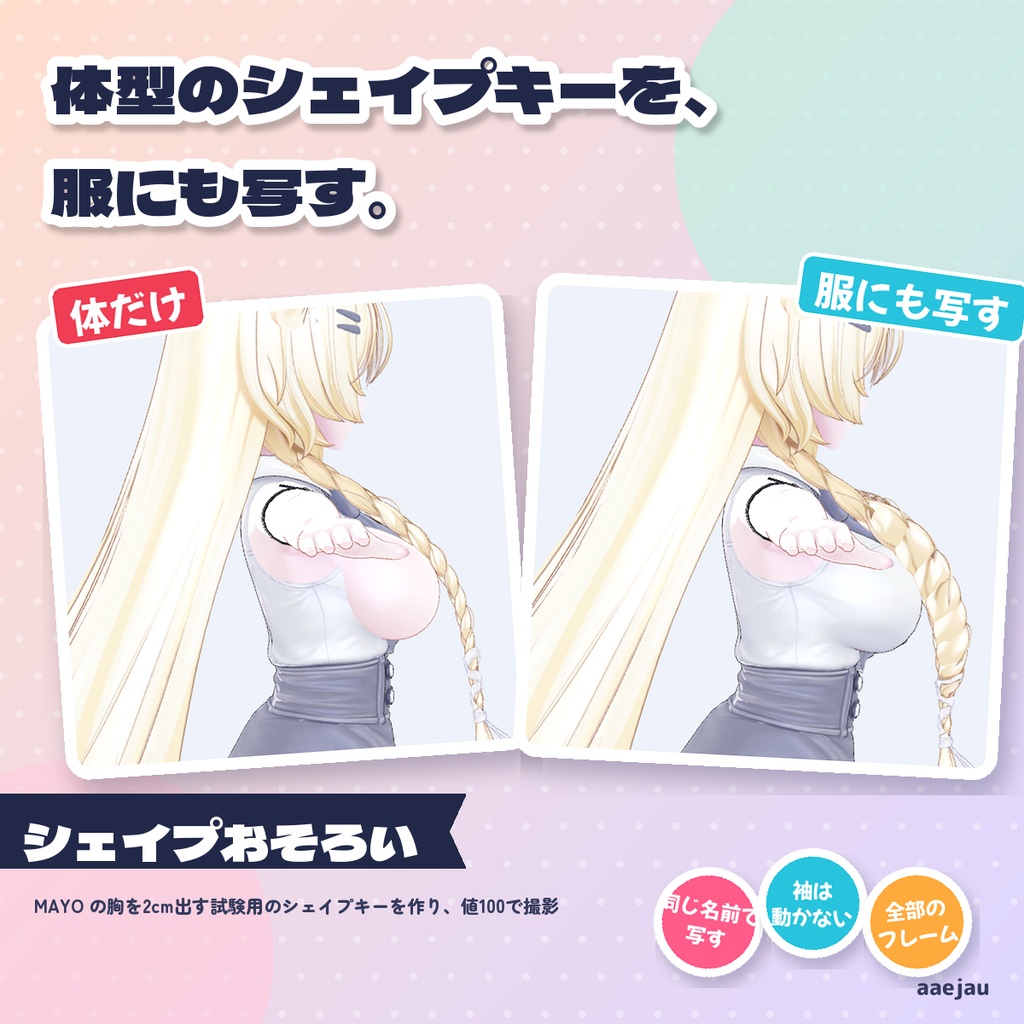
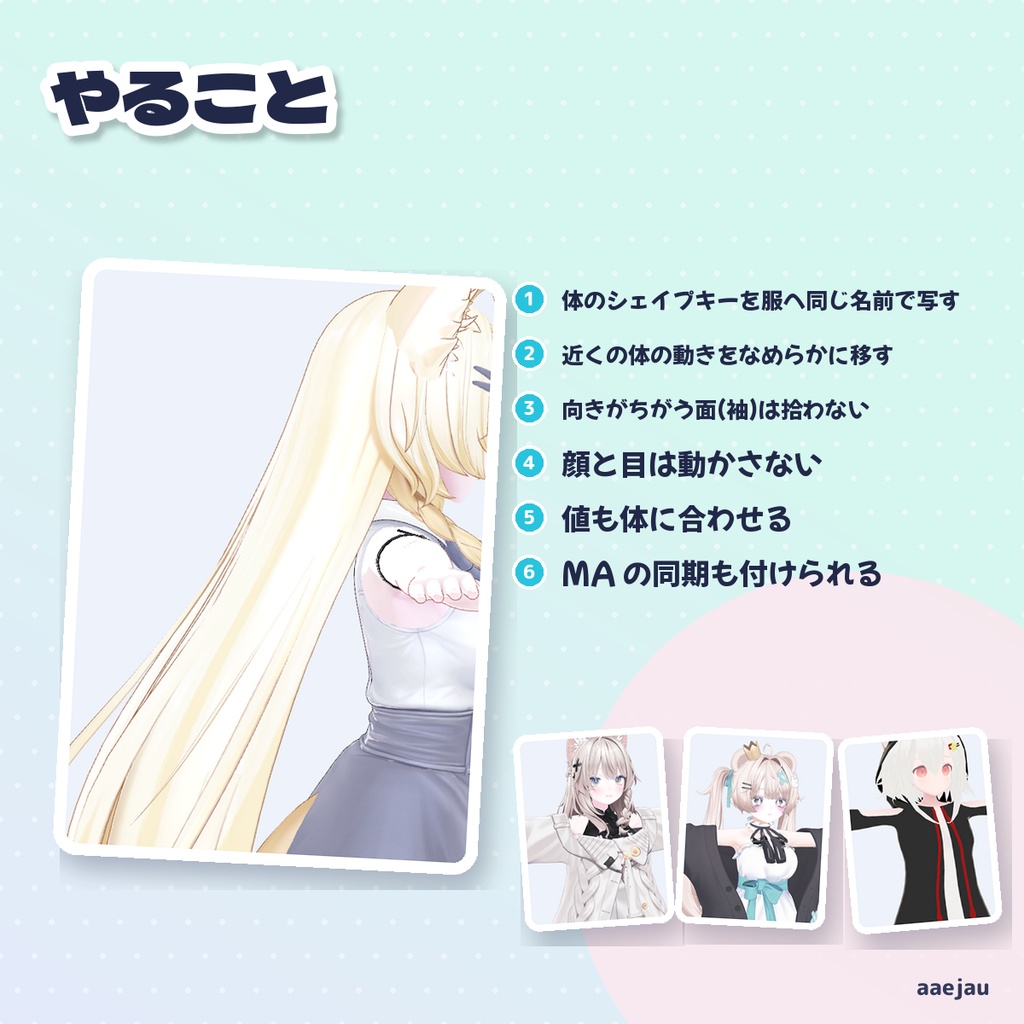
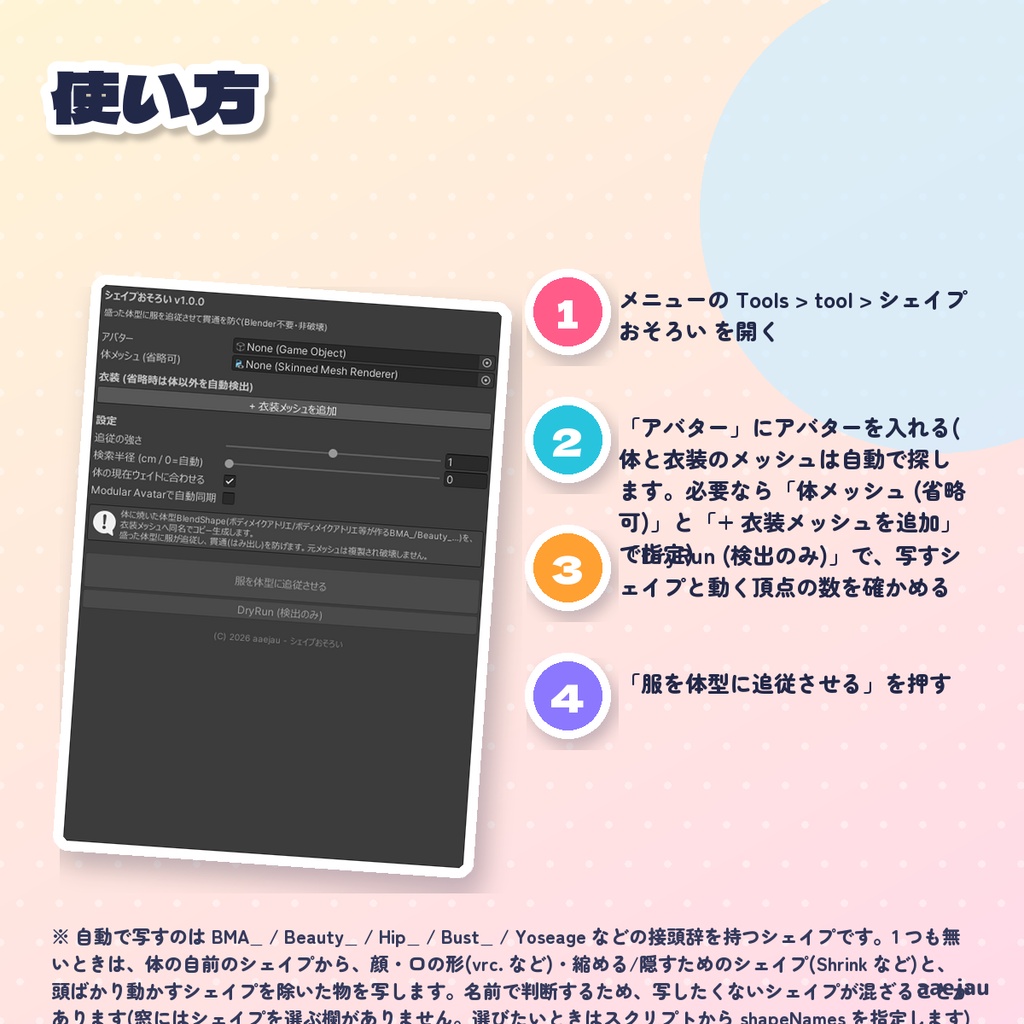
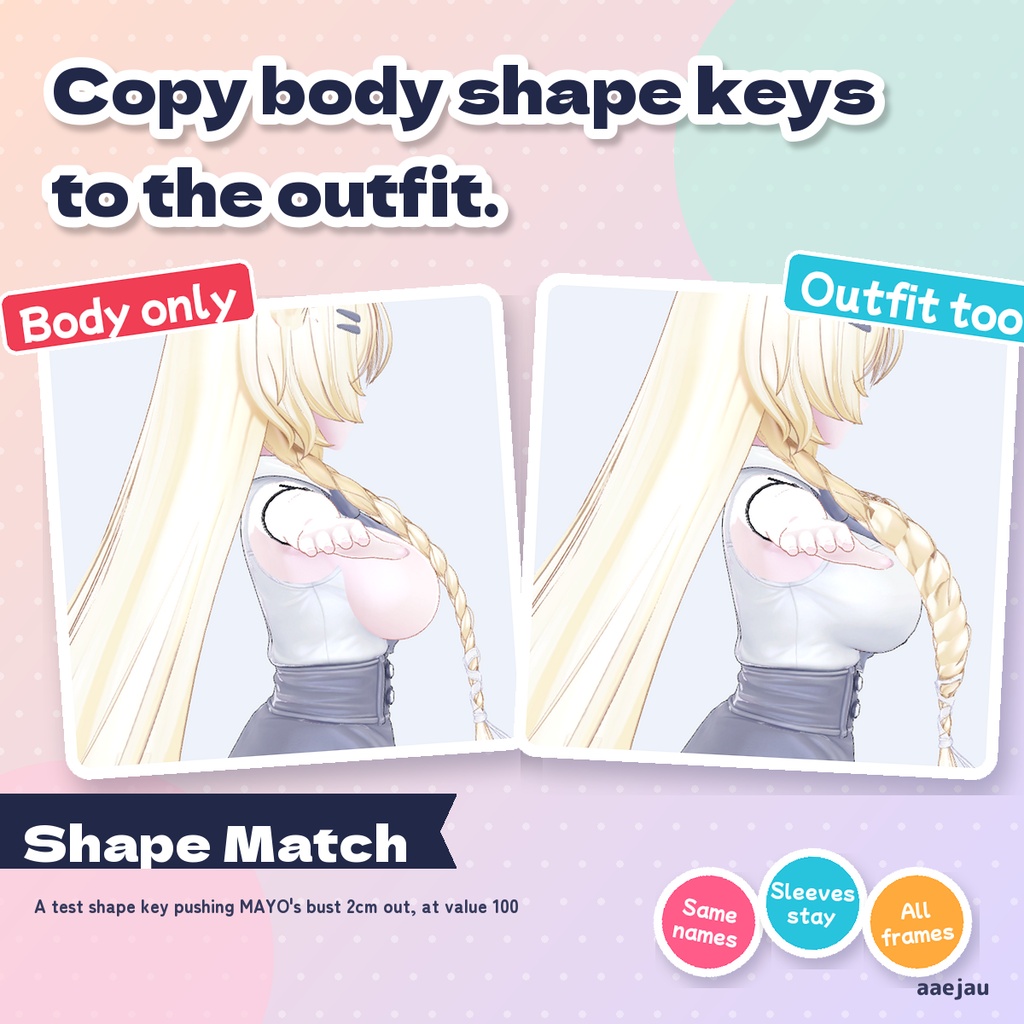
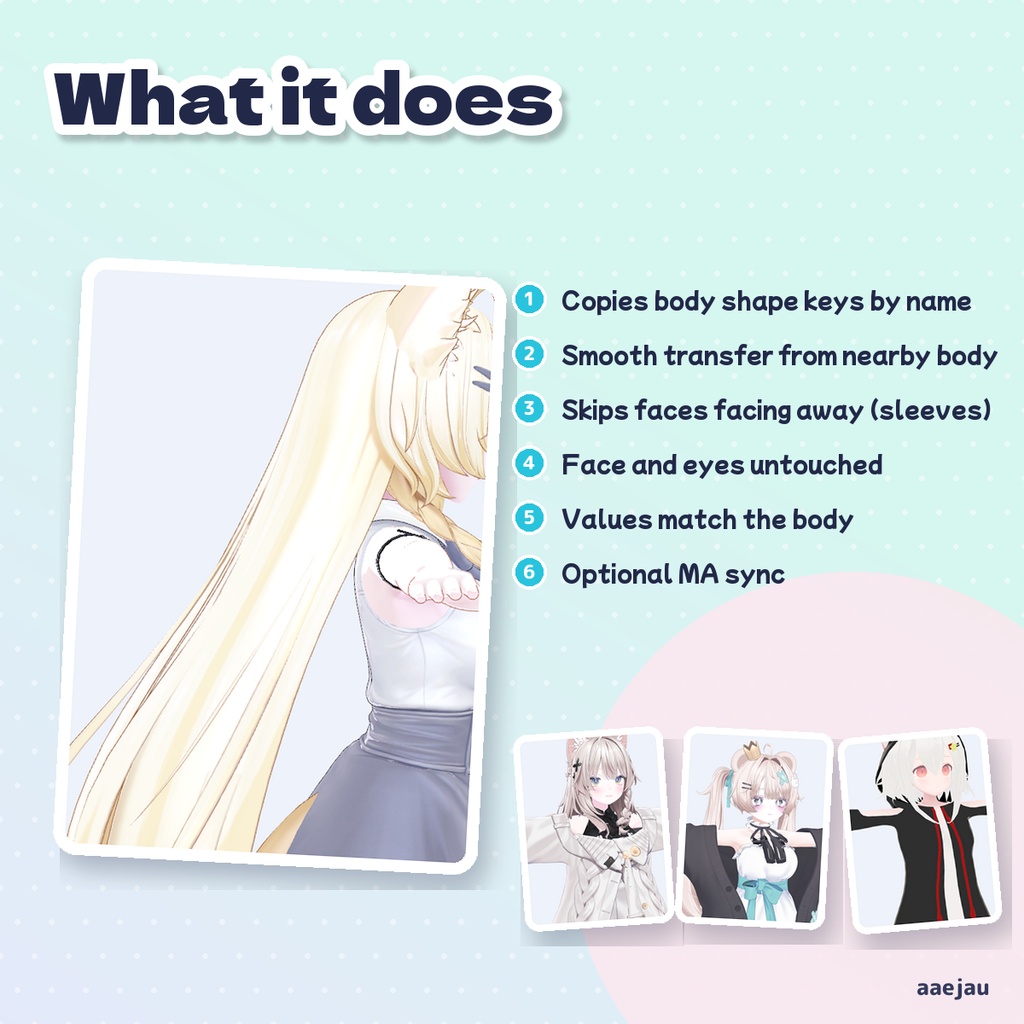
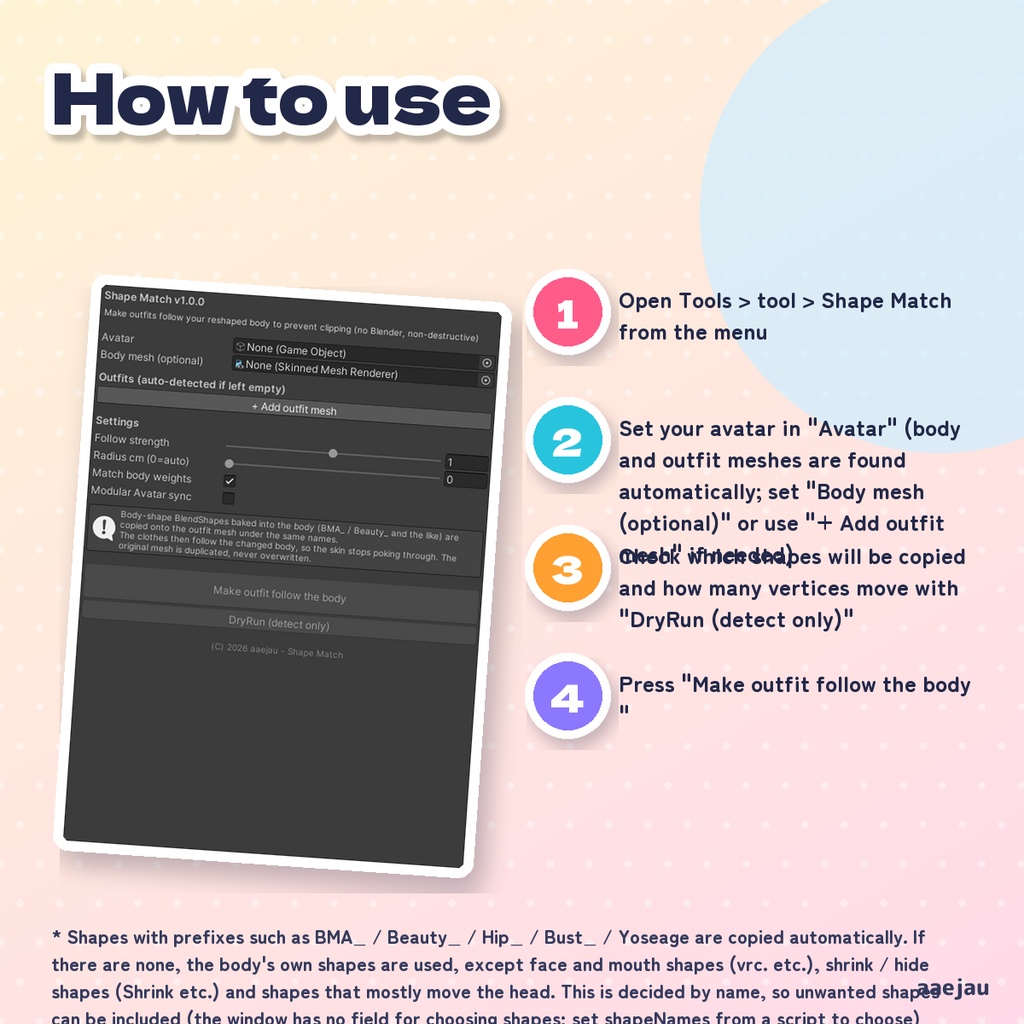
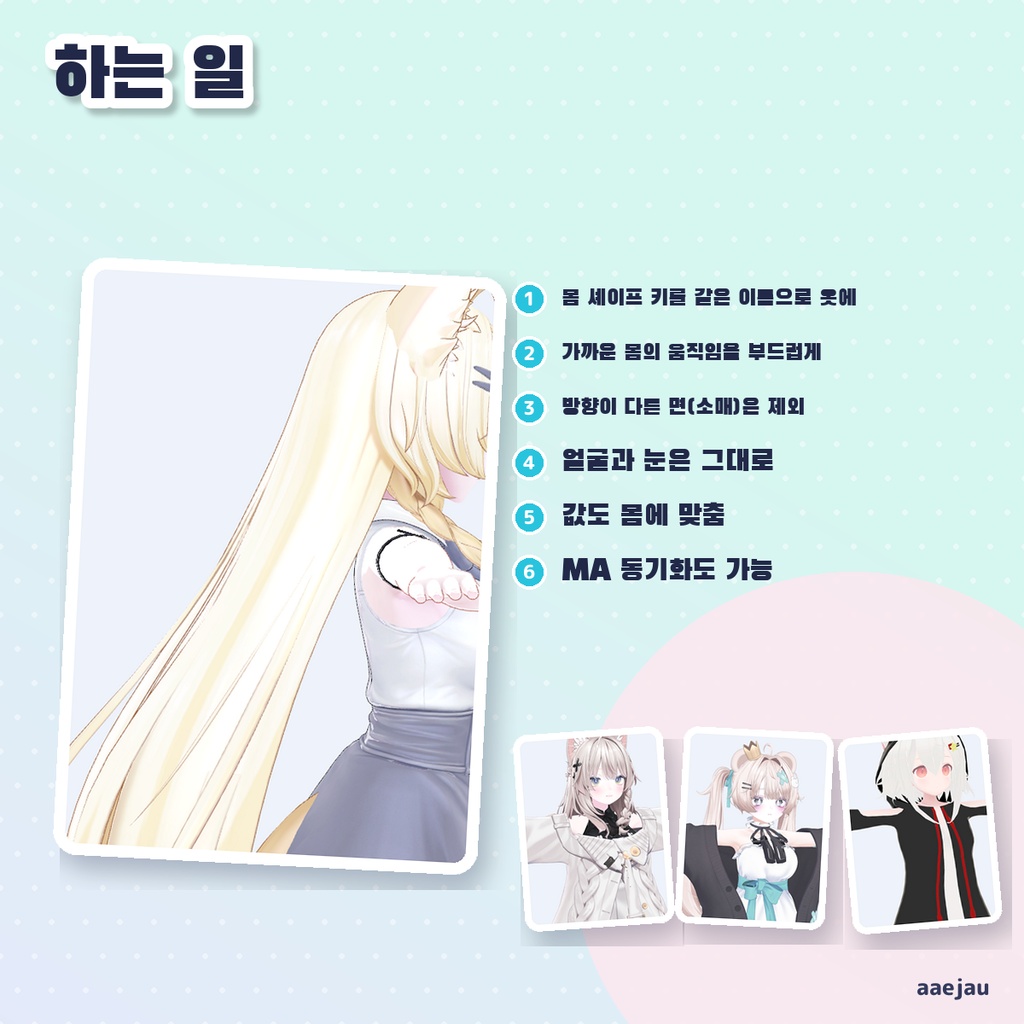
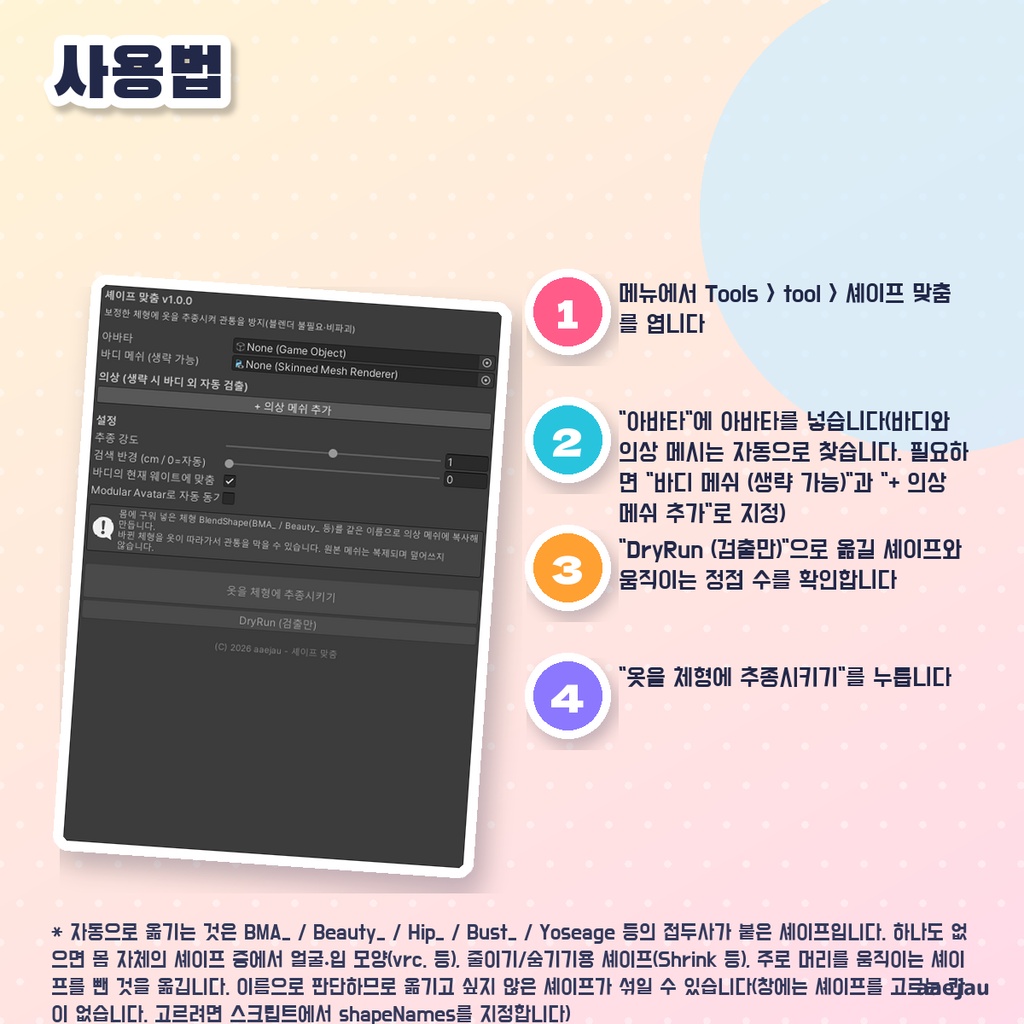


「体型を変えるシェイプキーを入れたら、服が付いてこない。」 Blenderは使いません。Unityの中だけで終わります。 体に入っている体型の BlendShape を、衣装と髪のメッシュへ同じ名前で作り直します。体と衣装の頂点は骨で動かした後の位置(置いたままの姿勢)で比べ、衣装の各頂点は、面の向きが合う近くの体の頂点の動きをなめらかに平均して受け取ります。胸の横にある袖は腕の面に付くので、胸の動きを拾いません。フレームが複数あるシェイプは全フレームを写し、衣装の値は体の今の値に合わせます。元のメッシュは複製してから書き込みます。 ◆ 使い方 1. メニューの Tools > tool > シェイプおそろい を開く 2. 「アバター」にアバターを入れる(体と衣装のメッシュは自動で探します。必要なら「体メッシュ (省略可)」と「+ 衣装メッシュを追加」で指定) 3. 「DryRun (検出のみ)」で、写すシェイプと動く頂点の数を確かめる 4. 「服を体型に追従させる」を押す 5. 追従が足りない・強すぎるときは「追従の強さ」、体から離れた服も動かしたいときは「検索半径」を上げる ◆ 必要環境 ・Unity 2022.3 ・体型の BlendShape を持つ体メッシュと、SkinnedMeshRenderer の衣装 ・Modular Avatar(任意。自動同期を使う場合) ※ 自動で写すのは BMA_ / Beauty_ / Hip_ / Bust_ / Yoseage などの接頭辞を持つシェイプです。1 つも無いときは、体の自前のシェイプから、顔・口の形(vrc. など)・縮める/隠すためのシェイプ(Shrink など)と、頭ばかり動かすシェイプを除いた物を写します。名前で判断するため、写したくないシェイプが混ざることがあります(窓にはシェイプを選ぶ欄がありません。選びたいときはスクリプトから shapeNames を指定します) ※ 顔のメッシュ(vrc. のシェイプを持つ物)・目・歯・舌は自動の対象にしません。髪は体の近くの部分だけが動きます ※ 服の面の向き(法線)で相手の体の面を選ぶので、裏返った面・法線の無いメッシュ・薄い板の髪では合わないことがあります ※ 服ごとに新しいメッシュのアセットを Assets/AaejauGenerated/ShapeOsoroi に作ります。かけ直すたびに増えるので、要らない物は手で消してください ※ アバターを置いたままの姿勢(T ポーズ / A ポーズ)で実行してください ※ 体の胸を2cm外へ出す試験用のシェイプキーを作って写しました。服の外へ出た体の頂点は しなの 1,197→121・MAYO 1,744→207・ミルフィ 1,833→321 に減り、袖はほとんど動きませんでした(最大 2.5mm) ※ 胸の前に垂れるリボンなど細い飾りは、体の動きを受けて形が乱れることがあります(ミルフィの首のリボン)。気になるときは、その服を対象から外してください 内容物: unitypackage / README / CHANGELOG / TEST_REPORT / LICENSE / 画面のスクリーンショット ━━━━━━━━━━━━━━━━━━━━ English ━━━━━━━━━━━━━━━━━━━━ Recreates the body-shape BlendShapes on your body as same-named BlendShapes on outfit and hair meshes. Body and outfit vertices are compared at their bone-driven positions (the pose the avatar is placed in), and each outfit vertex takes a smooth average of the movement of nearby body vertices whose surface faces the same way. A sleeve next to the chest sits on the arm, so it does not pick up the chest movement. Shapes with several frames are copied frame by frame, and the outfit values are set to the body's current values. The original meshes are duplicated before anything is written. ◆ How to use 1. Open Tools > tool > Shape Match from the menu 2. Set your avatar in "Avatar" (body and outfit meshes are found automatically; set "Body mesh (optional)" or use "+ Add outfit mesh" if needed) 3. Check which shapes will be copied and how many vertices move with "DryRun (detect only)" 4. Press "Make outfit follow the body" 5. Adjust how closely it follows with "Follow strength"; raise "Radius cm" to move clothing that sits further from the body ◆ Requirements ・Unity 2022.3 ・A body mesh with body-shape BlendShapes and outfits that use SkinnedMeshRenderer ・Modular Avatar (optional, for automatic sync) * Shapes with prefixes such as BMA_ / Beauty_ / Hip_ / Bust_ / Yoseage are copied automatically. If there are none, the body's own shapes are used, except face and mouth shapes (vrc. etc.), shrink / hide shapes (Shrink etc.) and shapes that mostly move the head. This is decided by name, so unwanted shapes can be included (the window has no field for choosing shapes; set shapeNames from a script to choose) * The face mesh (the one with vrc. shapes), eyes, teeth and tongue are never picked automatically. Only the parts of the hair near the body move * The matching body surface is chosen by the direction of the outfit surface (normals), so flipped faces, meshes without normals and thin hair cards may not match well * A new mesh asset is made for each outfit in Assets/AaejauGenerated/ShapeOsoroi. They pile up each time you run it, so delete the ones you no longer need * Run it with the avatar in the pose it was placed in (T pose / A pose) * Tested by making a shape key that pushes the bust 2cm out and copying it: body vertices outside the outfit dropped Shinano 1,197→121, MAYO 1,744→207, Milfy 1,833→321, and sleeves barely moved (max 2.5mm) * Thin decorations hanging in front of the chest, such as ribbons, can get messy from the body movement (Milfy's neck ribbon). Remove that outfit from the targets if it bothers you Contents: unitypackage / README / CHANGELOG / TEST_REPORT / LICENSE / screenshot ━━━━━━━━━━━━━━━━━━━━ 한국어 ━━━━━━━━━━━━━━━━━━━━ 몸에 들어 있는 체형 BlendShape를 의상과 머리카락 메시에 같은 이름으로 다시 만듭니다. 몸과 의상의 정점은 본으로 움직인 뒤의 위치(놓아 둔 자세)로 비교하고, 의상의 각 정점은 면의 방향이 맞는 가까운 몸 정점의 움직임을 부드럽게 평균해서 받습니다. 가슴 옆의 소매는 팔 면에 붙으므로 가슴의 움직임을 받지 않습니다. 프레임이 여러 개인 셰이프는 모든 프레임을 옮기고, 의상의 값은 몸의 현재 값에 맞춥니다. 원본 메시는 복제한 뒤에 기록합니다. ◆ 사용법 1. 메뉴에서 Tools > tool > 셰이프 맞춤 를 엽니다 2. "아바타"에 아바타를 넣습니다(바디와 의상 메시는 자동으로 찾습니다. 필요하면 "바디 메쉬 (생략 가능)"과 "+ 의상 메쉬 추가"로 지정) 3. "DryRun (검출만)"으로 옮길 셰이프와 움직이는 정점 수를 확인합니다 4. "옷을 체형에 추종시키기"를 누릅니다 5. 따라오는 정도는 "추종 강도"로 조정하고, 몸에서 떨어진 옷도 움직이려면 "검색 반경"을 올립니다 ◆ 요구 환경 ・Unity 2022.3 ・체형 BlendShape가 있는 바디 메시와 SkinnedMeshRenderer 의상 ・Modular Avatar(선택. 자동 동기화를 쓸 때) ※ 자동으로 옮기는 것은 BMA_ / Beauty_ / Hip_ / Bust_ / Yoseage 등의 접두사가 붙은 셰이프입니다. 하나도 없으면 몸 자체의 셰이프 중에서 얼굴·입 모양(vrc. 등), 줄이기/숨기기용 셰이프(Shrink 등), 주로 머리를 움직이는 셰이프를 뺀 것을 옮깁니다. 이름으로 판단하므로 옮기고 싶지 않은 셰이프가 섞일 수 있습니다(창에는 셰이프를 고르는 칸이 없습니다. 고르려면 스크립트에서 shapeNames를 지정합니다) ※ 얼굴 메시(vrc. 셰이프가 있는 것)·눈·이·혀는 자동 대상에 넣지 않습니다. 머리카락은 몸 가까운 부분만 움직입니다 ※ 옷 면의 방향(법선)으로 상대 몸 면을 고르므로, 뒤집힌 면·법선이 없는 메시·얇은 판 머리카락에서는 잘 맞지 않을 수 있습니다 ※ 옷마다 새 메시 에셋을 Assets/AaejauGenerated/ShapeOsoroi에 만듭니다. 다시 실행할 때마다 늘어나므로 필요 없는 것은 직접 지워 주세요 ※ 아바타를 놓아 둔 자세(T 포즈 / A 포즈)에서 실행해 주세요 ※ 가슴을 2cm 바깥으로 내미는 시험용 셰이프 키를 만들어 옮겼습니다. 옷 밖으로 나온 몸 정점은 시나노 1,197→121, MAYO 1,744→207, 밀피 1,833→321로 줄었고, 소매는 거의 움직이지 않았습니다(최대 2.5mm) ※ 가슴 앞으로 늘어진 리본 같은 가는 장식은 몸의 움직임을 받아 모양이 흐트러질 수 있습니다(밀피의 목 리본). 신경 쓰이면 그 옷을 대상에서 빼 주세요 내용물: unitypackage / README / CHANGELOG / TEST_REPORT / LICENSE / 스크린샷