

ヒールはける足 - 靴に合わせて足の形を整えるシェイプキー【JA,EN,KO】
- Digital700 JPY
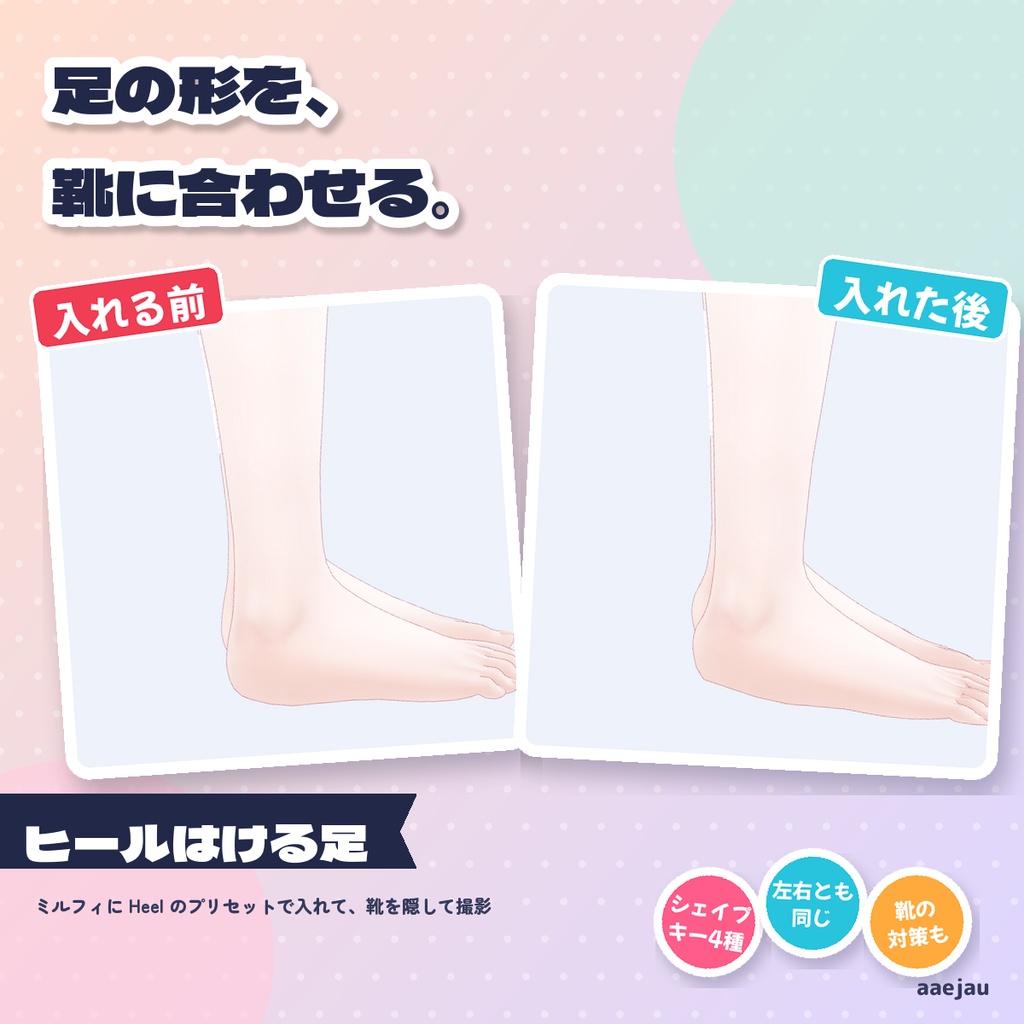
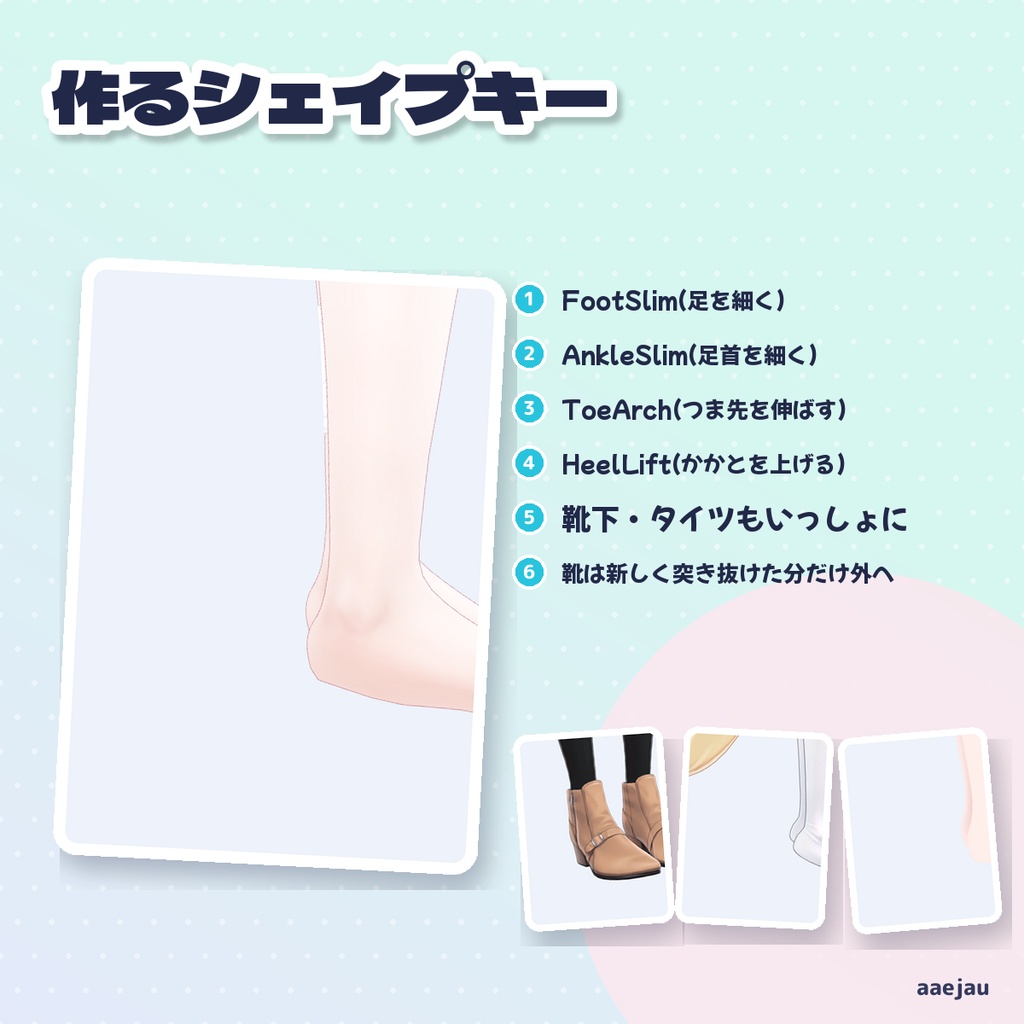
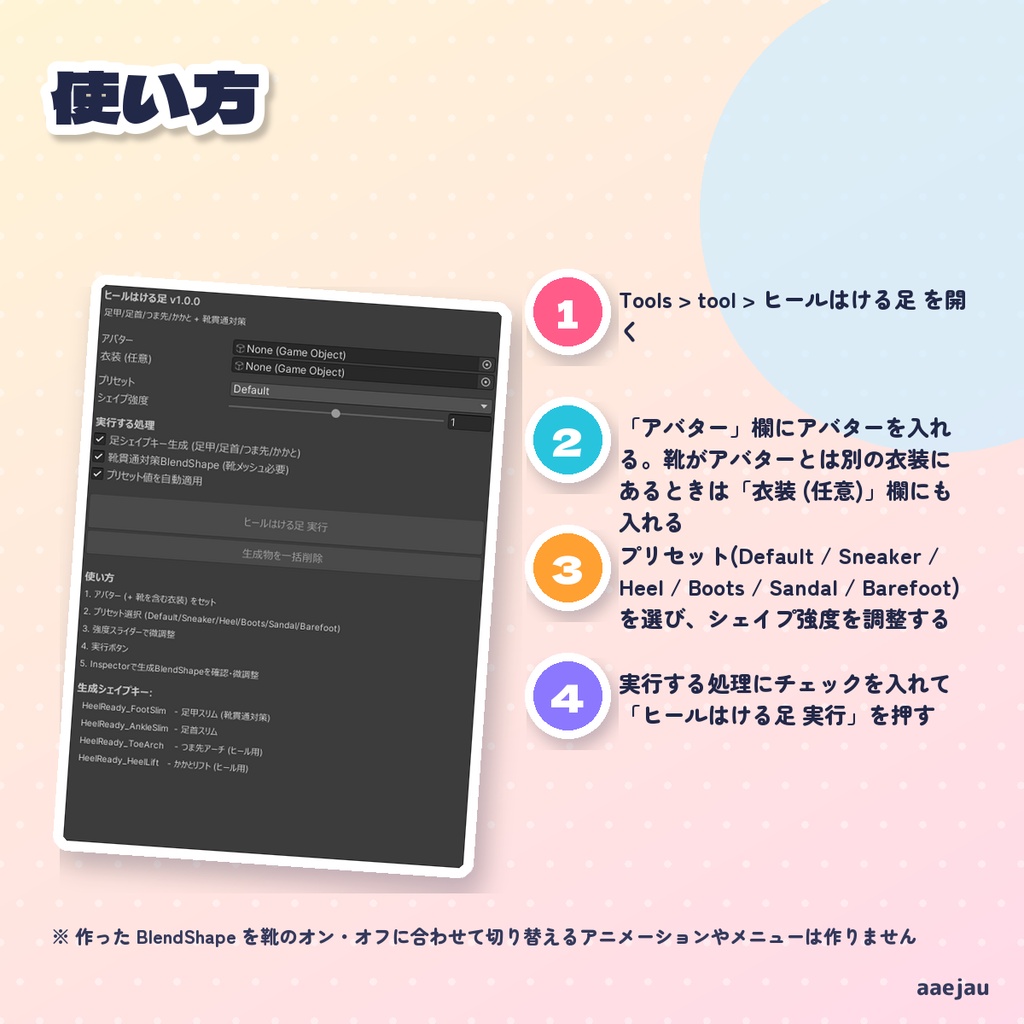
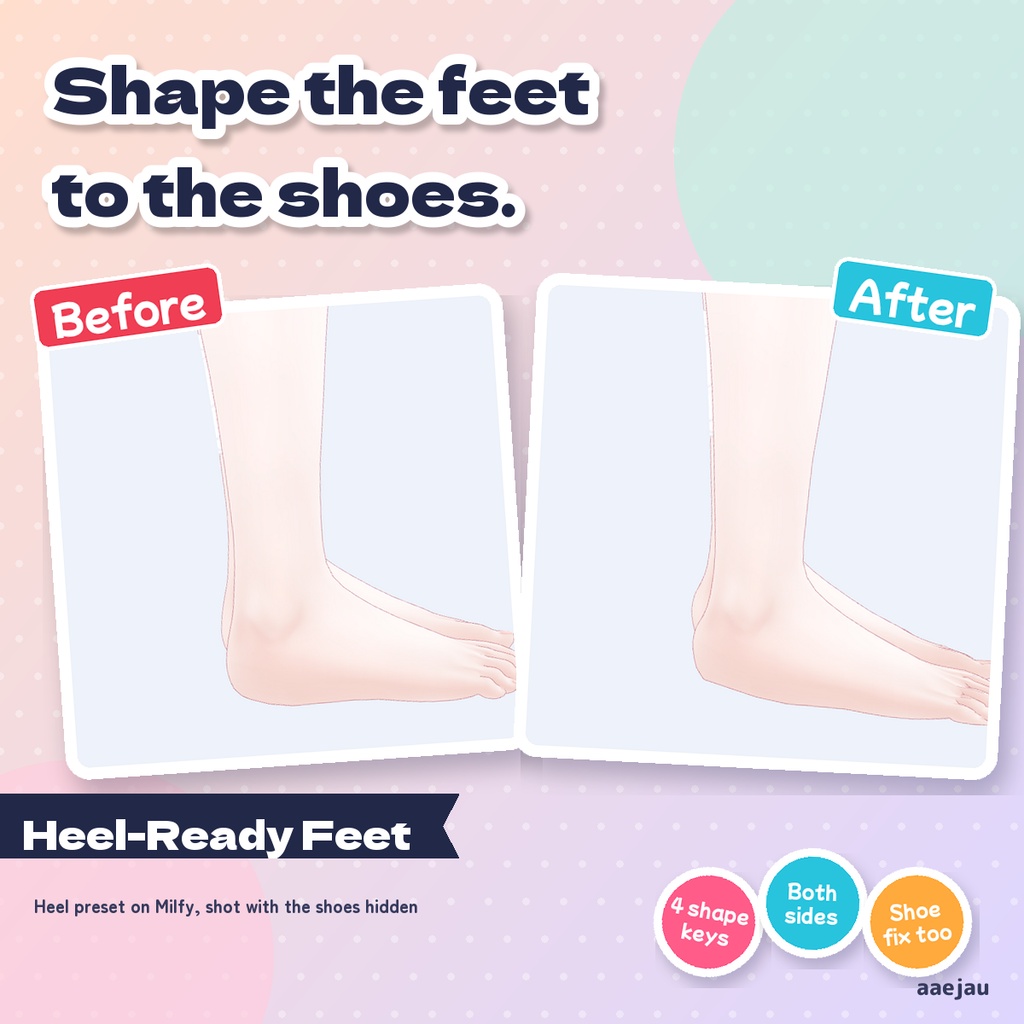
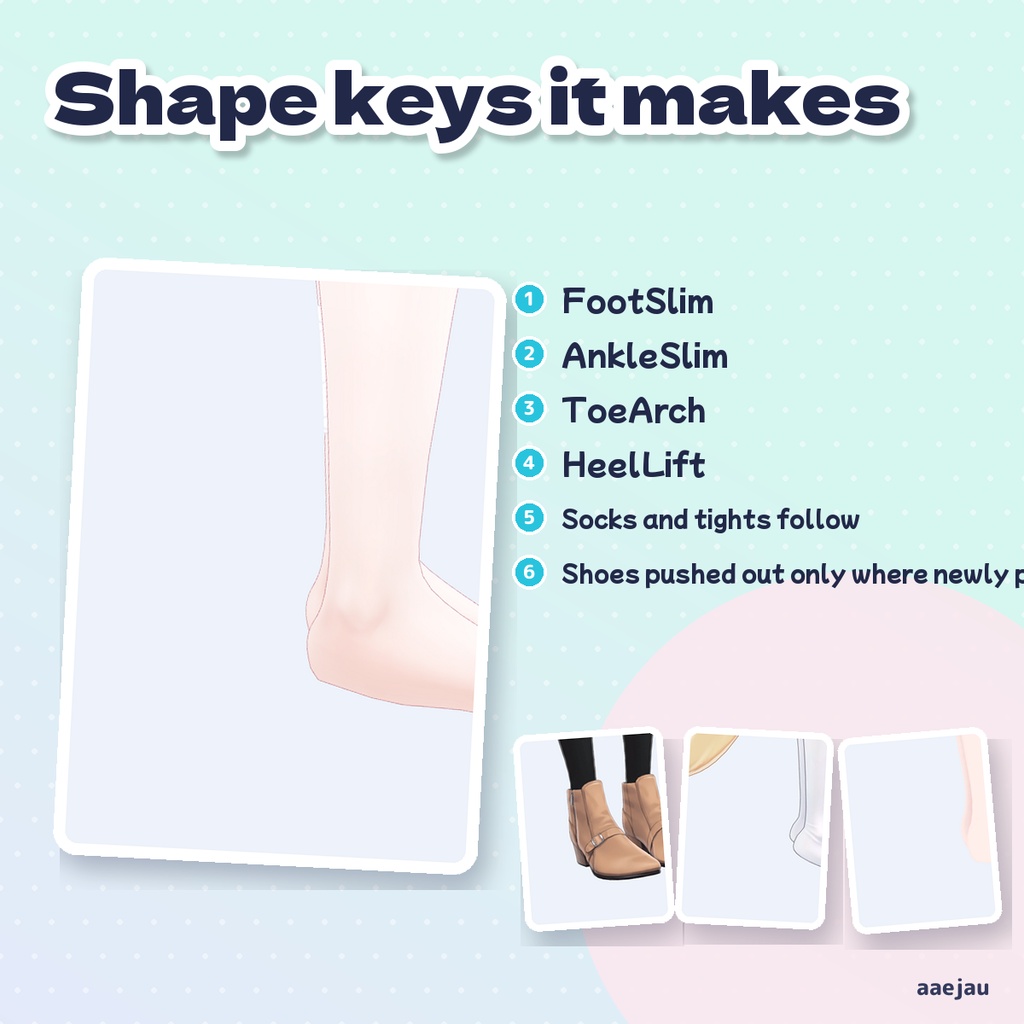
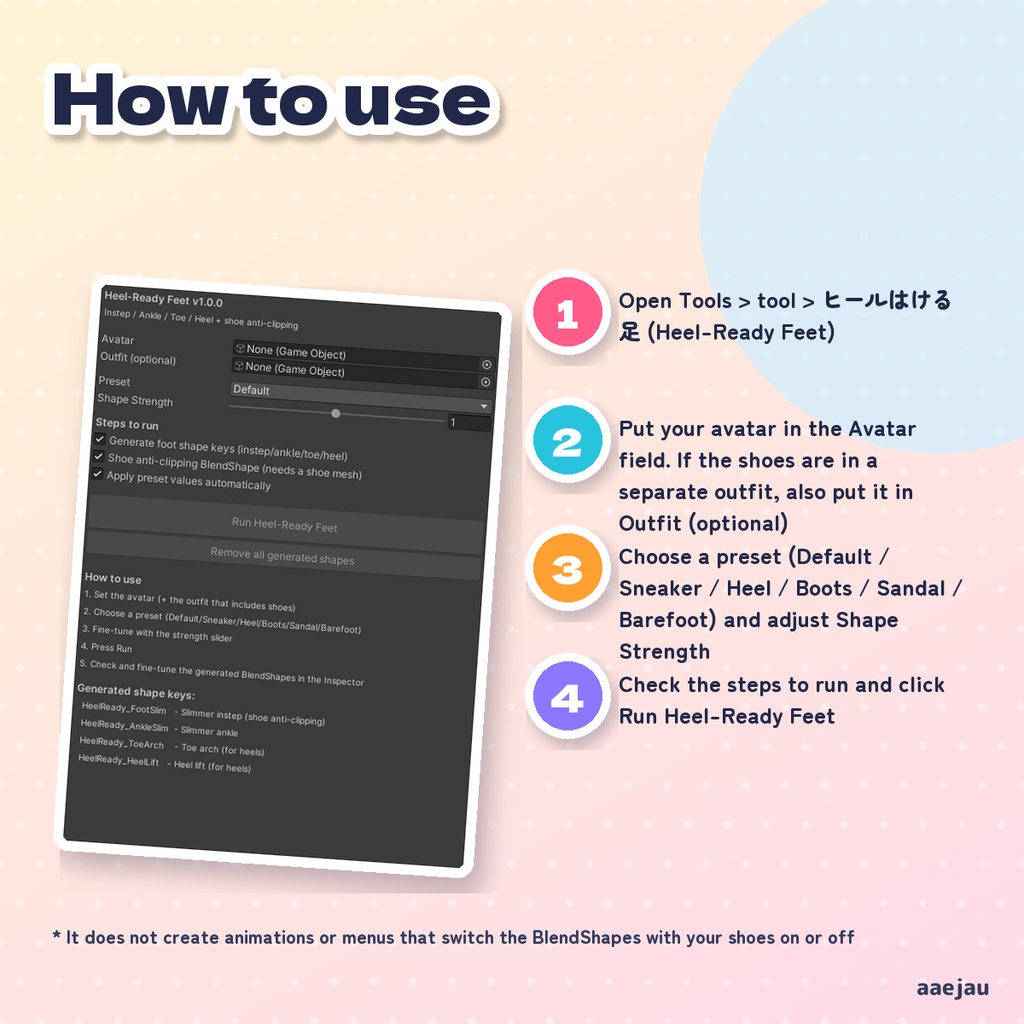
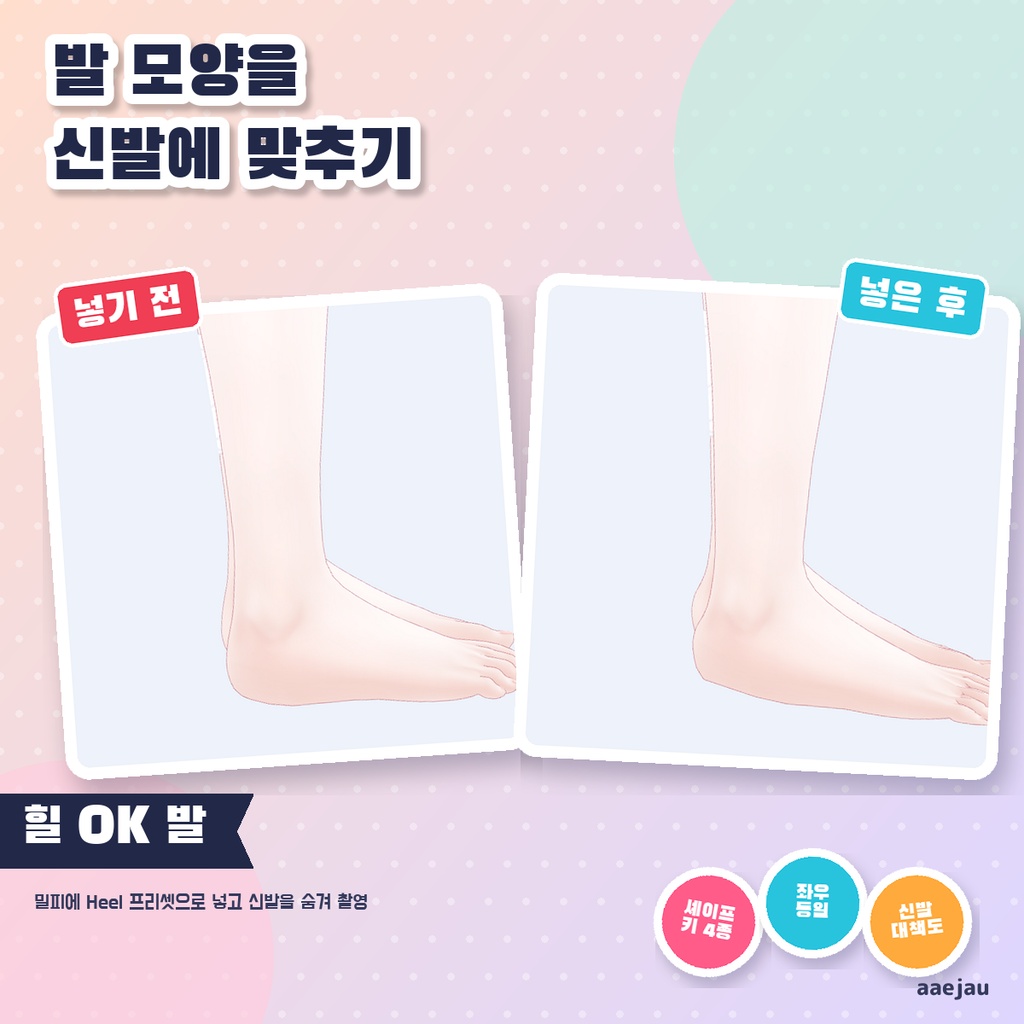
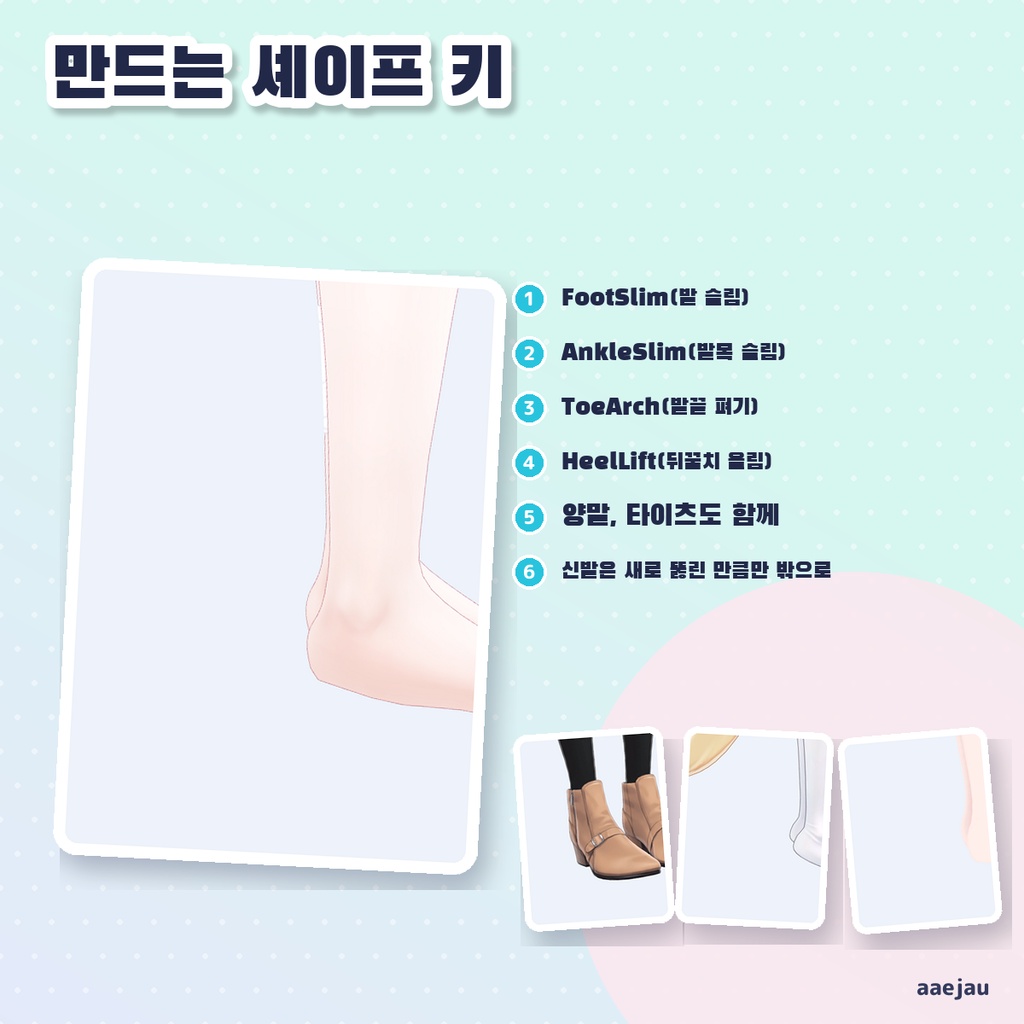
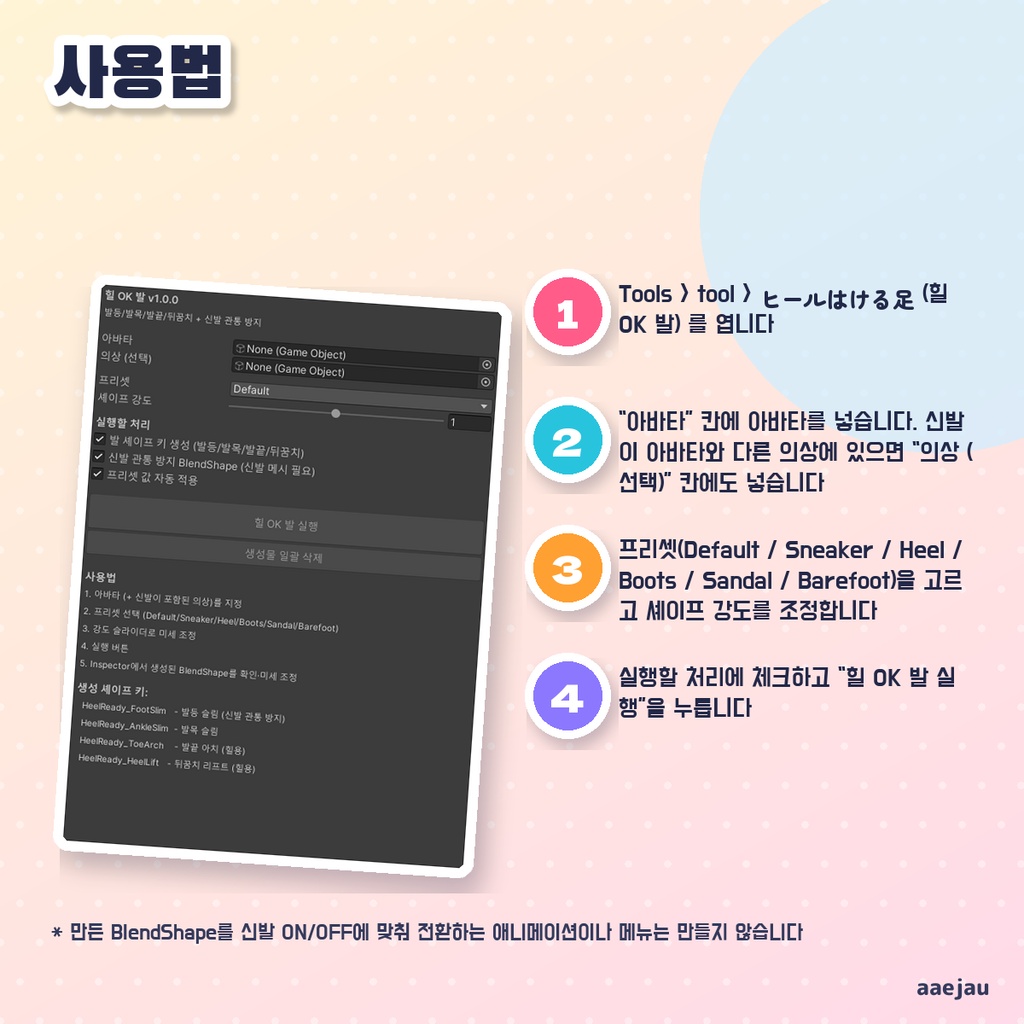


「ヒールの靴を履くと、足が突き抜けちゃう。」 Blenderは使いません。Unityの中だけで終わります。 素体の足に、足甲スリム・足首スリム・つま先アーチ・かかとリフトの4つの BlendShape を作ります。つま先の向き・かかと・足の裏の高さは左右それぞれの足の形から測るので、ボーンの向きやアバターの大きさが違っても同じ所が動きます。足のまわりにある靴は、名前に関係なく左右とも自動で集め、いまの足の形のまま靴を突き抜けている所だけを外へ押し出す靴貫通対策の BlendShape を作って値 100 を入れます。肌に貼り付いた靴下やタイツには、足と同じ名前の BlendShape を作って一緒に動くようにします。元のメッシュアセットは書き換えずに複製へ差し替えます。 ◆ 使い方 1. Tools > tool > ヒールはける足 を開く 2. 「アバター」欄にアバターを入れる。靴がアバターとは別の衣装にあるときは「衣装 (任意)」欄にも入れる 3. プリセット(Default / Sneaker / Heel / Boots / Sandal / Barefoot)を選び、シェイプ強度を調整する 4. 実行する処理にチェックを入れて「ヒールはける足 実行」を押す 5. Inspector で値を確かめる。足の値を変えたら、もう一度「ヒールはける足 実行」を押して靴の対策を作り直す ◆ 必要環境 ・Unity 2022.3 ・足(Foot)ボーンがあるアバター(Humanoid 推奨) ※ 作った BlendShape を靴のオン・オフに合わせて切り替えるアニメーションやメニューは作りません ※ 靴貫通対策は、実行した時の足の値に合わせて作ります。あとで足の値を変えたときは、もう一度実行してください ※ 靴下・タイツ(足からの距離が 4mm 未満のメッシュ)は足と一緒に動き、それ以外は靴として扱います。薄い靴が靴下として扱われることがあります ※ かかとリフトとつま先アーチはメッシュの形だけを変えます。足首の角度・アバターの身長・View Position は変わりません ※ 足(Foot)ボーンにウェイトが乗った体のメッシュが必要です。見つからないときは失敗として止まります ※ しなの・Felis・MAYO・ミルフィに Heel で入れて、動いた頂点が足と足首の骨の所だけで左右同じになること、つま先の形はつま先側だけ・かかとはかかと側だけが動くこと、タイツ・ストッキングも一緒に動くことを確かめました ※ 靴の対策は「足の形を変えたせいで新しく突き抜けた分」だけ靴を外へ押します(元から足と重なる作りの靴は崩しません)。Heel はつま先を下げる形なので、平らな靴で使うとつま先が靴の先から出ることがあります(Felis・MAYO で確認)。そのときは ToeArch の値を下げてください 内容物: unitypackage / README / CHANGELOG / TEST_REPORT / LICENSE / 画面のスクリーンショット ━━━━━━━━━━━━━━━━━━━━ English ━━━━━━━━━━━━━━━━━━━━ Creates four BlendShapes on the body's feet: slimmer instep, slimmer ankle, toe arch and heel lift. The toe direction, heel and sole height are measured from the shape of each foot, so the same areas move even when bone orientations or avatar sizes differ. Shoes around the feet are collected automatically for both feet regardless of their names, and a shoe anti-clipping BlendShape that pushes out only the parts the current foot pokes through is created and set to 100. Skin-tight socks and tights get BlendShapes with the same names as the foot so they move with it. The original mesh asset is not edited; the renderer is switched to a copy. ◆ How to use 1. Open Tools > tool > ヒールはける足 (Heel-Ready Feet) 2. Put your avatar in the Avatar field. If the shoes are in a separate outfit, also put it in Outfit (optional) 3. Choose a preset (Default / Sneaker / Heel / Boots / Sandal / Barefoot) and adjust Shape Strength 4. Check the steps to run and click Run Heel-Ready Feet 5. Check the values in the Inspector. If you change the foot values, click Run Heel-Ready Feet again to rebuild the shoe fix ◆ Requirements ・Unity 2022.3 ・An avatar with Foot bones (Humanoid recommended) * It does not create animations or menus that switch the BlendShapes with your shoes on or off * The shoe anti-clipping shape is made for the foot values at the time you run it. Run it again after changing the foot values * Socks and tights (meshes less than 4 mm from the foot) move with the foot; everything else is treated as a shoe. A very thin shoe may be treated as a sock * Heel lift and toe arch only change the mesh shape. The ankle angle, avatar height and View Position do not change * A body mesh weighted to the Foot bones is required. If none is found, it stops with an error * Checked on Shinano, Felis, MAYO and Milfy with Heel: moved vertices are only on the foot and ankle bones and the same on both sides, the toe shape moves only the toe side and the heel only the heel side, and tights and stockings move along * The shoe fix pushes the shoe out only by what the foot change newly caused (shoes made to overlap the foot are not deformed). Heel points the toes down, so with flat shoes the toes can come out of the shoe tip (seen on Felis and MAYO). Lower ToeArch in that case Contents: unitypackage / README / CHANGELOG / TEST_REPORT / LICENSE / screenshot ━━━━━━━━━━━━━━━━━━━━ 한국어 ━━━━━━━━━━━━━━━━━━━━ 소체의 발에 발등 슬림·발목 슬림·발끝 아치·뒤꿈치 리프트의 4개 BlendShape를 만듭니다. 발끝 방향·뒤꿈치·발바닥 높이는 좌우 각 발의 모양에서 재므로, 본 방향이나 아바타 크기가 달라도 같은 곳이 움직입니다. 발 주변의 신발은 이름과 상관없이 양발 모두 자동으로 모으고, 지금의 발 모양 그대로 신발을 뚫고 나온 곳만 바깥으로 밀어내는 신발 관통 방지 BlendShape를 만들어 값 100을 넣습니다. 피부에 붙은 양말이나 타이츠에는 발과 같은 이름의 BlendShape를 만들어 함께 움직이게 합니다. 원본 메시 에셋은 수정하지 않고 복제본으로 교체합니다. ◆ 사용법 1. Tools > tool > ヒールはける足 (힐 OK 발) 를 엽니다 2. 「아바타」 칸에 아바타를 넣습니다. 신발이 아바타와 다른 의상에 있으면 「의상 (선택)」 칸에도 넣습니다 3. 프리셋(Default / Sneaker / Heel / Boots / Sandal / Barefoot)을 고르고 셰이프 강도를 조정합니다 4. 실행할 처리에 체크하고 「힐 OK 발 실행」을 누릅니다 5. Inspector에서 값을 확인합니다. 발 값을 바꿨다면 「힐 OK 발 실행」을 다시 눌러 신발 대책을 다시 만듭니다 ◆ 요구 환경 ・Unity 2022.3 ・발(Foot) 본이 있는 아바타(Humanoid 권장) ※ 만든 BlendShape를 신발 ON/OFF에 맞춰 전환하는 애니메이션이나 메뉴는 만들지 않습니다 ※ 신발 관통 방지는 실행한 시점의 발 값에 맞춰 만듭니다. 나중에 발 값을 바꾸면 다시 실행해 주세요 ※ 양말·타이츠(발에서 4mm 미만 떨어진 메시)는 발과 함께 움직이고, 그 밖의 것은 신발로 다룹니다. 아주 얇은 신발은 양말로 다뤄질 수 있습니다 ※ 뒤꿈치 리프트와 발끝 아치는 메시 모양만 바꿉니다. 발목 각도·아바타의 키·View Position은 바뀌지 않습니다 ※ Foot 본에 웨이트가 실린 몸 메시가 필요합니다. 찾지 못하면 오류로 멈춥니다 ※ 시나노·Felis·MAYO·밀피에 Heel로 넣어, 움직인 정점이 발과 발목 본 부분에만 있고 좌우가 같은 것, 발끝 모양은 발끝 쪽만·뒤꿈치는 뒤꿈치 쪽만 움직이는 것, 타이츠·스타킹도 함께 움직이는 것을 확인했습니다 ※ 신발 대책은 발 모양을 바꿔서 새로 뚫고 나온 만큼만 신발을 밖으로 밉니다(원래 발과 겹치게 만든 신발은 무너뜨리지 않습니다). Heel은 발끝을 내리는 모양이라 평평한 신발에 쓰면 발끝이 신발 앞으로 나올 수 있습니다(Felis·MAYO에서 확인). 그럴 때는 ToeArch 값을 낮춰 주세요 내용물: unitypackage / README / CHANGELOG / TEST_REPORT / LICENSE / 스크린샷