
ドレスフィット for Blender - Blenderで衣装を素体に着せる4つのボタン【JA,EN,KO】
- Digital700 JPY
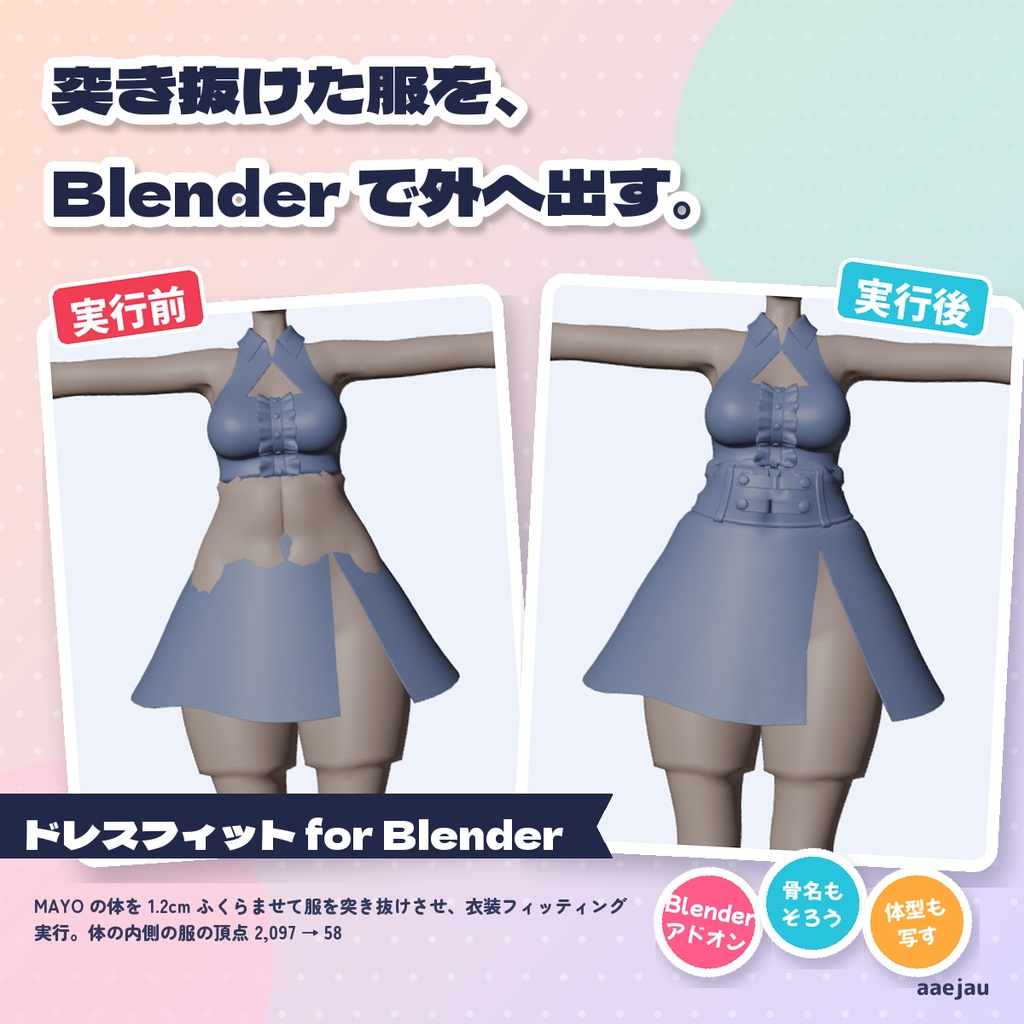
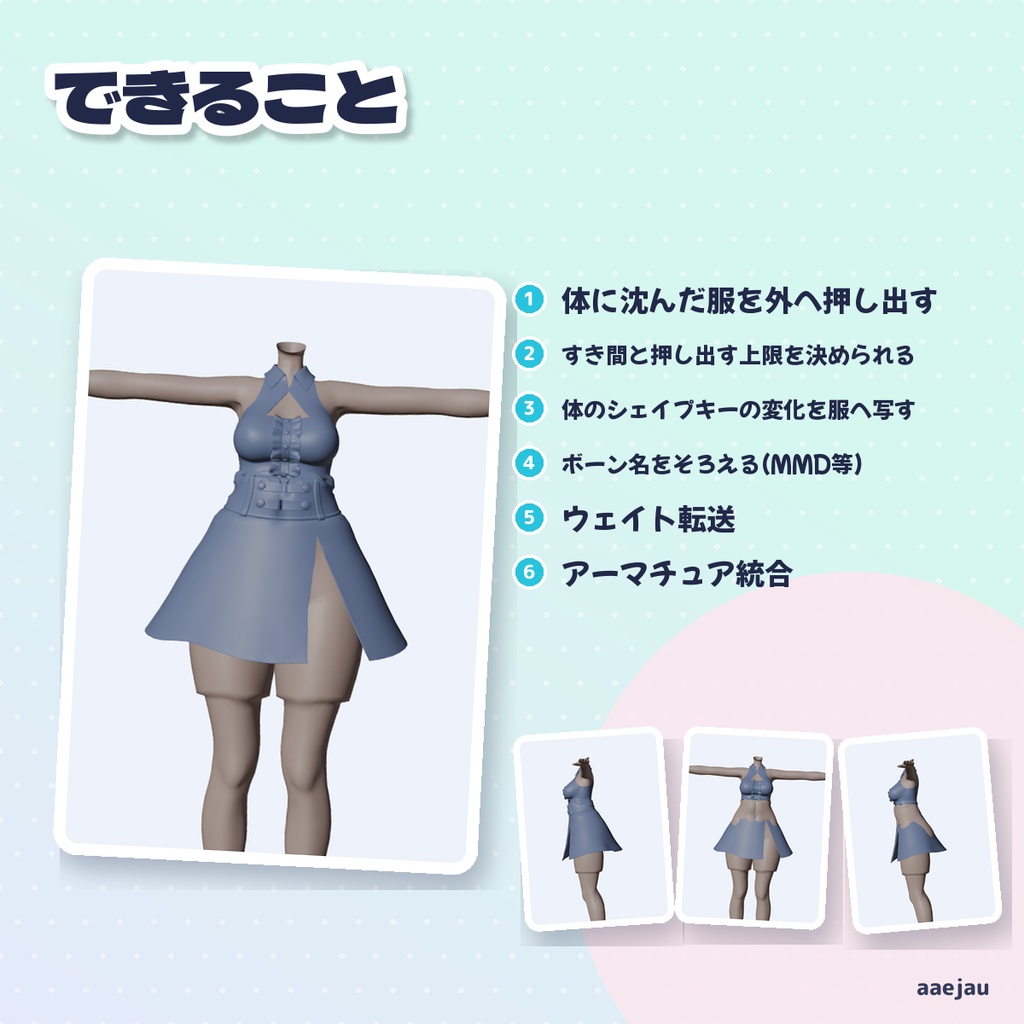
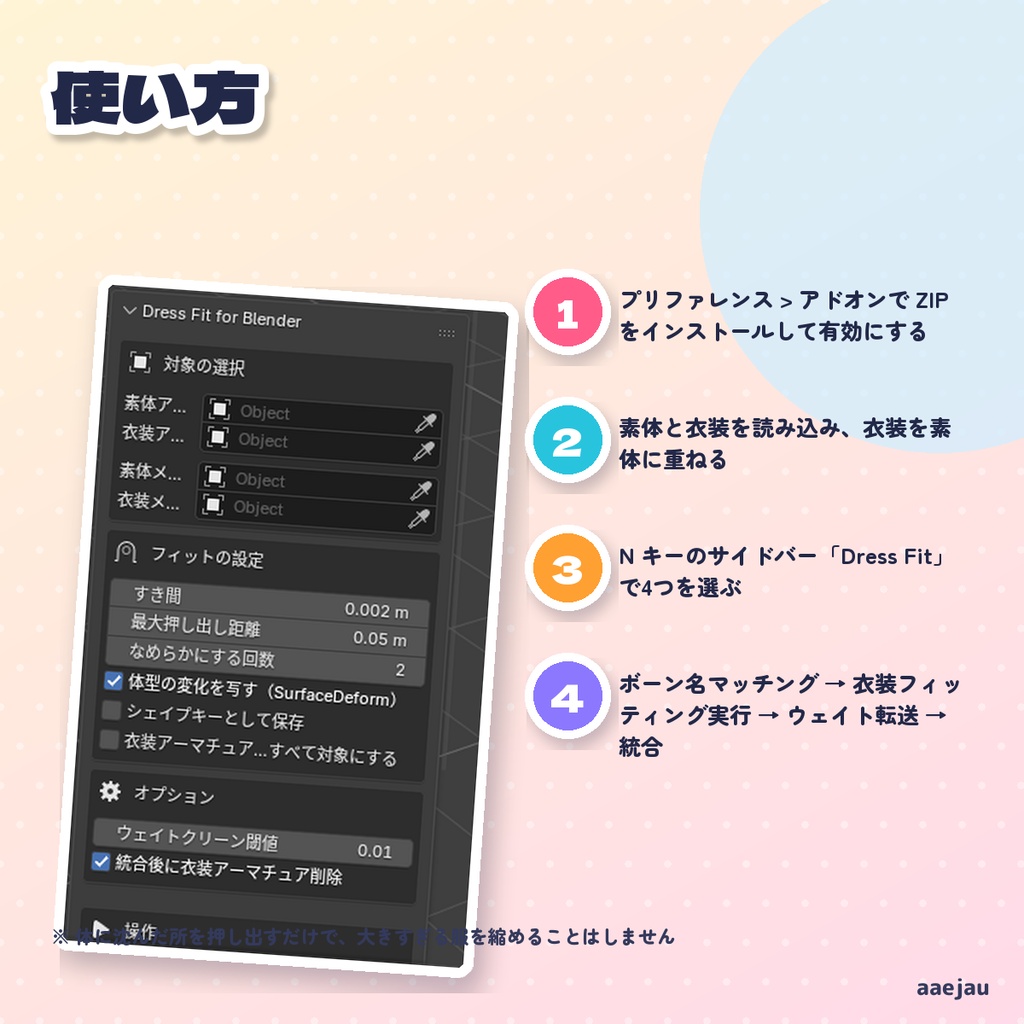
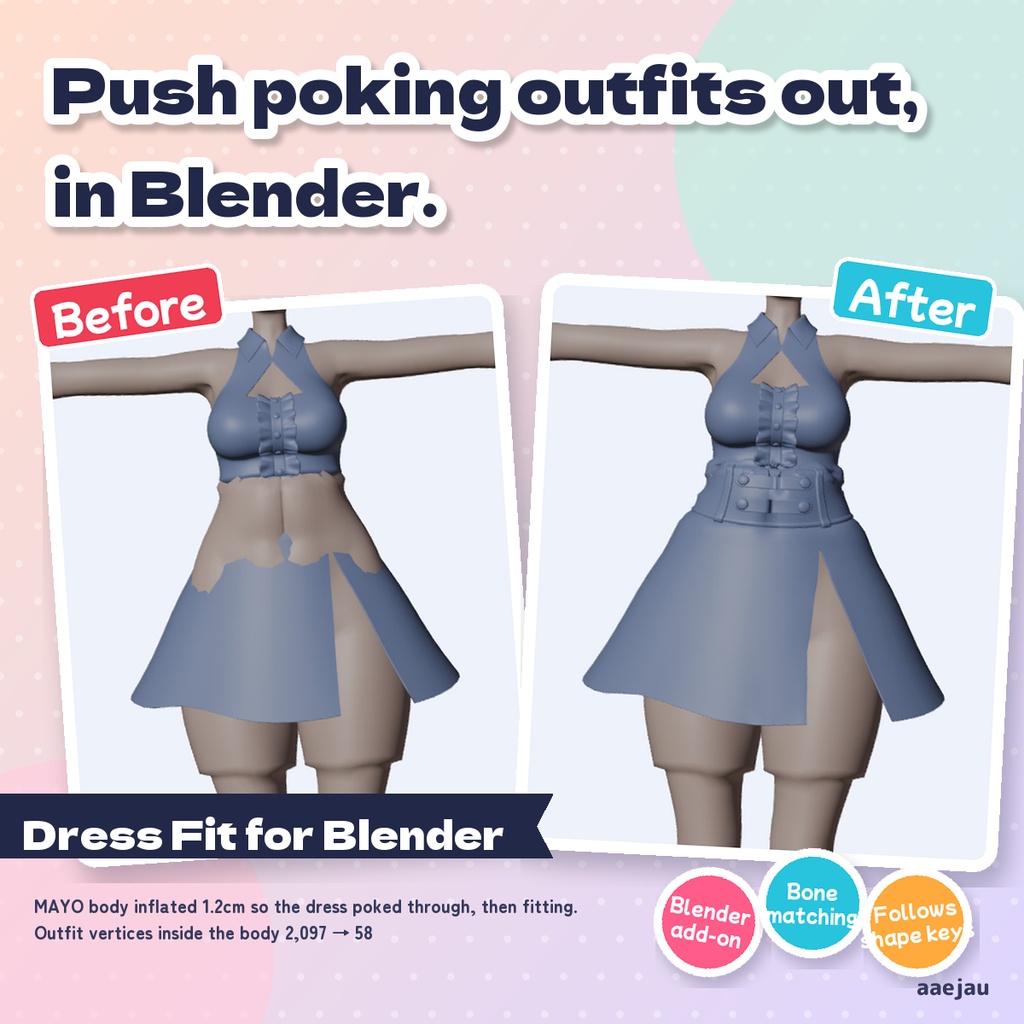
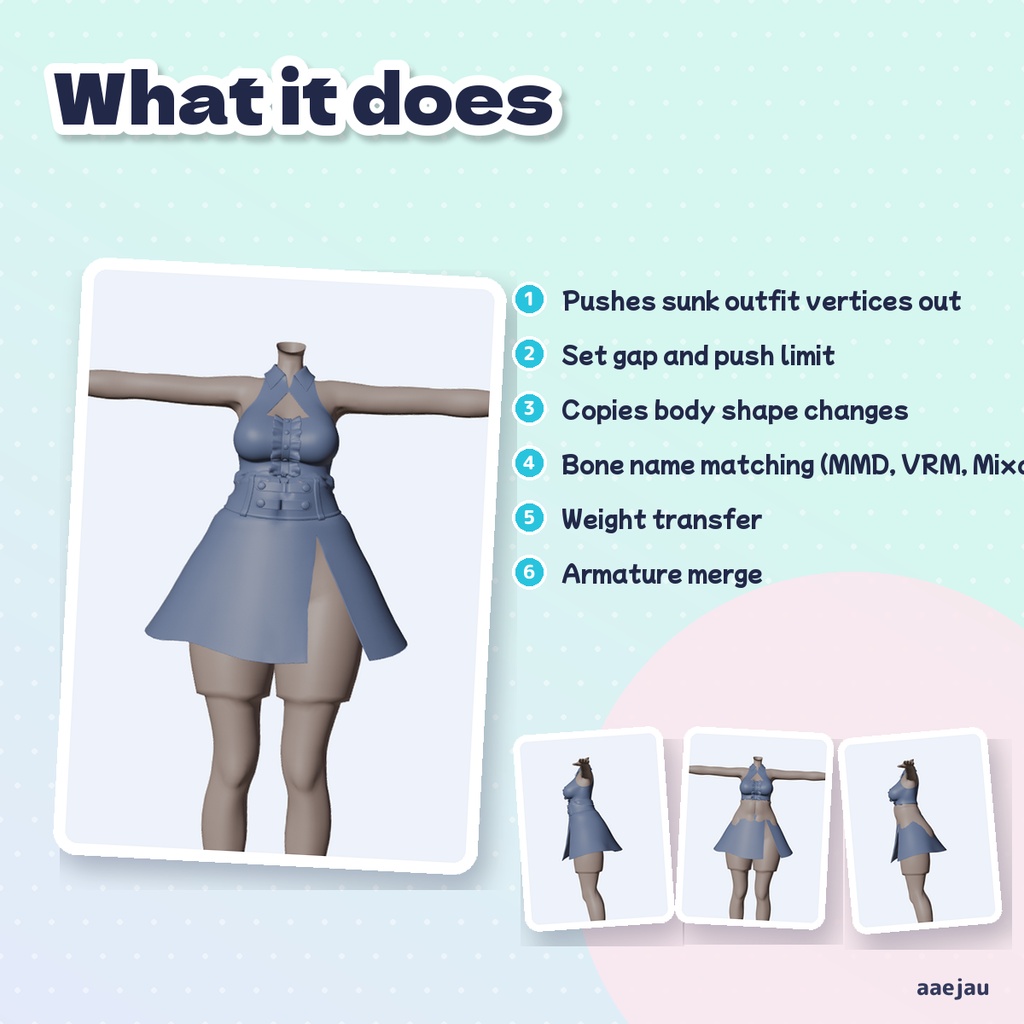
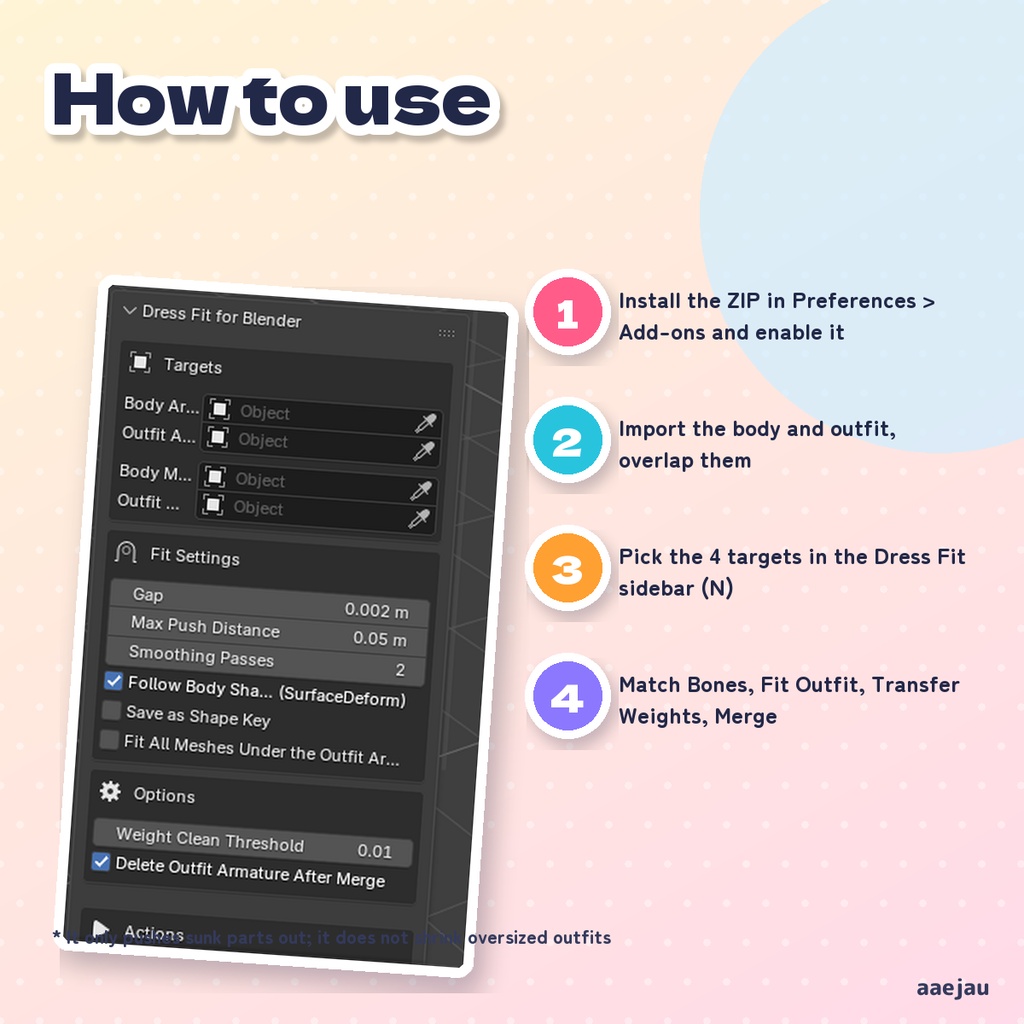
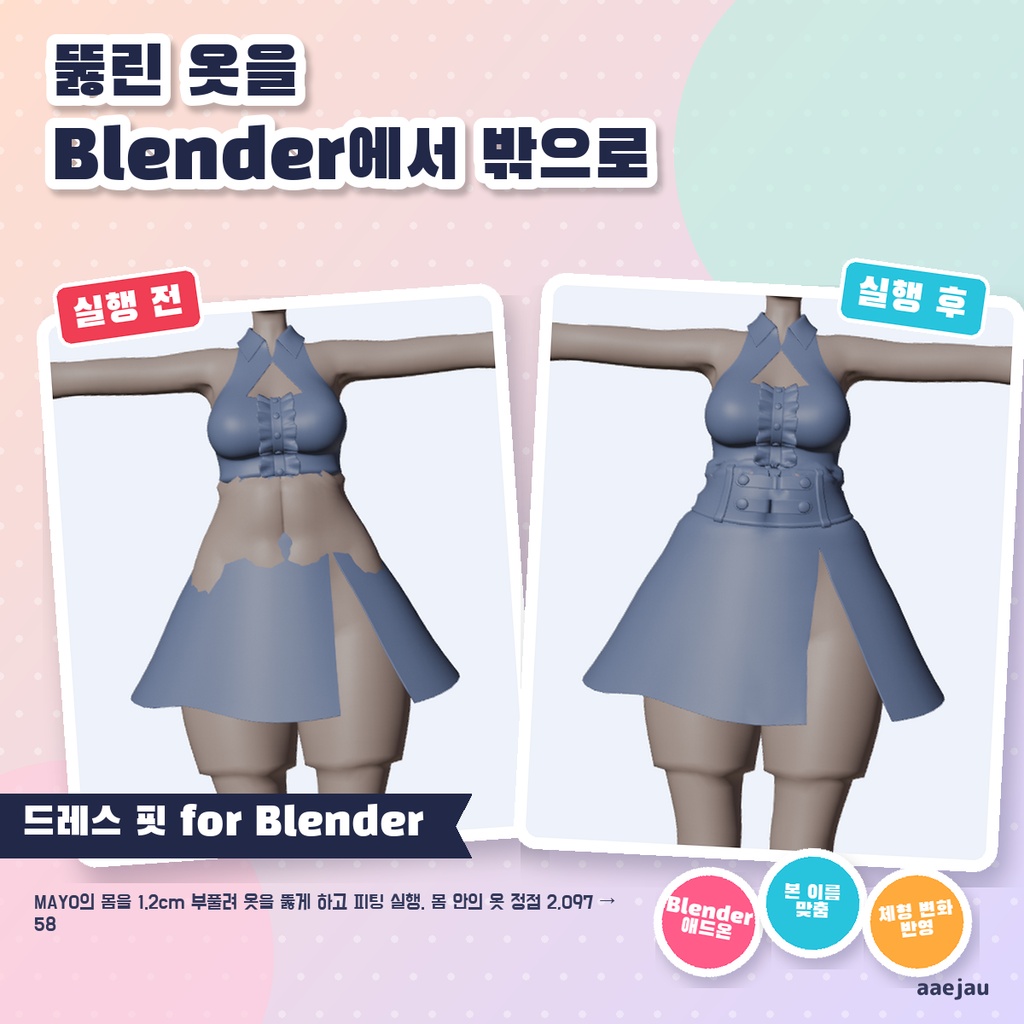
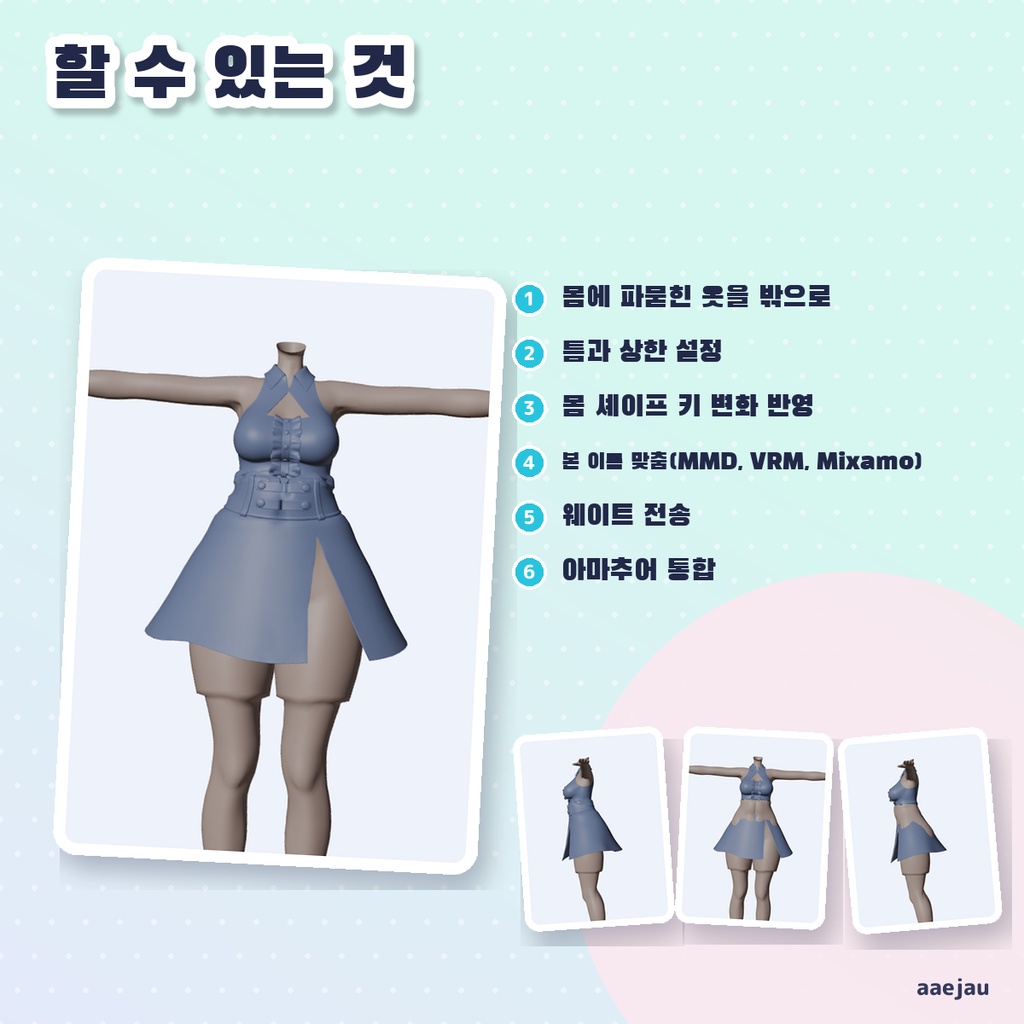
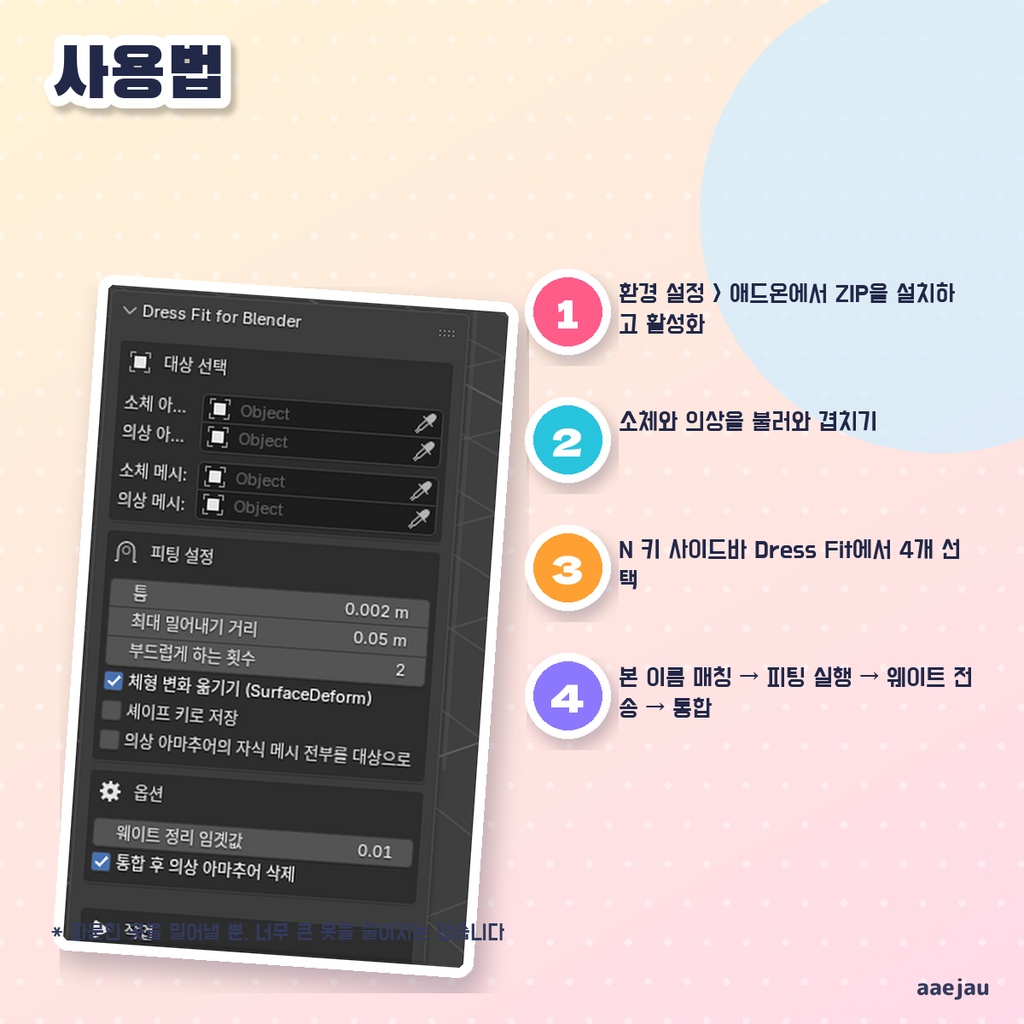


「ブレンダーで服を着せたら、体が服を突き抜けた。」 Blender で VRChat 用の衣装を素体に着せる作業のうち、ボーン名合わせ・体に沈んだ衣装の押し出し・ウェイト転送・アーマチュア統合をボタンで行うアドオンです。「衣装フィッティング実行」は、衣装の頂点ごとに体のいちばん近い面を探し、体の中に沈んだ頂点を体の表面から「すき間」(既定 2mm)の分だけ外へ押し出します。素体のシェイプキーで体型を変えている時は、その変化を衣装へ写してから押し出します。 ◆ 使い方 1. Blender の 編集 > プリファレンス > アドオン を開き、「ファイルからインストール」(4.2 以降は右上の ∨ の中、4.0/4.1 は「インストール」ボタン)で dress_fit_blender_v1.0.0.zip を選び、「Dress Fit for Blender」にチェックを入れる 2. 素体と衣装をインポートし、衣装を素体に重なる位置へ動かして大きさをだいたい合わせる 3. 3D ビューポートで N キーを押してサイドバーを出し、「Dress Fit」タブの「対象の選択」で 素体アーマチュア・衣装アーマチュア・素体メッシュ・衣装メッシュ を選ぶ 4. 「操作」のボタンを上から順に押す: ボーン名マッチング → 衣装フィッティング実行 → ウェイト転送 → アーマチュア統合 5. 「フィットの設定」で すき間・最大押し出し距離・なめらかにする回数・体型の変化を写す・シェイプキーとして保存・子メッシュをすべて対象 を切り替えられる ◆ 必要環境 ・Blender 4.0 以降(Blender 5.0.1 と 5.2.0 で動作を確認) ・素体と衣装がそれぞれアーマチュアとメッシュを持っていること ※ 押し出すのは体に沈んだ頂点(とすき間より近い頂点)だけです。服を体に吸い付かせる(離れた所を縮める)処理はしないので、大きすぎる服は先に手で縮めてください ※ 「最大押し出し距離」(既定 5cm)より深く沈んだ頂点は、別の部位の面を拾っている恐れがあるので動かしません。位置と大きさがずれすぎていると残ります ※ 体型の変化を写すのは、素体にシェイプキーの値が入っている時だけです(シェイプキーを 0 にした形を基準にします)。ポーズの違いは写しません ※ ボーン名マッチングは、記号と大文字小文字をそろえた一致と、人型の主な部位(MMD・VRM・Mixamo の名前を含む)の対応表だけで判定します。髪・スカートなどの揺れものはリネームしません ※ ウェイト転送では、衣装の頂点グループのうち素体と同じ名前のものが素体の値で置き換わります。ウェイト転送は衣装メッシュ欄の1つだけが対象です 内容物: Blender アドオン(ZIP) / README / CHANGELOG / TEST_REPORT / LICENSE / 画面のスクリーンショット ━━━━━━━━━━━━━━━━━━━━ English ━━━━━━━━━━━━━━━━━━━━ A Blender add-on that handles part of putting a VRChat outfit on a base body with buttons: matching bone names, pushing the outfit out of the body, transferring weights, and merging armatures. Fit Outfit finds the nearest body surface for every outfit vertex and pushes vertices that sink into the body out to the Gap distance (2mm by default) from the surface. If the body shape is changed with shape keys, that change is carried over to the outfit first. ◆ How to use 1. In Blender, open Edit > Preferences > Add-ons, use Install from Disk (under the ∨ menu at the top right in 4.2 and later, or the Install button in 4.0/4.1) to pick dress_fit_blender_v1.0.0.zip, and enable "Dress Fit for Blender" 2. Import the body and the outfit, move the outfit so it overlaps the body, and roughly match its size 3. Press N in the 3D Viewport to open the sidebar, and in the "Dress Fit" tab under Targets, set Body Armature, Outfit Armature, Body Mesh, and Outfit Mesh 4. Press the buttons under Actions from top to bottom: Match Bone Names, Fit Outfit, Transfer Weights, Merge Armatures 5. Under Fit Settings you can change Gap, Max Push Distance, Smoothing Passes, Follow Body Shape Changes, Save as Shape Key, and Fit All Meshes Under the Outfit Armature ◆ Requirements ・Blender 4.0 or later (tested on Blender 5.0.1 and 5.2.0) ・The body and the outfit each have an armature and a mesh * Only vertices that sink into the body (or are closer than the gap) are pushed out. Loose parts are not pulled in to hug the body, so shrink an oversized outfit by hand first * Vertices sunk deeper than Max Push Distance (5cm by default) are left alone because they may be picking up another body part. They remain if the position or size is far off * Body shape changes are carried over only when the body has shape key values set (the shape with all keys at 0 is the reference). Pose differences are not carried over * Match Bone Names only uses matches that ignore case and separators, plus a table of main humanoid parts (including MMD, VRM and Mixamo names). Swaying parts such as hair and skirts are not renamed * Weight transfer replaces the outfit's vertex groups that have the same names as the body's with the body's values, and only works on the one mesh in the Outfit Mesh field Contents: Blender add-on ZIP / README / CHANGELOG / TEST_REPORT / LICENSE / screenshot ━━━━━━━━━━━━━━━━━━━━ 한국어 ━━━━━━━━━━━━━━━━━━━━ Blender에서 VRChat용 의상을 소체에 입히는 작업 중 본 이름 맞추기·몸에 묻힌 의상 밀어내기·웨이트 전송·아마추어 통합을 버튼으로 처리하는 애드온입니다. 「의상 피팅 실행」은 의상의 정점마다 가장 가까운 몸의 면을 찾아, 몸 안에 묻힌 정점을 몸 표면에서 「틈」(기본 2mm)만큼 바깥으로 밀어냅니다. 소체의 셰이프 키로 체형을 바꾼 경우에는 그 변화를 먼저 의상에 옮깁니다. ◆ 사용법 1. Blender의 편집 > 환경 설정 > 애드온을 열고 「디스크에서 설치」(4.2 이후는 오른쪽 위 ∨ 메뉴 안, 4.0/4.1은 「설치」 버튼)로 dress_fit_blender_v1.0.0.zip을 선택한 뒤 「Dress Fit for Blender」에 체크합니다 2. 소체와 의상을 임포트하고 의상을 소체와 겹치는 위치로 옮겨 크기를 대략 맞춥니다 3. 3D 뷰포트에서 N 키로 사이드바를 열고 「Dress Fit」 탭의 「대상 선택」에서 소체 아마추어·의상 아마추어·소체 메시·의상 메시를 고릅니다 4. 「작업」의 버튼을 위에서부터 순서대로 누릅니다: 본 이름 매칭 → 의상 피팅 실행 → 웨이트 전송 → 아마추어 통합 5. 「피팅 설정」에서 틈·최대 밀어내기 거리·부드럽게 하는 횟수·체형 변화 옮기기·셰이프 키로 저장·자식 메시 전부를 대상으로를 바꿀 수 있습니다 ◆ 요구 환경 ・Blender 4.0 이상(Blender 5.0.1과 5.2.0에서 동작 확인) ・소체와 의상이 각각 아마추어와 메시를 가지고 있을 것 ※ 밀어내는 것은 몸에 묻힌 정점(과 틈보다 가까운 정점)뿐입니다. 떨어진 부분을 몸에 붙이는 처리는 하지 않으므로 너무 큰 의상은 먼저 직접 줄여 주세요 ※ 「최대 밀어내기 거리」(기본 5cm)보다 깊이 묻힌 정점은 다른 부위의 면을 잡았을 수 있어 움직이지 않습니다. 위치나 크기가 크게 어긋나 있으면 남습니다 ※ 체형 변화를 옮기는 것은 소체에 셰이프 키 값이 들어 있을 때뿐입니다(셰이프 키를 0으로 한 모양이 기준). 포즈 차이는 옮기지 않습니다 ※ 본 이름 매칭은 기호와 대소문자를 맞춘 일치와 주요 휴머노이드 부위(MMD·VRM·Mixamo 이름 포함)의 대응표로만 판정합니다. 머리카락·스커트 등 흔들리는 부위는 이름을 바꾸지 않습니다 ※ 웨이트 전송에서는 의상의 버텍스 그룹 중 소체와 같은 이름인 것이 소체의 값으로 바뀌며, 의상 메시 칸의 1개만 대상입니다 내용물: Blender 애드온 ZIP / README / CHANGELOG / TEST_REPORT / LICENSE / 스크린샷