

ぷにタッチ - 手が近づくとほっぺがむにっとへこむ【JA,EN,KO】
- ダウンロード商品¥ 700
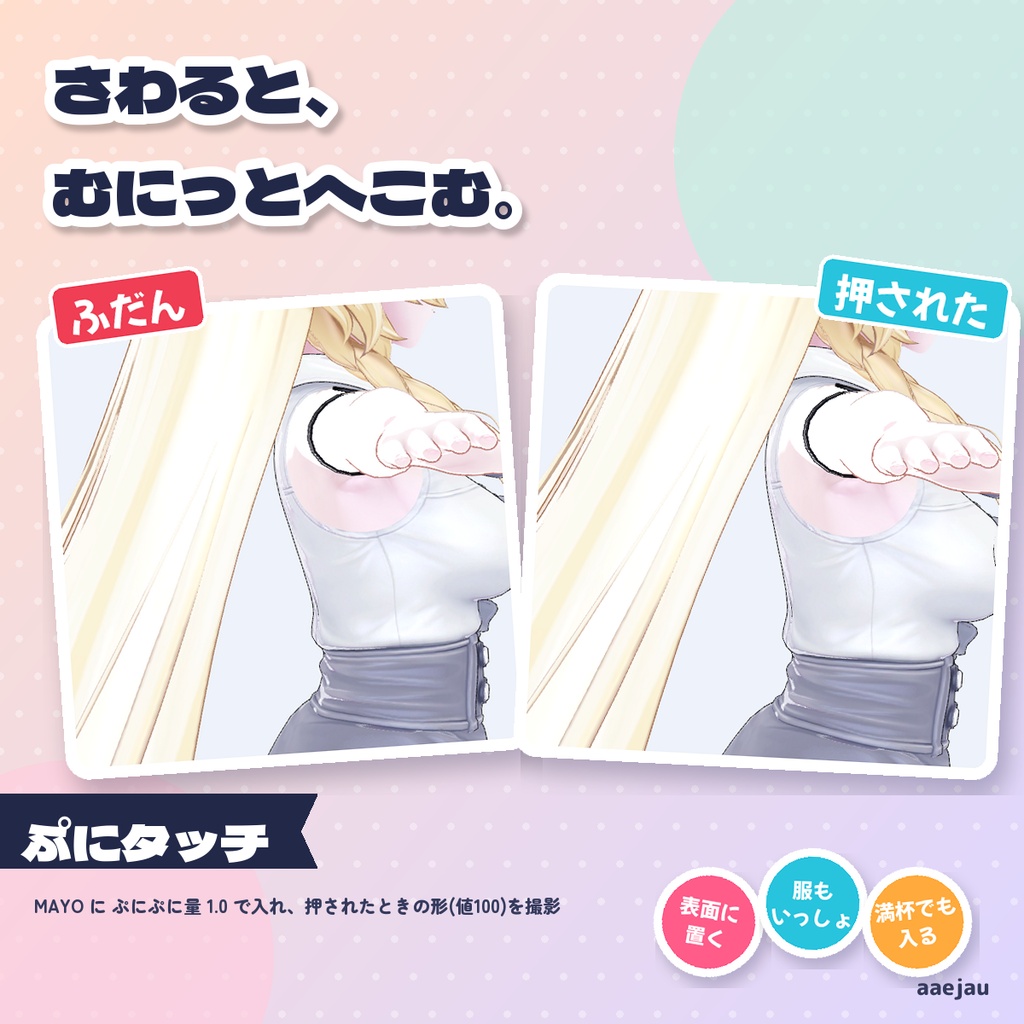
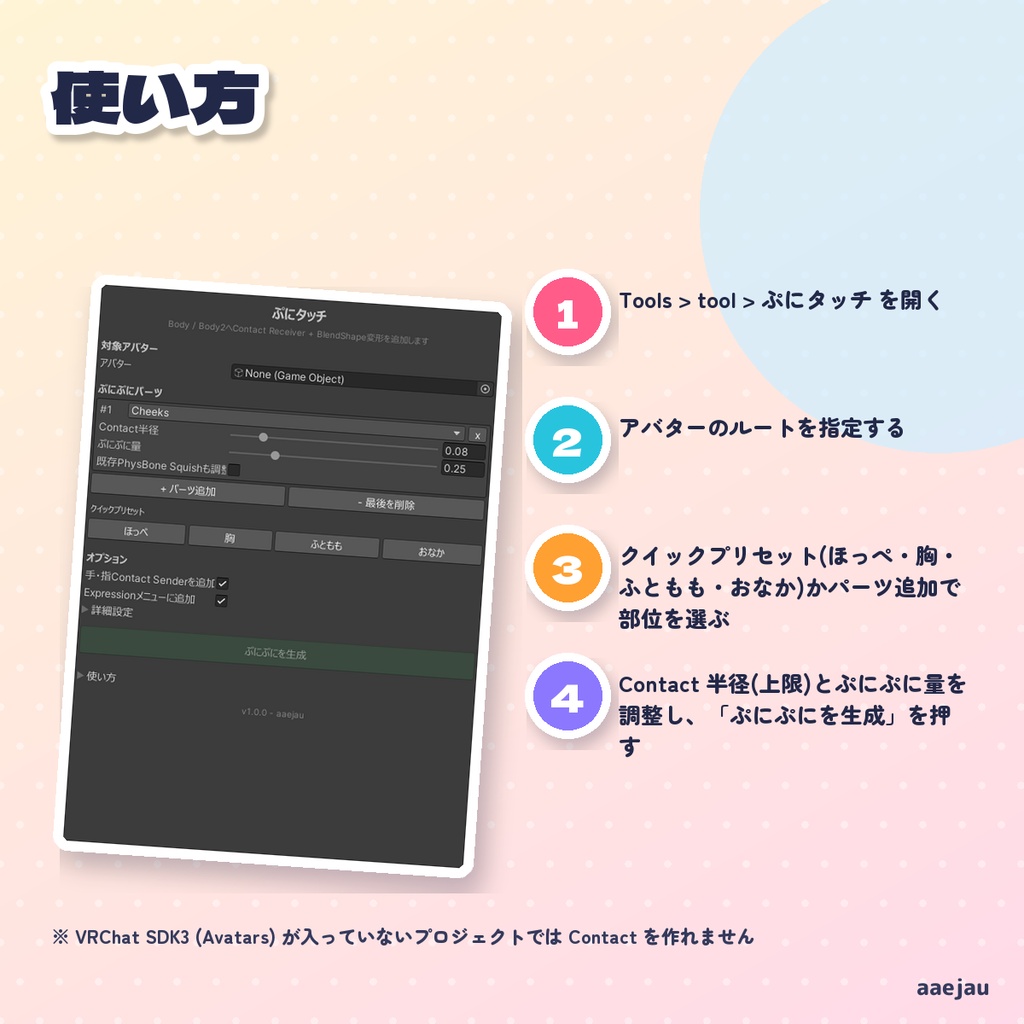
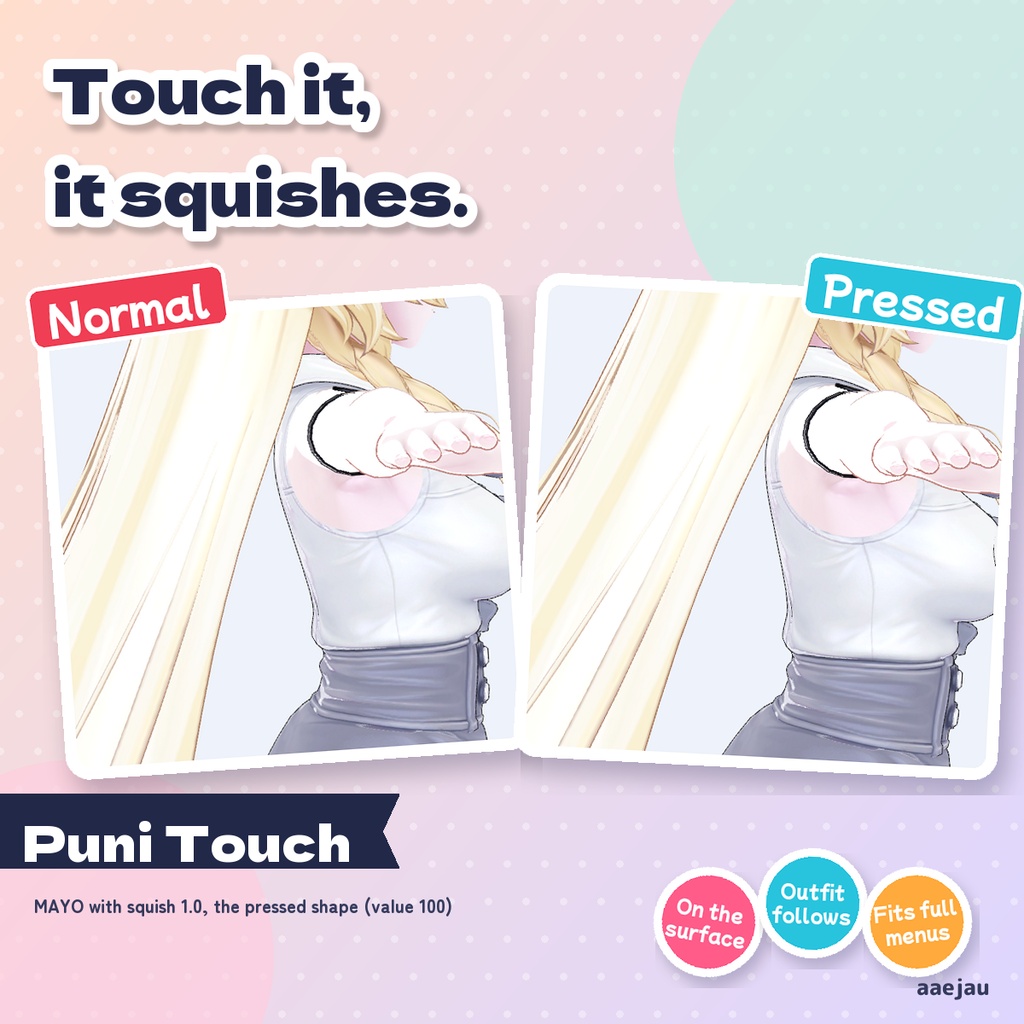
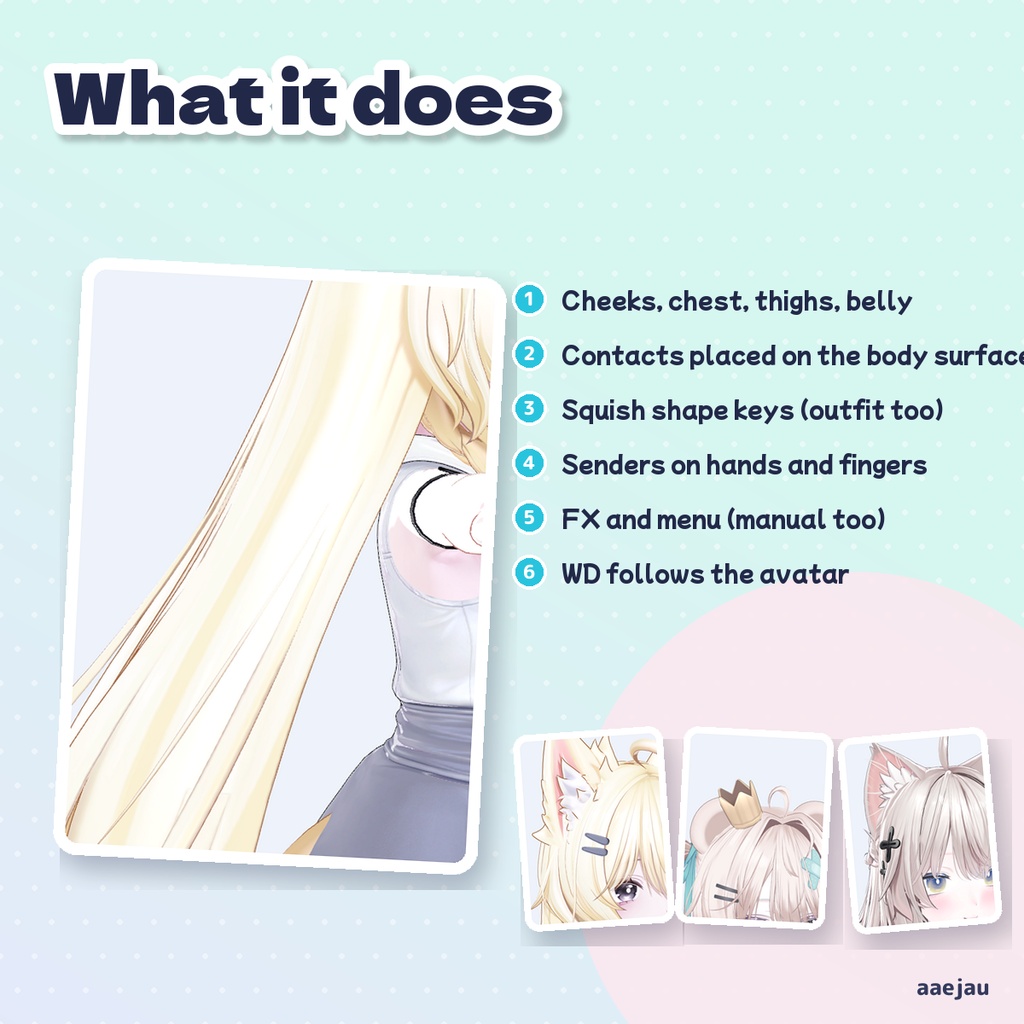
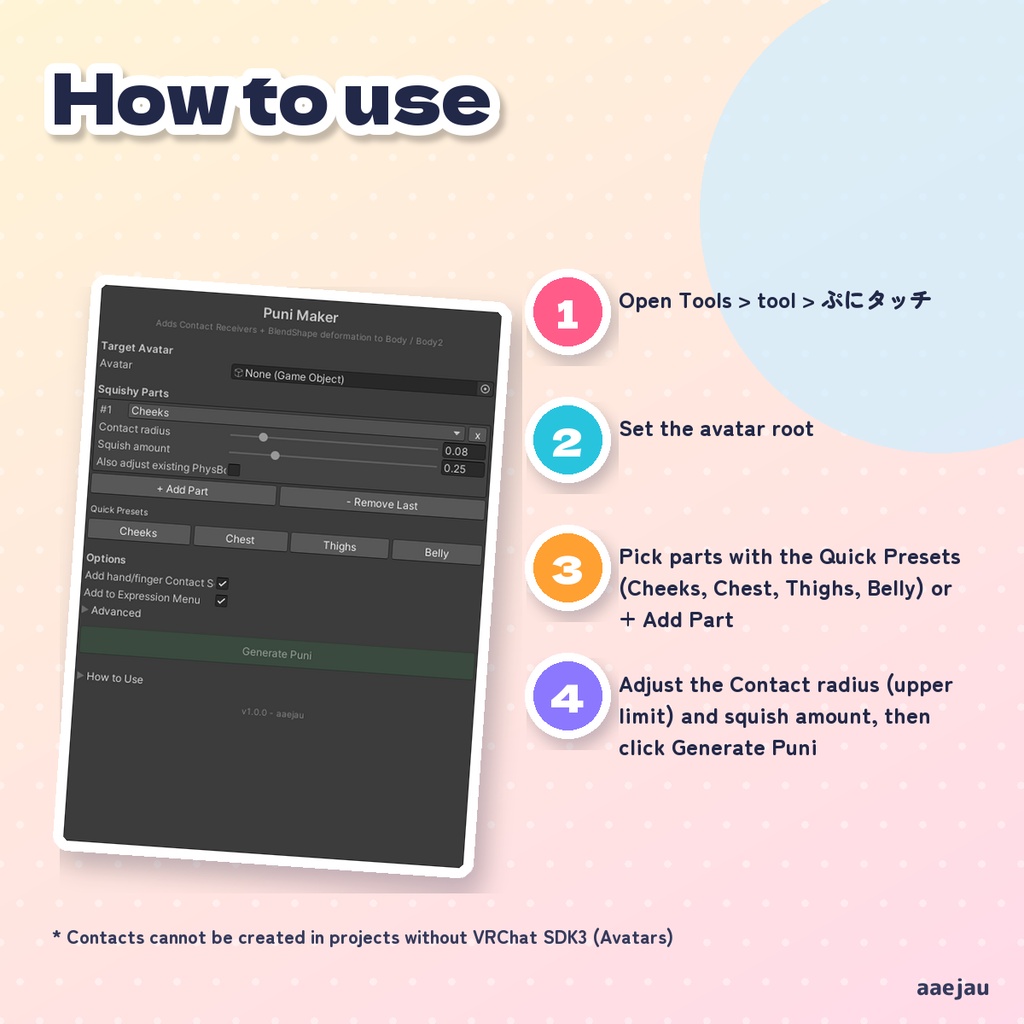
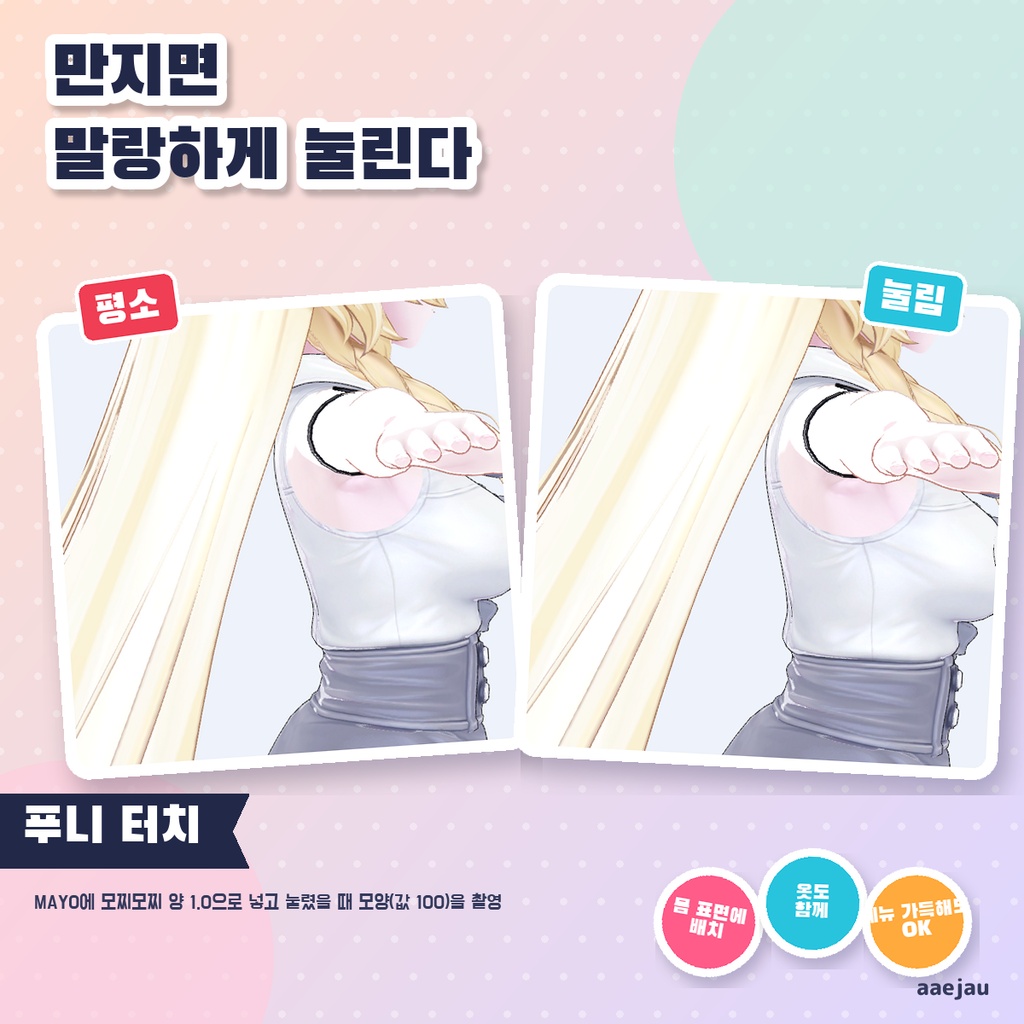
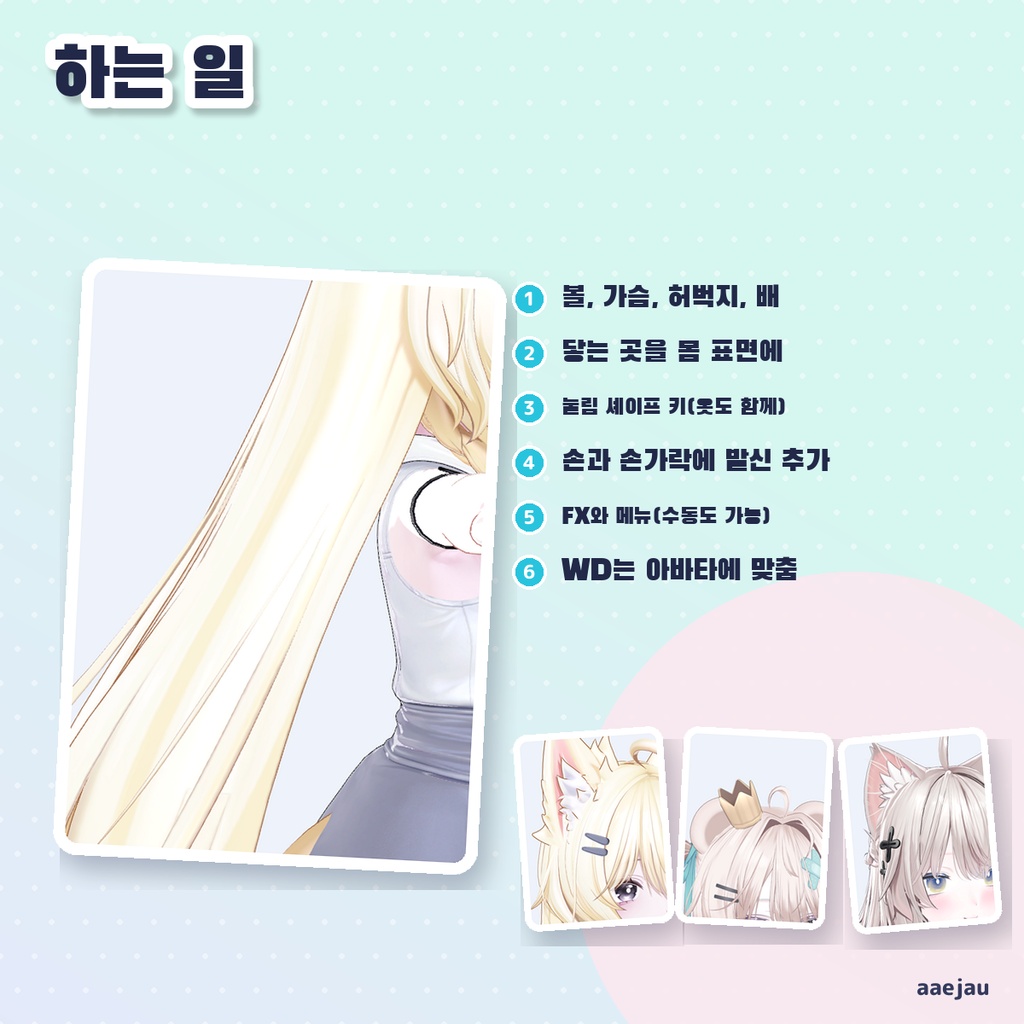
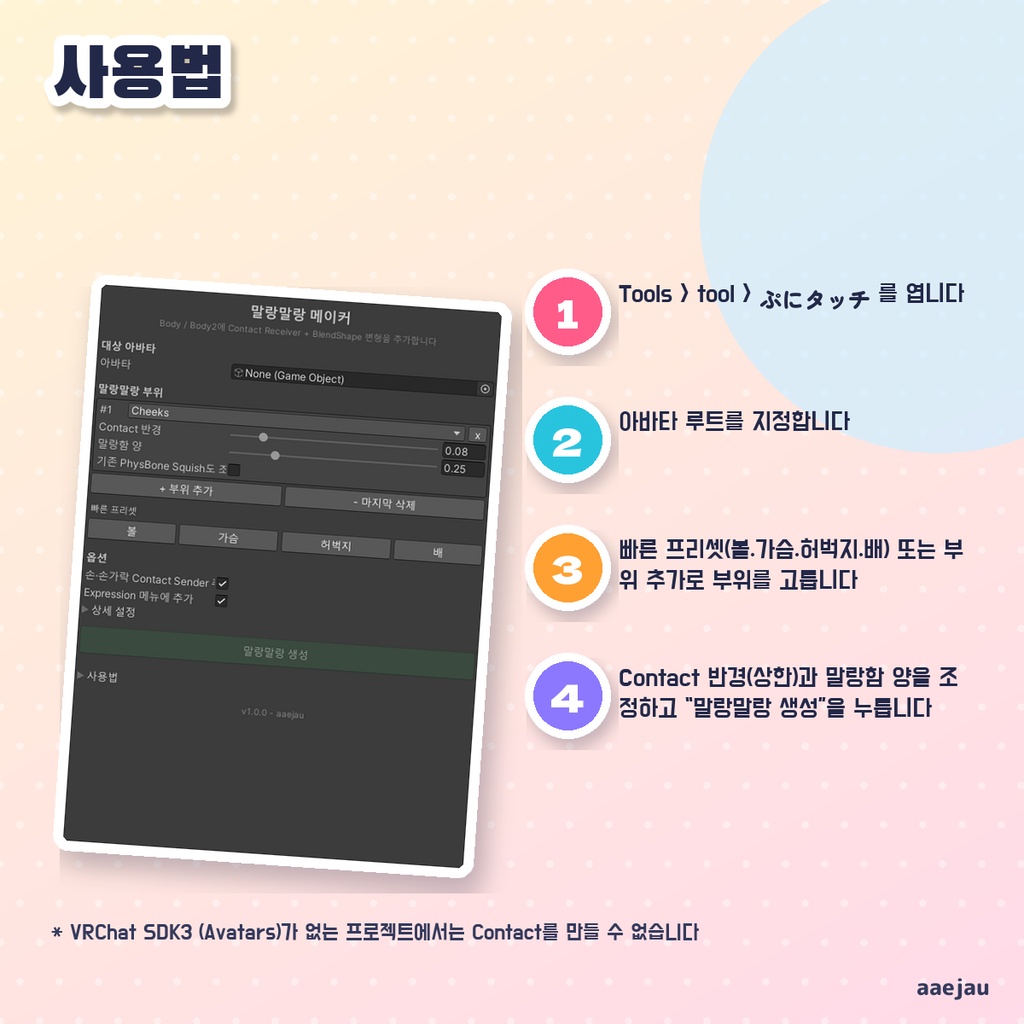


「ほっぺをむにっと押せたら、かわいい。」 Blenderは使いません。Unityの中だけで終わります。 ほっぺ・胸・ふともも・おなか・指定したボーンについて、アバターの実際の体の表面を探し、その 1cm 外に Contact Receiver を置きます。その部分を表面の内側へへこませる BlendShape を作り、手や指が近づくとへこむ FX レイヤーを組みます。胸・ふともも・おなかでは、上に重なった服や髪も体と同じだけへこみます。Expression Menu のダイヤルからも手動でへこませられます。FX の Write Defaults は、アバターの既存 FX レイヤーの多数に合わせます。元の FBX は変更せず、シェイプキーを足したメッシュの複製を Assets/aaejau/PuniTouch/GeneratedMeshes に保存して差し替えます。 ◆ 使い方 1. Tools > tool > ぷにタッチ を開く 2. アバターのルートを指定する 3. クイックプリセット(ほっぺ・胸・ふともも・おなか)かパーツ追加で部位を選ぶ 4. Contact 半径(上限)とぷにぷに量を調整し、「ぷにぷにを生成」を押す 5. Build & Test で見た目・衣装・メニュー・Contact を確かめる ◆ 必要環境 ・Unity 2022.3 ・VRChat SDK3 (Avatars) ・Humanoid のアバター ※ VRChat SDK3 (Avatars) が入っていないプロジェクトでは Contact を作れません ※ 場所は Humanoid 設定の骨(頭・目・胸・脚・腰)と体のウェイトから探します。Humanoid でないアバターでは見つからない部位があります。目の骨が無いアバターでは、ほっぺの位置を背の高さから見積もります ※ 胸の骨が無い素体では、肩の位置から胸の前を決めます ※ 画面の「Contact半径」は上限です。実際の Contact の半径とへこむ範囲は部位の大きさから決めます ※ 服を重ねてへこませるのは、体の表面から 5cm 以内にある服だけです。体から離れて広がるスカートなどはへこみません。ほっぺは顔のメッシュだけをへこませます ※ 「既存PhysBone Squishも調整」は、その部位の骨を動かしている既存 PhysBone の Max Squish を書き換えます。PhysBone のバージョンが 1.0 のままだと Squish は効きません ※ Expression Parameters の容量やメニューの空きが足りないと、メニューの追加は行われません ※ すべてのアバターで同じ見た目になる保証はありません。最終確認は Build & Test で行ってください ※ しなの・Felis・MAYO・ミルフィで、触れる場所(Contact)が体の表面から 1cm ほど外に置かれること、へこむ頂点がほっぺは頭・胸は胸の骨・太ももは太ももの骨の所だけにあることを確かめました。へこみは輪郭に出る物で、正面から見るとほとんど分かりません。表情メニューの一番上が満杯のときは、空きのあるサブメニューの中へ入れます 内容物: unitypackage / README / CHANGELOG / TEST_REPORT / LICENSE / 画面のスクリーンショット ━━━━━━━━━━━━━━━━━━━━ English ━━━━━━━━━━━━━━━━━━━━ For the cheeks, chest, thighs, belly or a bone you choose, the tool finds the actual body surface of the avatar and places a Contact Receiver 1cm outside it. It creates a BlendShape that presses that area in along the surface and builds an FX layer so it squishes when a hand or finger comes close. On the chest, thighs and belly, clothes and hair lying on top squish by the same amount. You can also squish it by hand with an Expression Menu dial. Write Defaults of the FX layer follow the majority of the avatar's existing FX layers. The original FBX is not changed; a copy of the mesh with the new shape keys is saved to Assets/aaejau/PuniTouch/GeneratedMeshes and swapped in. ◆ How to use 1. Open Tools > tool > ぷにタッチ 2. Set the avatar root 3. Pick parts with the Quick Presets (Cheeks, Chest, Thighs, Belly) or + Add Part 4. Adjust the Contact radius (upper limit) and squish amount, then click Generate Puni 5. Check the look, outfits, menu and Contacts with Build & Test ◆ Requirements ・Unity 2022.3 ・VRChat SDK3 (Avatars) ・A Humanoid avatar * Contacts cannot be created in projects without VRChat SDK3 (Avatars) * Places are found from the Humanoid bones (head, eyes, chest, legs, hips) and the body weights. On non-Humanoid avatars some parts may not be found. Without eye bones, the cheek position is estimated from the avatar height * On bodies without breast bones, the front of the chest is placed from the shoulder positions * The Contact radius in the window is an upper limit. The actual Contact radius and squish area come from the size of the part * Only clothes within 5cm of the body surface squish along with it. Skirts that flare away from the body do not. For the cheeks, only the face mesh squishes * Also adjust existing PhysBone Squish changes Max Squish on the existing PhysBone that moves that bone. Squish has no effect while the PhysBone version is 1.0 * If the Expression Parameters memory or menu slots run out, menu items are not added * Results differ between avatars. Always do the final check with Build & Test * Checked on Shinano, Felis, MAYO and Milfy: contacts are placed about 1cm outside the body surface, and the dented vertices are only on the head (cheeks), breast bones (chest) and thigh bones (thighs). The dent shows in the silhouette and is hard to see from the front. If the top of the expression menu is full, the menu goes into a submenu with space Contents: unitypackage / README / CHANGELOG / TEST_REPORT / LICENSE / screenshot ━━━━━━━━━━━━━━━━━━━━ 한국어 ━━━━━━━━━━━━━━━━━━━━ 볼·가슴·허벅지·배·지정한 본에 대해 아바타의 실제 몸 표면을 찾아, 그 1cm 바깥에 Contact Receiver를 둡니다. 그 부분을 표면 안쪽으로 누르는 BlendShape를 만들고, 손이나 손가락이 다가가면 눌리는 FX 레이어를 구성합니다. 가슴·허벅지·배에서는 위에 겹친 옷과 머리카락도 몸과 같은 만큼 눌립니다. Expression Menu 다이얼로도 직접 누를 수 있습니다. FX의 Write Defaults는 아바타의 기존 FX 레이어 다수에 맞춥니다. 원본 FBX는 변경하지 않고, 셰이프 키를 추가한 메시의 복제를 Assets/aaejau/PuniTouch/GeneratedMeshes에 저장해 교체합니다. ◆ 사용법 1. Tools > tool > ぷにタッチ 를 엽니다 2. 아바타 루트를 지정합니다 3. 빠른 프리셋(볼·가슴·허벅지·배) 또는 부위 추가로 부위를 고릅니다 4. Contact 반경(상한)과 말랑함 양을 조정하고 「말랑말랑 생성」을 누릅니다 5. Build & Test로 외형·의상·메뉴·Contact를 확인합니다 ◆ 요구 환경 ・Unity 2022.3 ・VRChat SDK3 (Avatars) ・Humanoid 아바타 ※ VRChat SDK3 (Avatars)가 없는 프로젝트에서는 Contact를 만들 수 없습니다 ※ 위치는 Humanoid 설정의 본(머리·눈·가슴·다리·허리)과 몸의 웨이트로 찾습니다. Humanoid가 아닌 아바타에서는 찾지 못하는 부위가 있습니다. 눈 본이 없는 아바타는 볼 위치를 키로 추정합니다 ※ 가슴 본이 없는 소체는 어깨 위치로 가슴 앞을 정합니다 ※ 화면의 「Contact 반경」은 상한입니다. 실제 Contact 반경과 눌리는 범위는 부위의 크기로 정합니다 ※ 몸 표면에서 5cm 이내에 있는 옷만 함께 눌립니다. 몸에서 떨어져 퍼지는 스커트 등은 눌리지 않습니다. 볼은 얼굴 메시만 누릅니다 ※ 「기존 PhysBone Squish도 조정」은 그 부위의 본을 움직이는 기존 PhysBone의 Max Squish를 바꿉니다. PhysBone 버전이 1.0이면 Squish가 효과가 없습니다 ※ Expression Parameters 용량이나 메뉴 빈칸이 부족하면 메뉴는 추가되지 않습니다 ※ 모든 아바타에서 같은 결과가 나온다는 보장은 없습니다. 최종 확인은 Build & Test로 하세요 ※ 시나노·Felis·MAYO·밀피에서 닿는 곳(Contact)이 몸 표면에서 1cm 정도 바깥에 놓이는 것, 눌리는 정점이 볼은 머리·가슴은 가슴 본·허벅지는 허벅지 본 부분에만 있는 것을 확인했습니다. 눌림은 윤곽에 나타나며 정면에서는 거의 보이지 않습니다. 표정 메뉴 맨 위가 가득 차 있으면 빈자리가 있는 서브메뉴 안에 넣습니다 내용물: unitypackage / README / CHANGELOG / TEST_REPORT / LICENSE / 스크린샷