
シェイプキーおひっこし - シェイプキーを別のメッシュへまとめて写す【JA,EN,KO】
- ダウンロード商品¥ 700
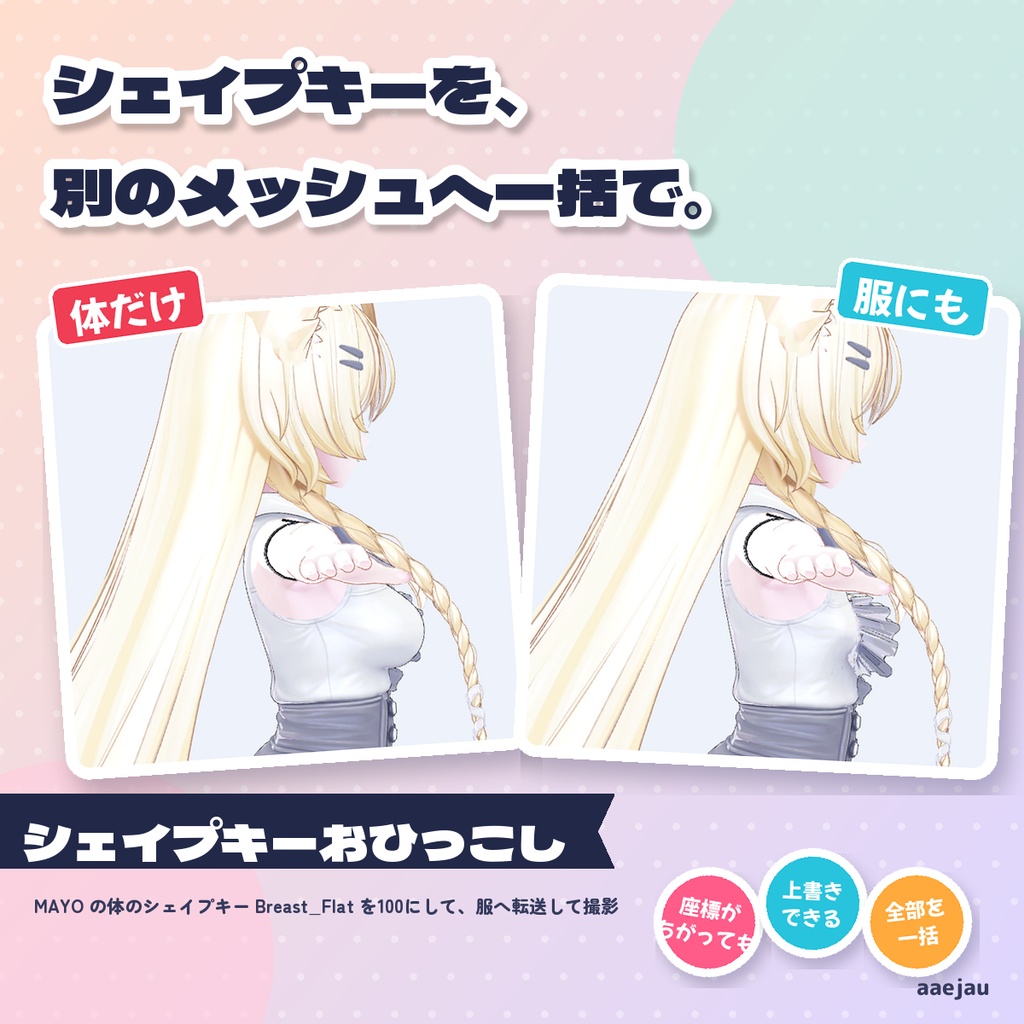
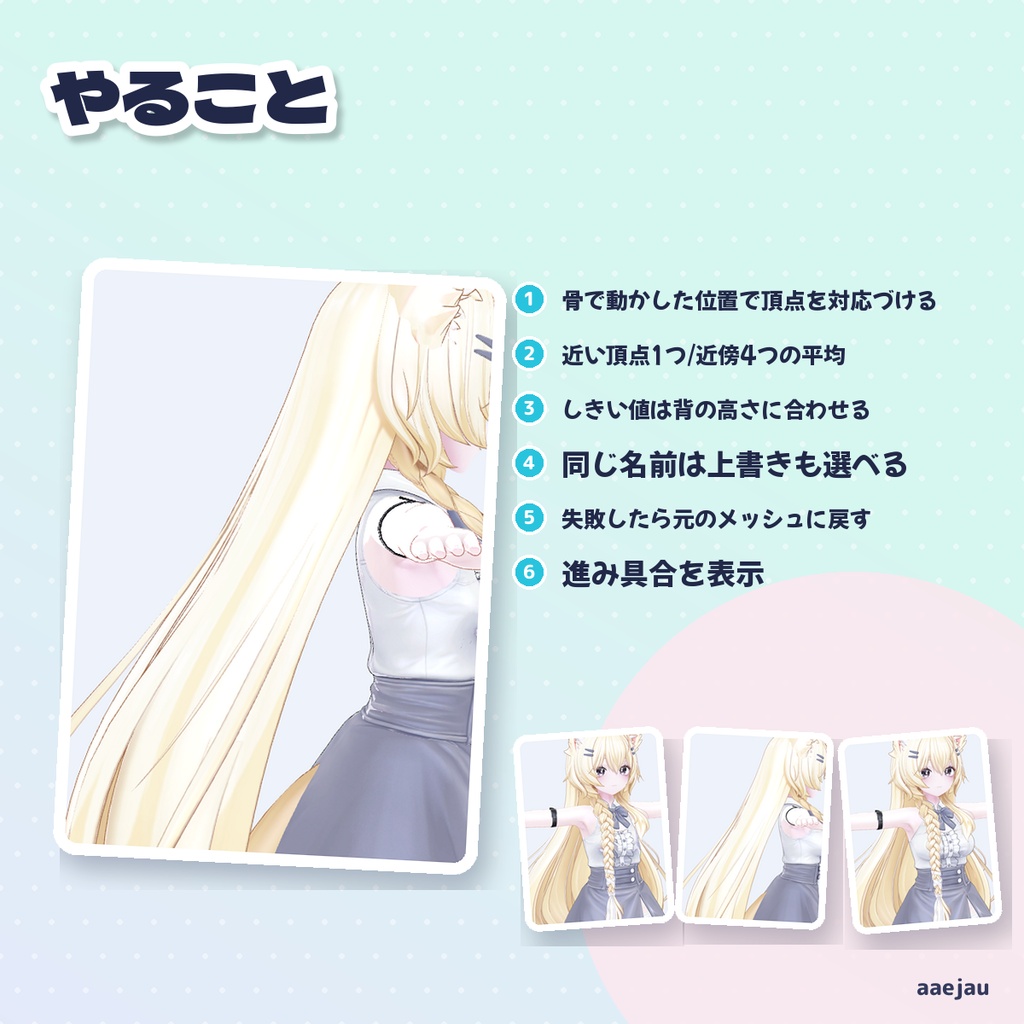
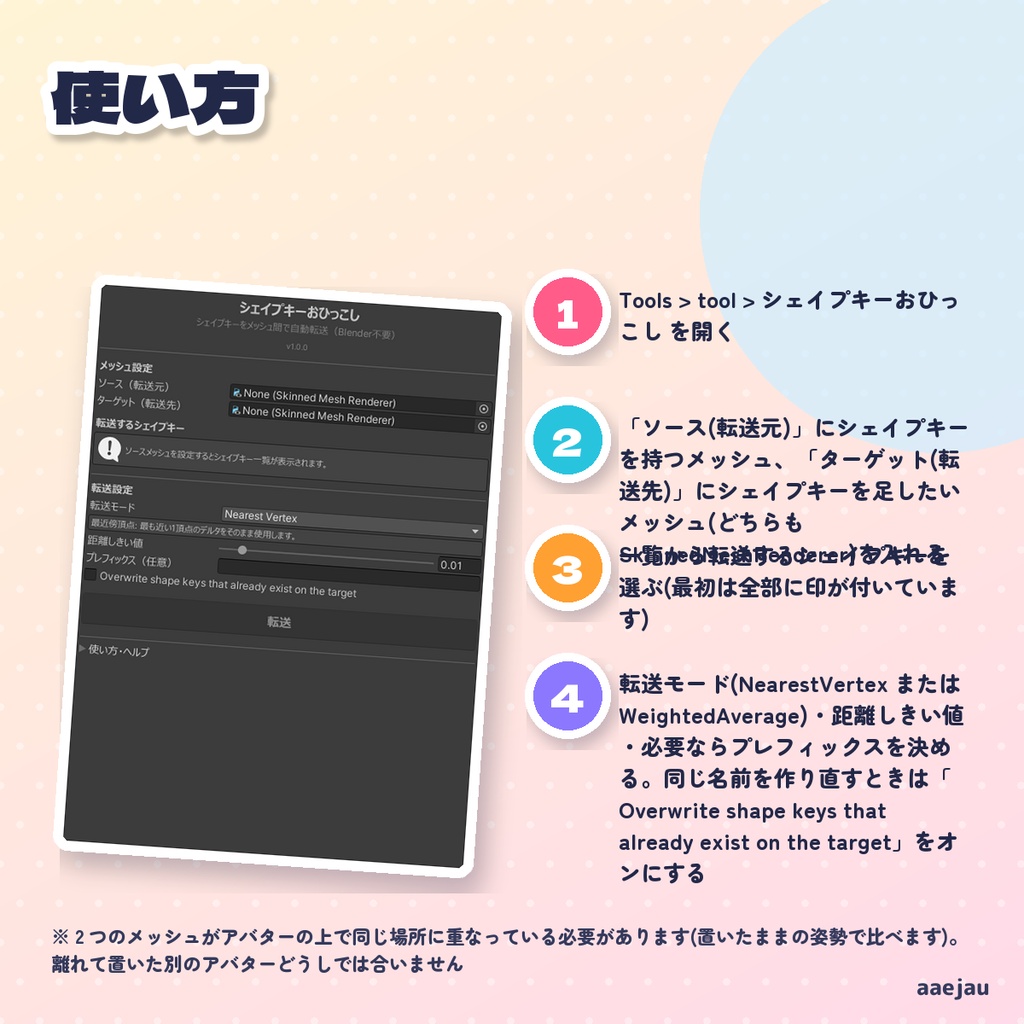
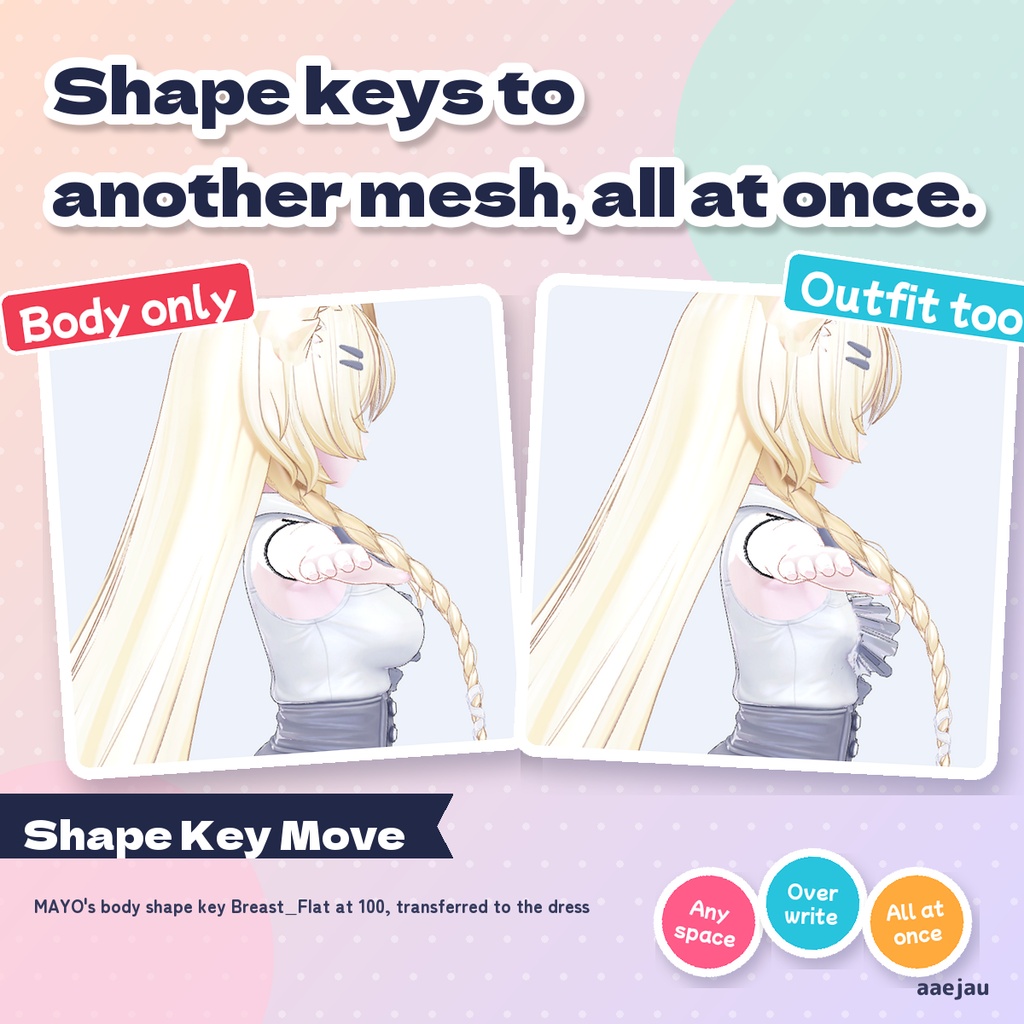
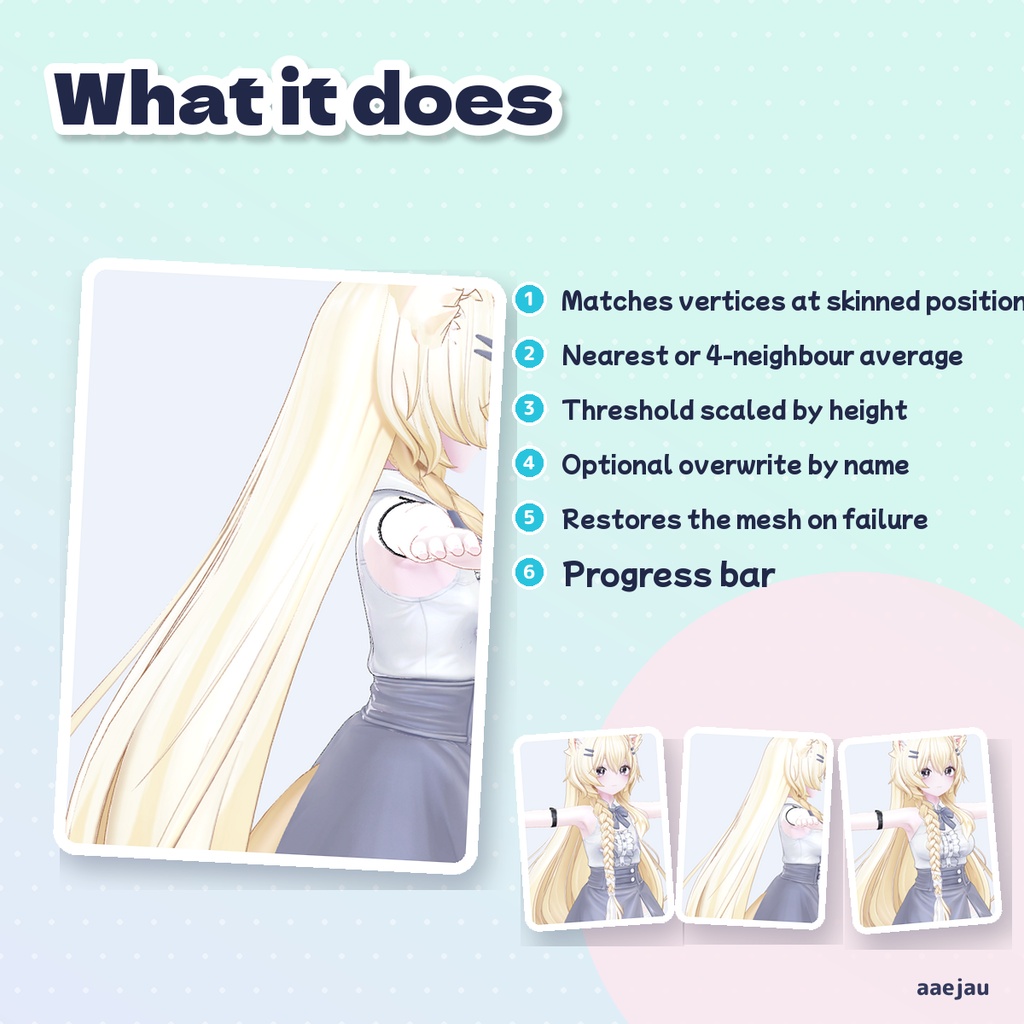
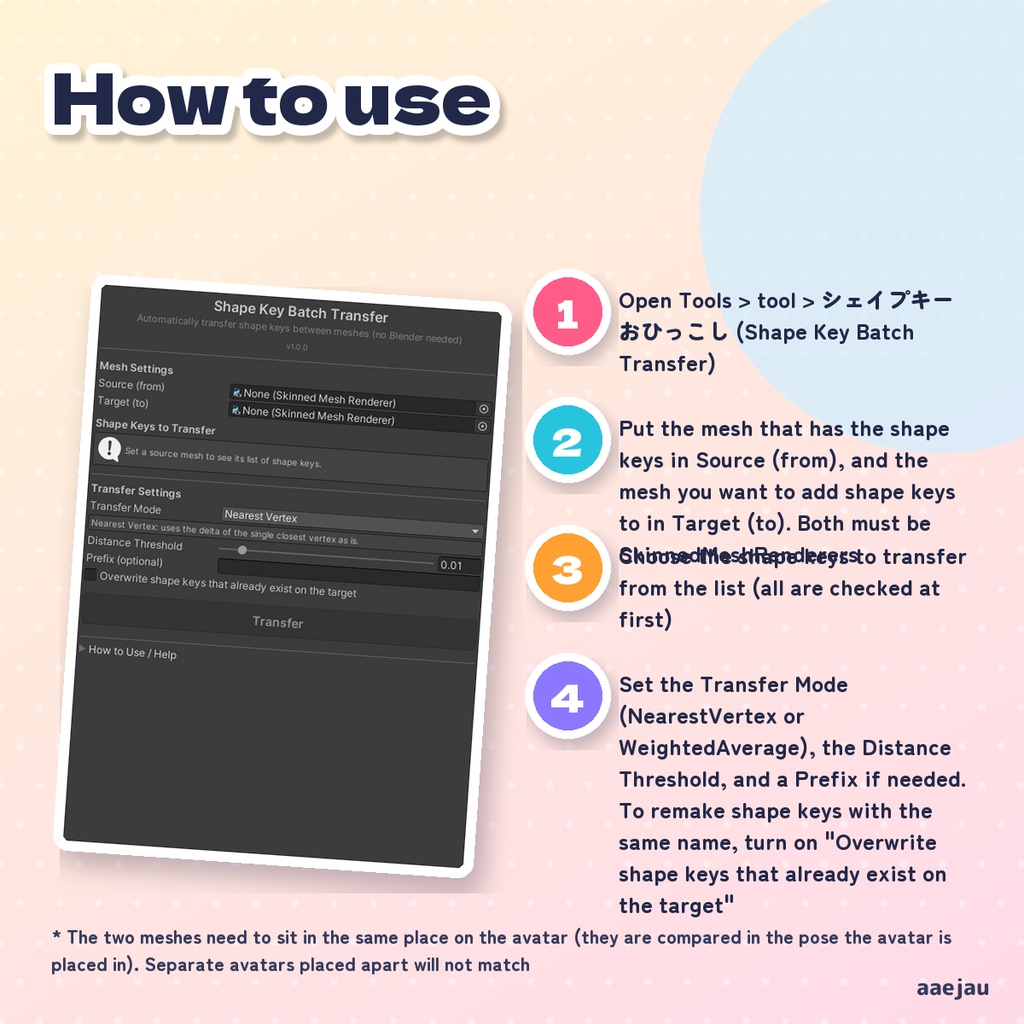
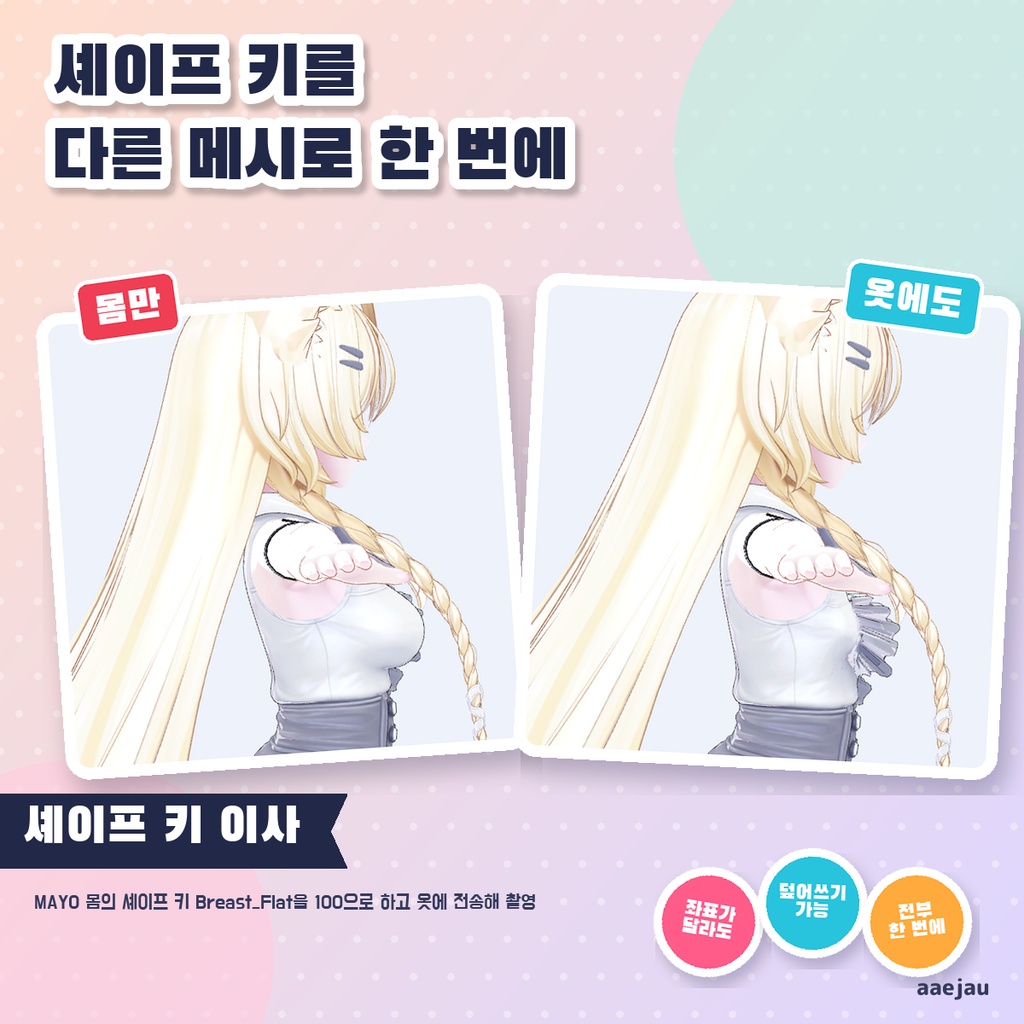
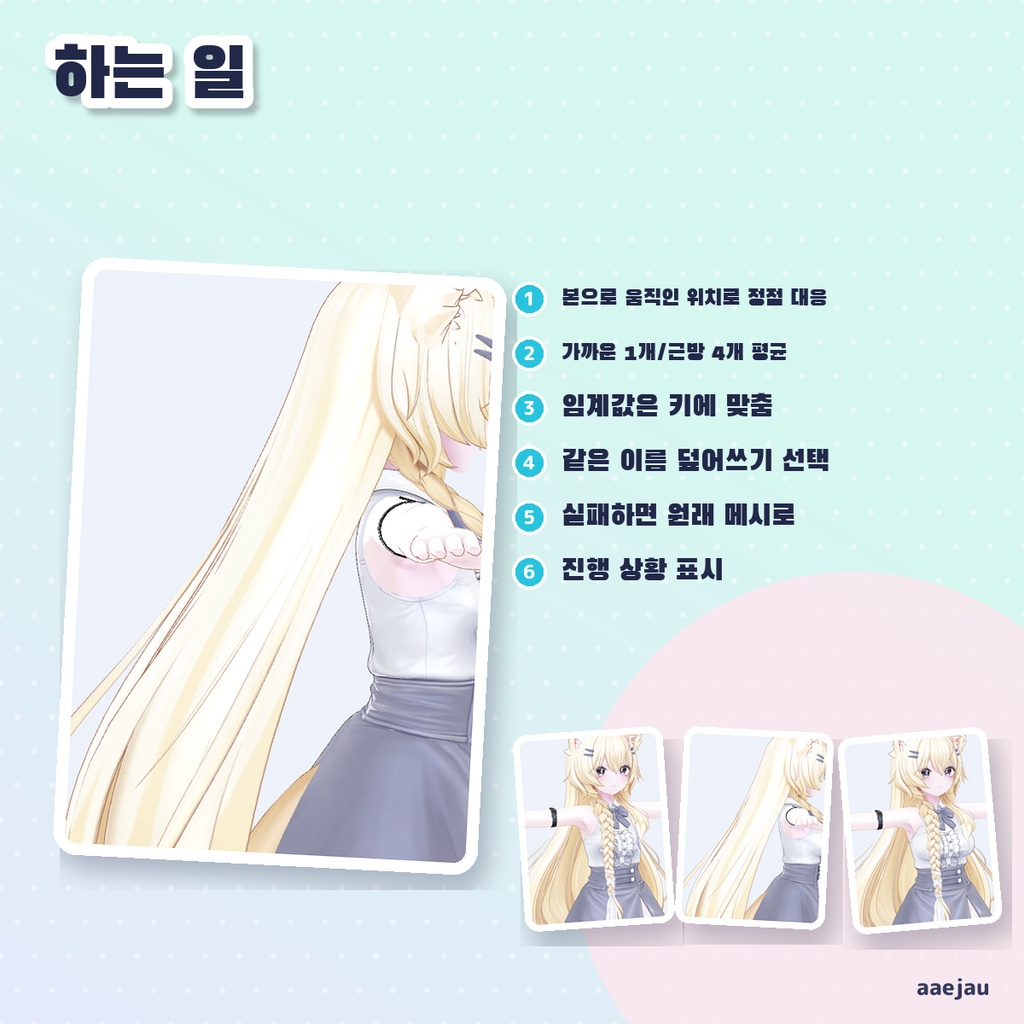
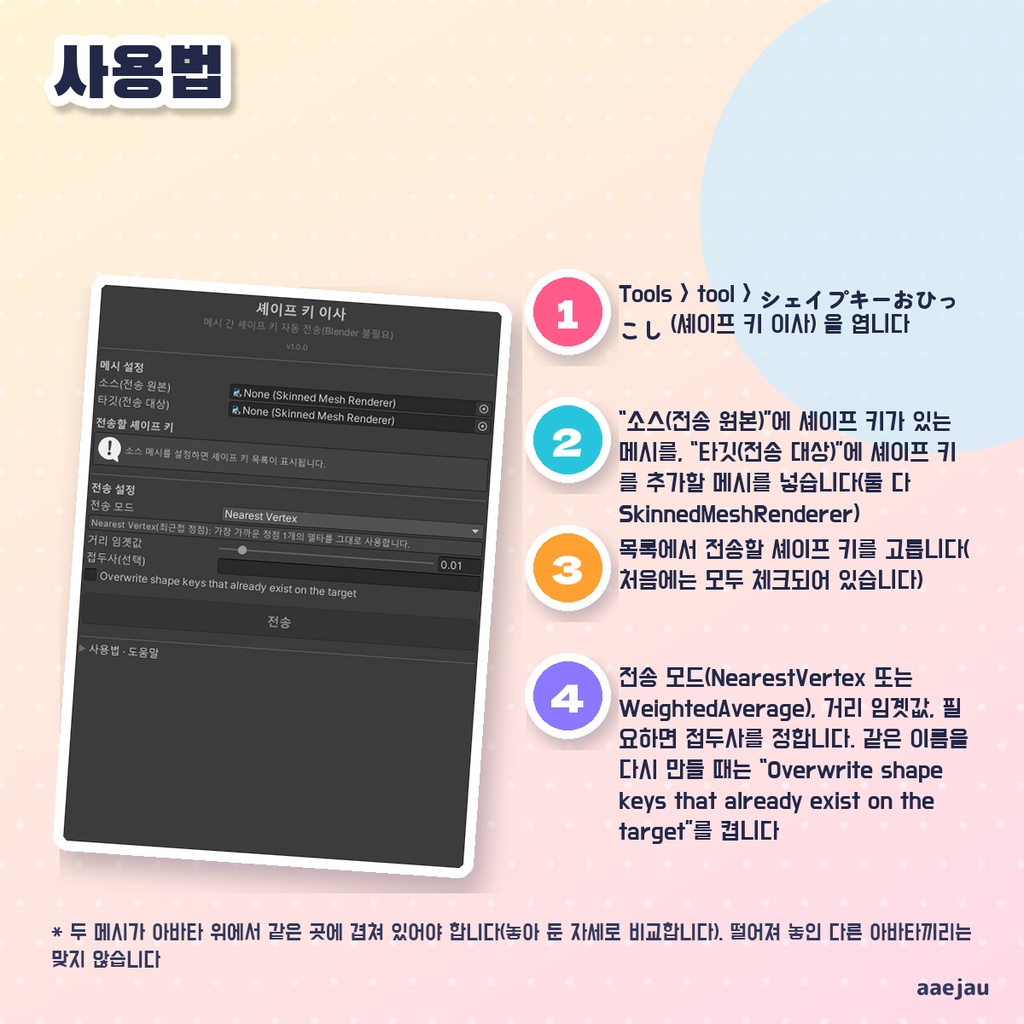


「シェイプキーを、別のメッシュに移したい。」 Blenderは使いません。Unityの中だけで終わります。 シェイプキー(BlendShape)を持つメッシュから、別のメッシュへ選んだシェイプキーをまとめて転送します。2 つのメッシュを、骨で動かした後の位置(置いたままの姿勢・ワールド座標)で比べて頂点を対応づけ、転送元の動きを転送先のメッシュの空間に直して写します。別の FBX から来たメッシュ(拡大率・向き・骨の空間が違う物)でも、アバターの上で同じ場所に重なっていれば合います。対応づけは 1 回だけ作り、選んだ全部のシェイプキーに使い回します。Blender を使わず、Unity の中だけで作業できます。 ◆ 使い方 1. Tools > tool > シェイプキーおひっこし を開く 2. 「ソース(転送元)」にシェイプキーを持つメッシュ、「ターゲット(転送先)」にシェイプキーを足したいメッシュ(どちらも SkinnedMeshRenderer)を入れる 3. 一覧から転送するシェイプキーを選ぶ(最初は全部に印が付いています) 4. 転送モード(NearestVertex または WeightedAverage)・距離しきい値・必要ならプレフィックスを決める。同じ名前を作り直すときは「Overwrite shape keys that already exist on the target」をオンにする 5. 「転送」を押す。結果に、対応がついた頂点の割合が出ます。やり直すときは Ctrl+Z ◆ 必要環境 ・Unity 2022.3 ・転送元・転送先ともに SkinnedMeshRenderer であること ※ 2 つのメッシュがアバターの上で同じ場所に重なっている必要があります(置いたままの姿勢で比べます)。離れて置いた別のアバターどうしでは合いません ※ 距離しきい値(0.001〜0.1)は、頭の骨から足の骨まで 1.2m のアバターでのメートルです。アバターの大きさに比例して広げます(Humanoid でない場合はそのままのメートル) ※ しきい値の中に相手が見つからない頂点は動きません。対応がついた割合が半分より少ないと警告が出ます ※ 転送先に同じ名前のシェイプキーがあるときは、既定では飛ばします。上書きをオンにすると、並び順はそのままで中身を入れ替えます ※ 転送先のメッシュは複製して Assets/aaejau/ShapeKeyMove/Generated に保存し、転送先にはその複製を付けます(元の FBX は書き換えません)。2 回目からは保存済みの複製に足します ※ 形の違うメッシュ(体から服など)へ写すと、近い頂点の動きをそのまま写すだけです。服の厚みの分のゆとりは作りません ※ 法線と接線の差分も同じように写します。軸ごとに拡大率が違うメッシュでは、向きが少しずれることがあります ※ MAYO の体のシェイプキー 77 個を、座標の空間を変えた写し(100倍・回転・別の親)へ転送して、頂点の対応 100%・誤差 0mm を確かめました。体の Breast_Flat を服へ写すと服も平らになりますが、胸元のフリルのような飾りは少し前へ残ります 内容物: unitypackage / README / CHANGELOG / TEST_REPORT / LICENSE / 画面のスクリーンショット ━━━━━━━━━━━━━━━━━━━━ English ━━━━━━━━━━━━━━━━━━━━ Transfers the shape keys (BlendShapes) you select from one mesh to another in one go. The two meshes are compared at their bone-driven positions (the pose the avatar is placed in, in world space) to match vertices, and the source movement is converted into the target mesh's own space. Meshes from different FBX files (different import scale, axes or bone space) match as long as they sit in the same place on the avatar. The vertex matching is built once and reused for every selected shape key. You can do it all inside Unity, without Blender. ◆ How to use 1. Open Tools > tool > シェイプキーおひっこし (Shape Key Batch Transfer) 2. Put the mesh that has the shape keys in Source (from), and the mesh you want to add shape keys to in Target (to). Both must be SkinnedMeshRenderers 3. Choose the shape keys to transfer from the list (all are checked at first) 4. Set the Transfer Mode (NearestVertex or WeightedAverage), the Distance Threshold, and a Prefix if needed. To remake shape keys with the same name, turn on "Overwrite shape keys that already exist on the target" 5. Click Transfer. The result shows how many target vertices were matched. Press Ctrl+Z to undo ◆ Requirements ・Unity 2022.3 ・Both the source and the target must be SkinnedMeshRenderers * The two meshes need to sit in the same place on the avatar (they are compared in the pose the avatar is placed in). Separate avatars placed apart will not match * The Distance Threshold (0.001 to 0.1) is in metres for an avatar whose head bone is 1.2 m above the foot bone, and it grows with the avatar size (plain metres when the avatar is not Humanoid) * Target vertices with no source vertex inside the threshold do not move. A warning is shown when fewer than half of the vertices were matched * If the target already has a shape key with the same name, it is skipped by default. With overwrite on, its contents are replaced and the order stays the same * The target mesh is duplicated and saved in Assets/aaejau/ShapeKeyMove/Generated, and the target uses that copy (the original FBX is not edited). Later runs add to the saved copy * Between meshes of different shapes (for example body to outfit), the movement of the nearest vertices is copied as is. No extra room is made for the thickness of clothing * Normal and tangent deltas are copied the same way. On meshes scaled differently per axis their direction can be slightly off * Transferred MAYO's 77 body shape keys to a copy in a different coordinate space (100x, rotated, another parent): 100% vertex match and 0mm error. Copying the body's Breast_Flat to the dress flattens the dress too, though frills on the chest stay slightly forward Contents: unitypackage / README / CHANGELOG / TEST_REPORT / LICENSE / screenshot ━━━━━━━━━━━━━━━━━━━━ 한국어 ━━━━━━━━━━━━━━━━━━━━ 셰이프 키(BlendShape)가 있는 메시에서 다른 메시로, 고른 셰이프 키를 한 번에 전송합니다. 두 메시를 본으로 움직인 뒤의 위치(놓아 둔 자세·월드 좌표)로 비교해 정점을 대응시키고, 소스의 움직임을 타깃 메시의 공간으로 바꿔 옮깁니다. 다른 FBX에서 온 메시(스케일·방향·본 공간이 다른 것)도 아바타 위에서 같은 곳에 겹쳐 있으면 맞습니다. 대응은 한 번만 만들고 고른 모든 셰이프 키에 다시 사용합니다. Blender 없이 Unity 안에서만 작업할 수 있습니다. ◆ 사용법 1. Tools > tool > シェイプキーおひっこし (셰이프 키 이사) 을 엽니다 2. 「소스(전송 원본)」에 셰이프 키가 있는 메시를, 「타깃(전송 대상)」에 셰이프 키를 추가할 메시를 넣습니다(둘 다 SkinnedMeshRenderer) 3. 목록에서 전송할 셰이프 키를 고릅니다(처음에는 모두 체크되어 있습니다) 4. 전송 모드(NearestVertex 또는 WeightedAverage), 거리 임곗값, 필요하면 접두사를 정합니다. 같은 이름을 다시 만들 때는 「Overwrite shape keys that already exist on the target」를 켭니다 5. 「전송」을 누릅니다. 결과에 대응된 정점의 비율이 표시됩니다. 되돌릴 때는 Ctrl+Z ◆ 요구 환경 ・Unity 2022.3 ・소스와 타깃 모두 SkinnedMeshRenderer일 것 ※ 두 메시가 아바타 위에서 같은 곳에 겹쳐 있어야 합니다(놓아 둔 자세로 비교합니다). 떨어져 놓인 다른 아바타끼리는 맞지 않습니다 ※ 거리 임곗값(0.001~0.1)은 머리 본에서 발 본까지 1.2m인 아바타 기준의 미터이며, 아바타 크기에 비례해 넓어집니다(Humanoid가 아니면 그대로의 미터) ※ 임곗값 안에 상대가 없는 정점은 움직이지 않습니다. 대응된 비율이 절반보다 적으면 경고가 나옵니다 ※ 타깃에 같은 이름의 셰이프 키가 있으면 기본적으로 건너뜁니다. 덮어쓰기를 켜면 순서는 그대로 두고 내용을 바꿉니다 ※ 타깃 메시는 복제해서 Assets/aaejau/ShapeKeyMove/Generated에 저장하고, 타깃에는 그 복제본을 붙입니다(원본 FBX는 수정하지 않습니다). 두 번째부터는 저장된 복제본에 추가합니다 ※ 모양이 다른 메시(몸에서 옷 등)로 옮기면 가까운 정점의 움직임을 그대로 옮길 뿐입니다. 옷 두께만큼의 여유는 만들지 않습니다 ※ 법선과 접선의 차이도 같은 방식으로 옮깁니다. 축마다 스케일이 다른 메시에서는 방향이 조금 어긋날 수 있습니다 ※ MAYO 몸의 셰이프 키 77개를 좌표 공간을 바꾼 복사본(100배·회전·다른 부모)으로 옮겨 정점 대응 100%·오차 0mm를 확인했습니다. 몸의 Breast_Flat을 옷에 옮기면 옷도 평평해지지만 가슴의 프릴 같은 장식은 조금 앞으로 남습니다 내용물: unitypackage / README / CHANGELOG / TEST_REPORT / LICENSE / 스크린샷